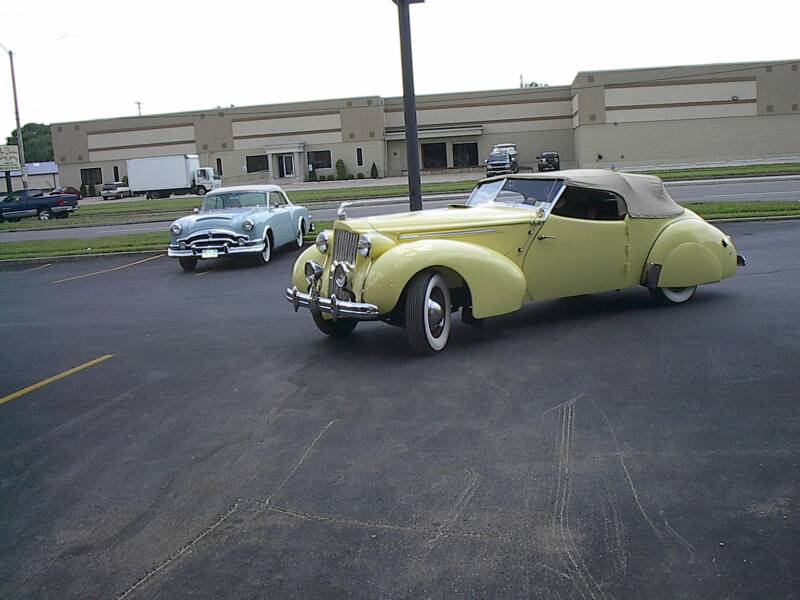
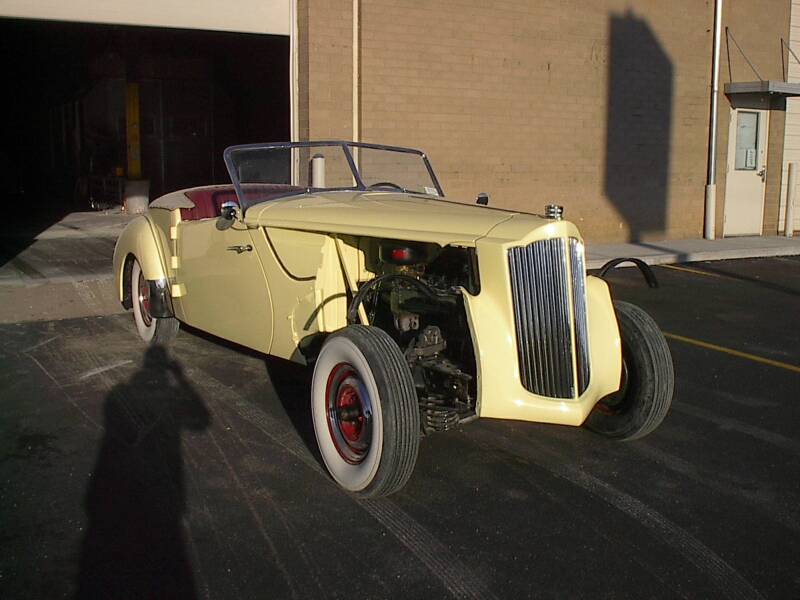
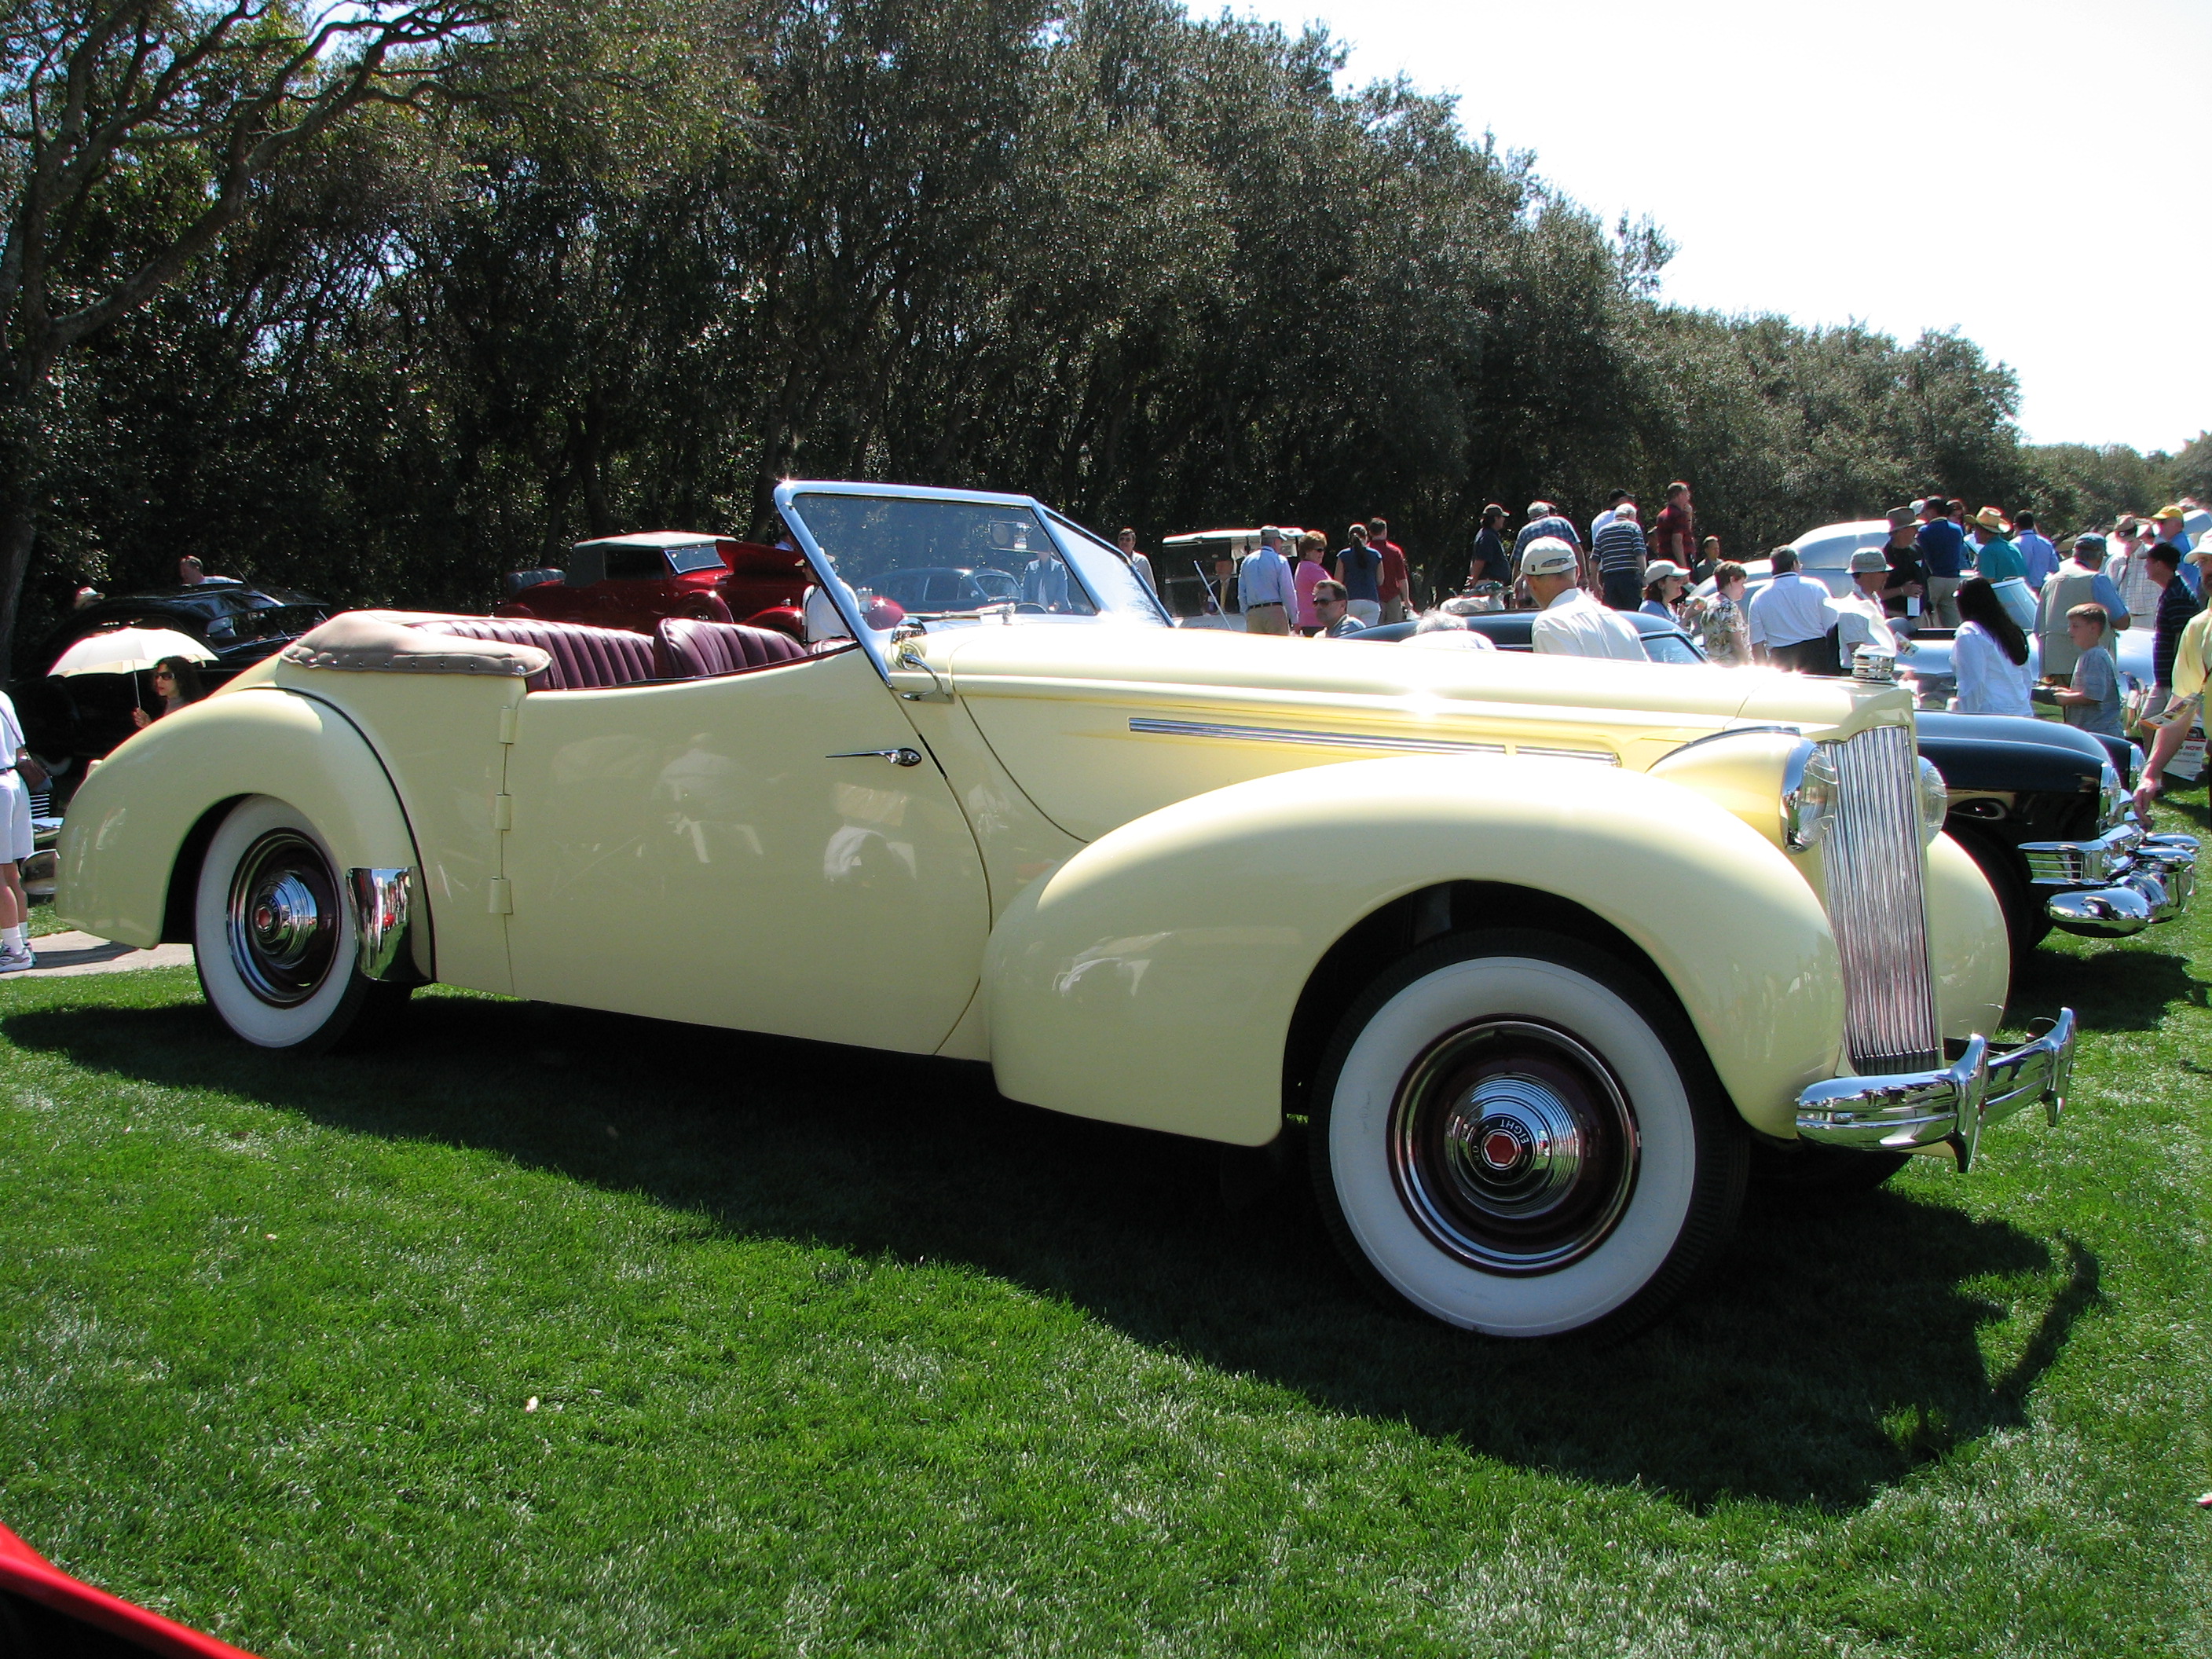
Here the Darrin sits on the judging field at Amelia Island Concours D' Elegance on the Ritz-Carlton 18th hole.
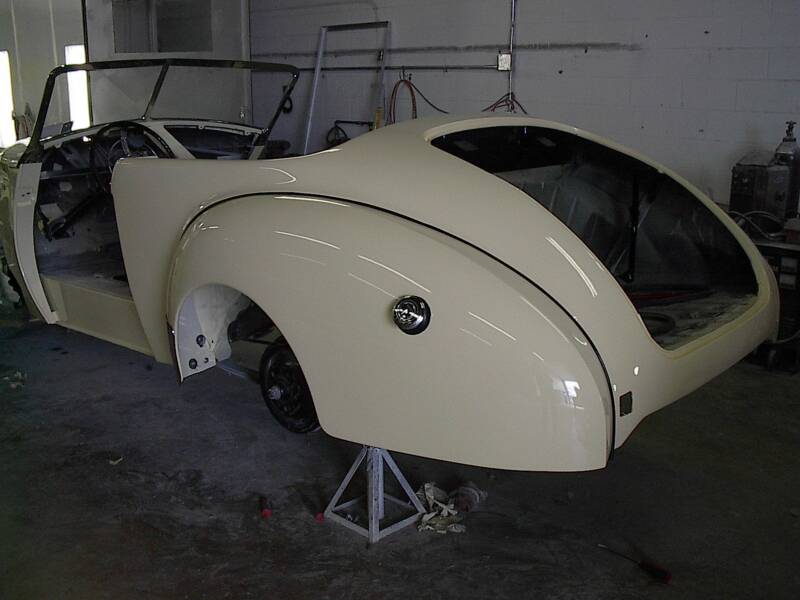
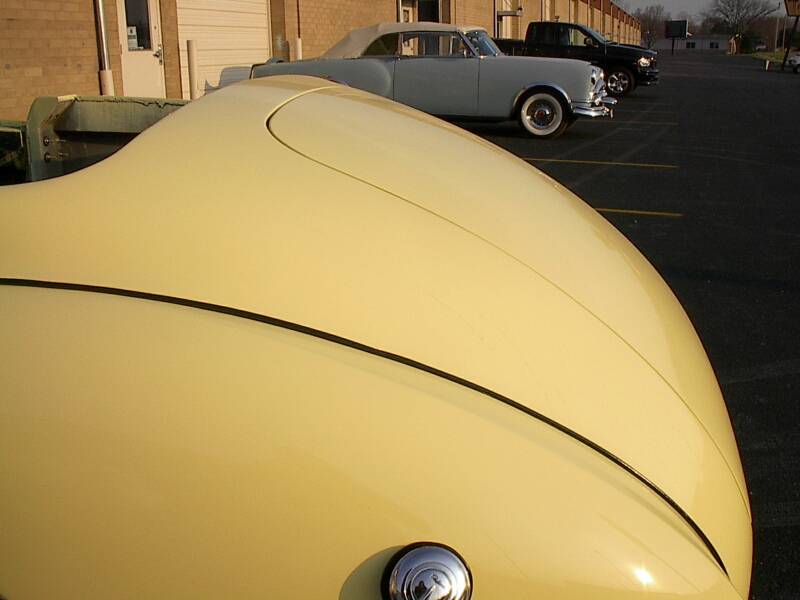
While out in the sun you can admire the perfect alignment of the trunk to the car body itself.
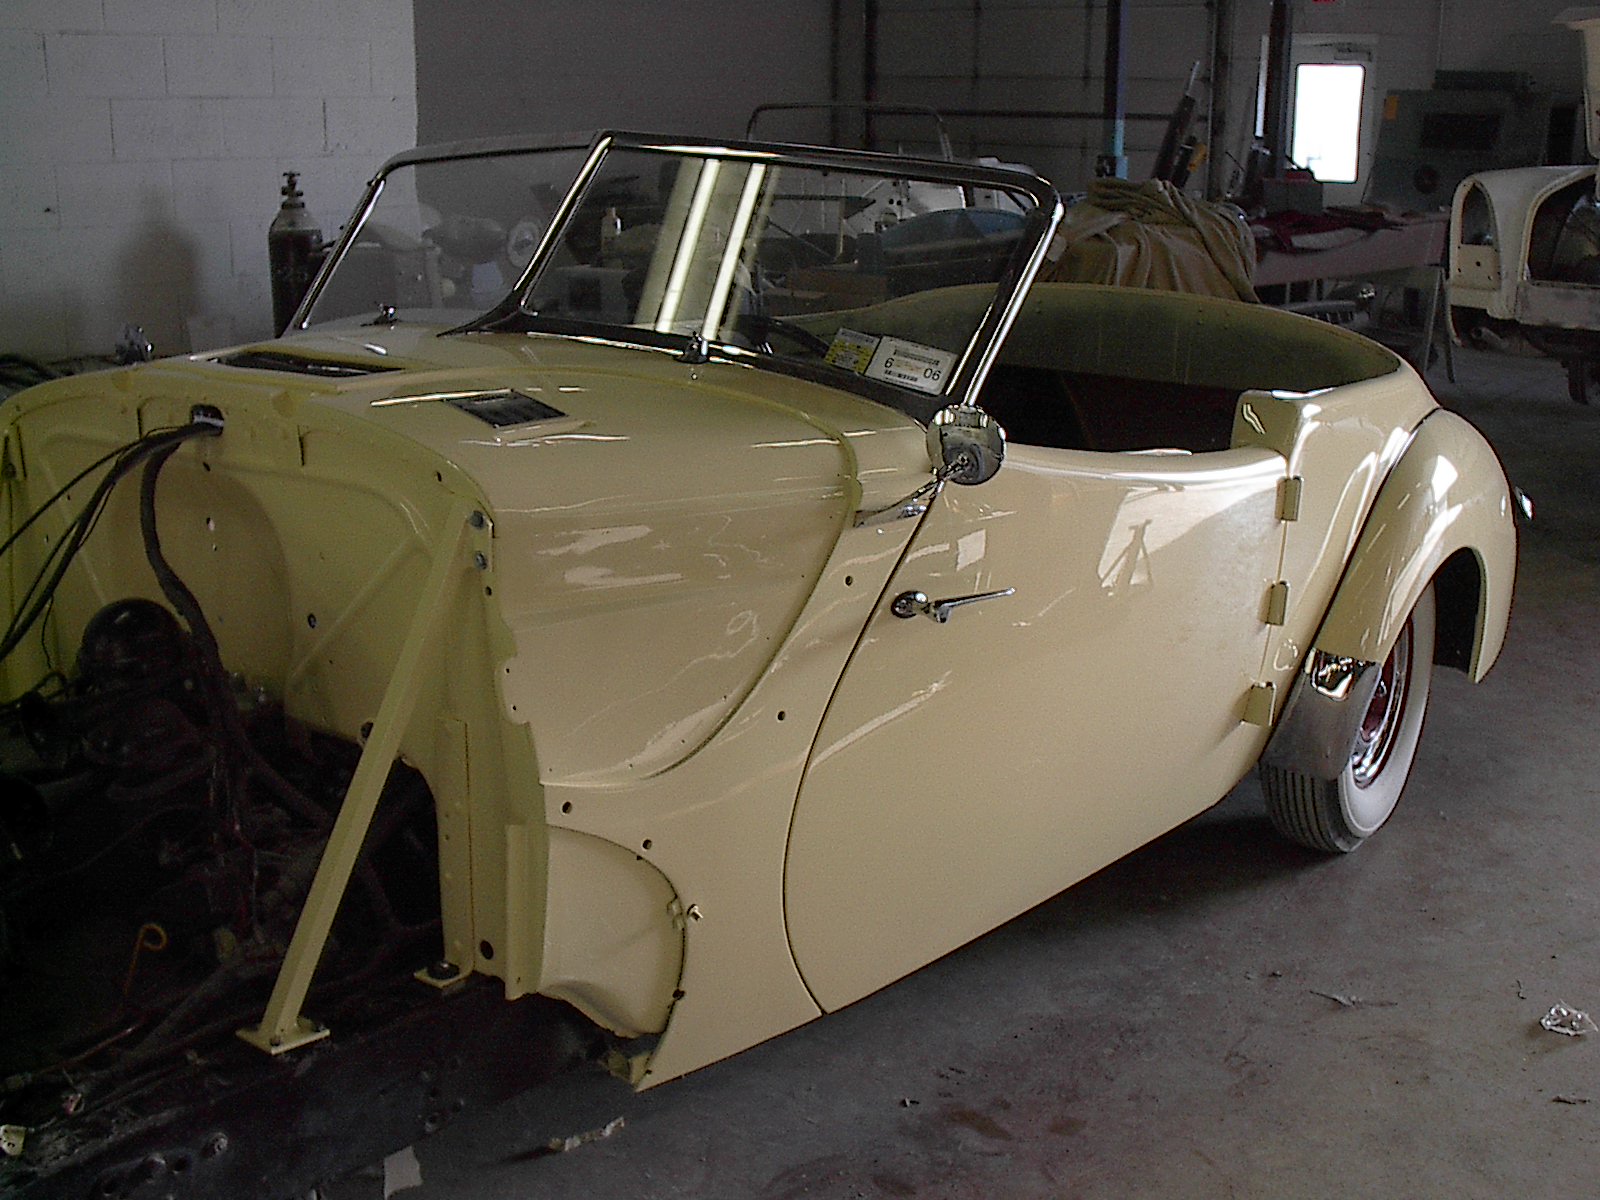
The driver's door is installed and properly fit. Suicide doors are notorious for sagging under their weight, especially the Darrins, so shimming is required to bring them to the right position.
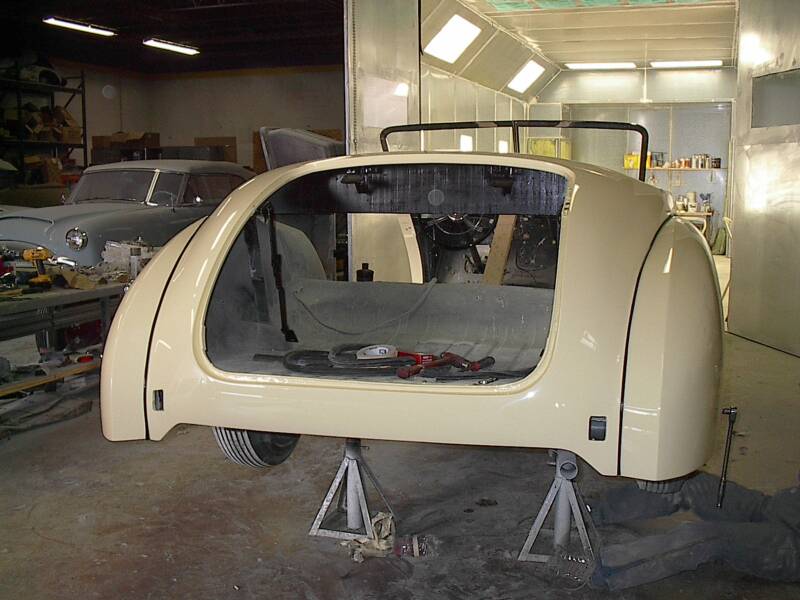
This paint has a deep shine brought out by meticulous care in the painting process and in the art of buffing. We at Aldrich Restoration are dedicated to turning out only the best!
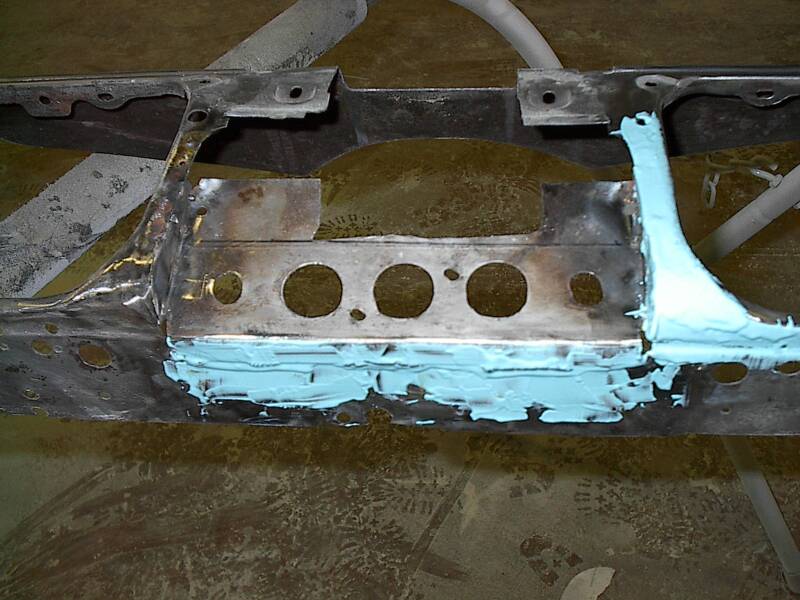
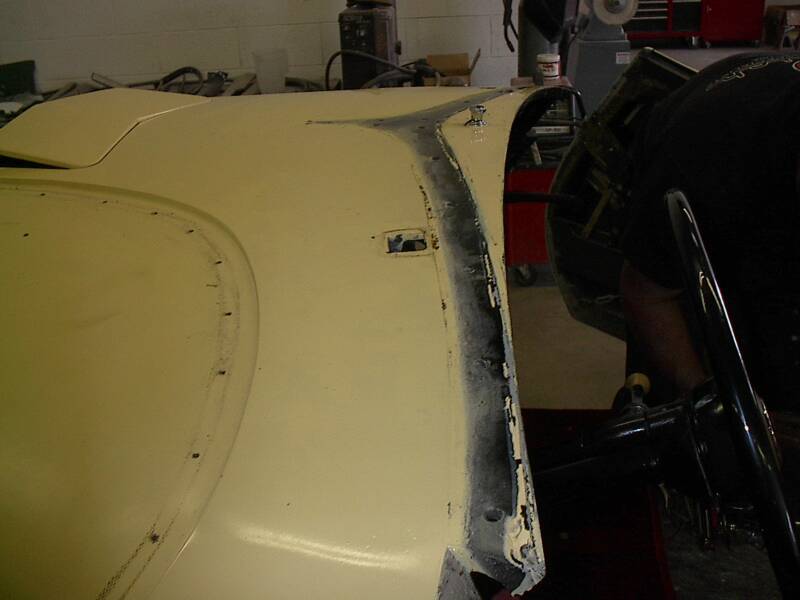
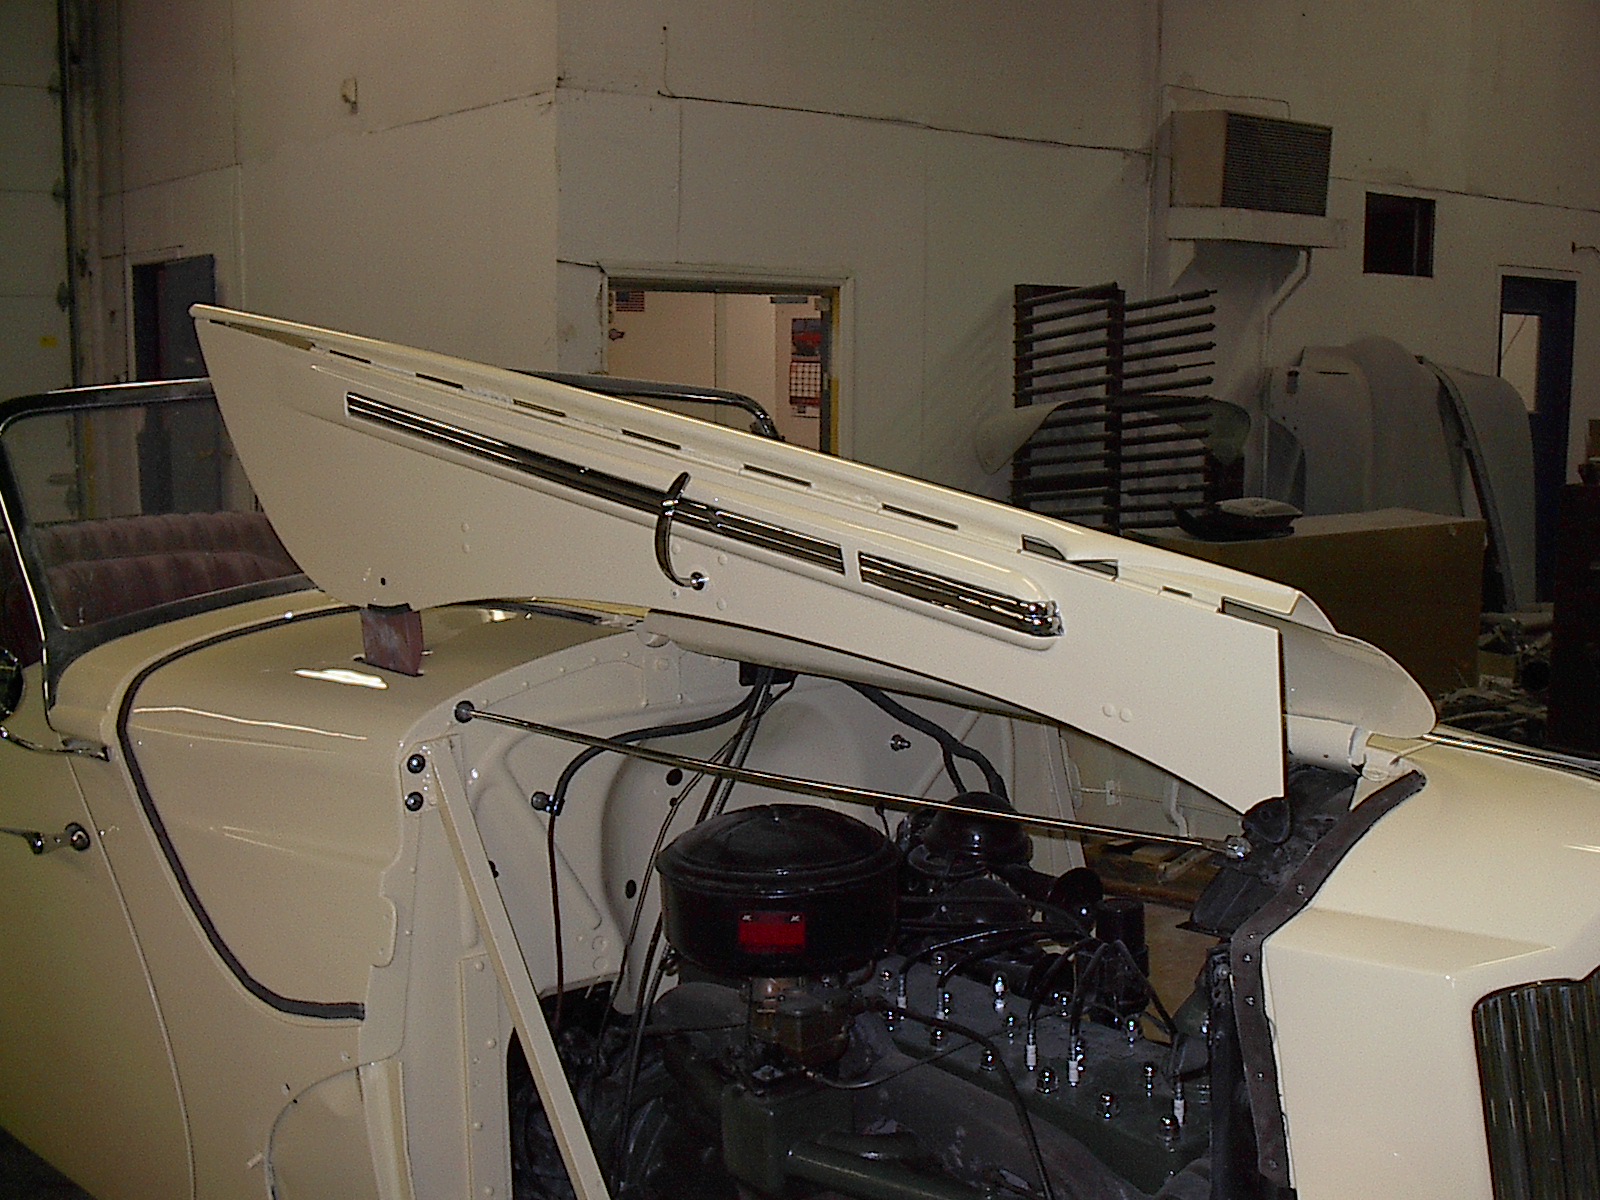
Work begins on the hood. Here you can see where Darrin's Hollywood shop leaded over the welds where the hood was stretched.
2416 Stanley Ave
Dayton, OH USA 45404
937-222-3633, 937-222-3833
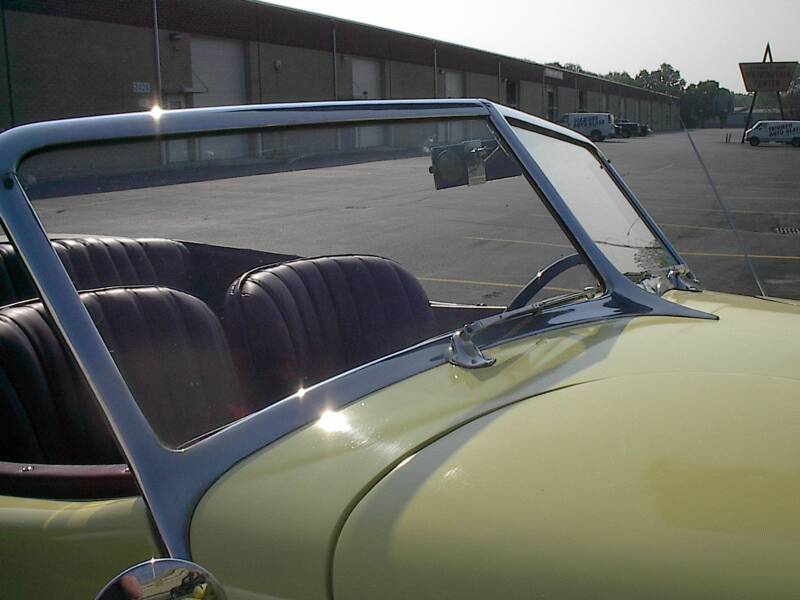
The signature Darrin swept split windshield. Contact us
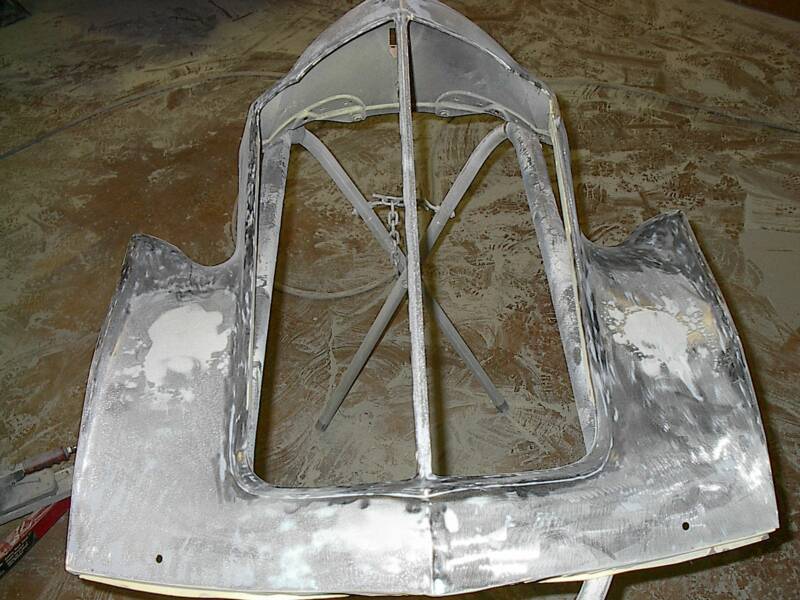
Here is the cowl without the windshield. Darrin built these out of cast aluminum. It has retained its shaped perfectly and is incredibly strong.Contact us
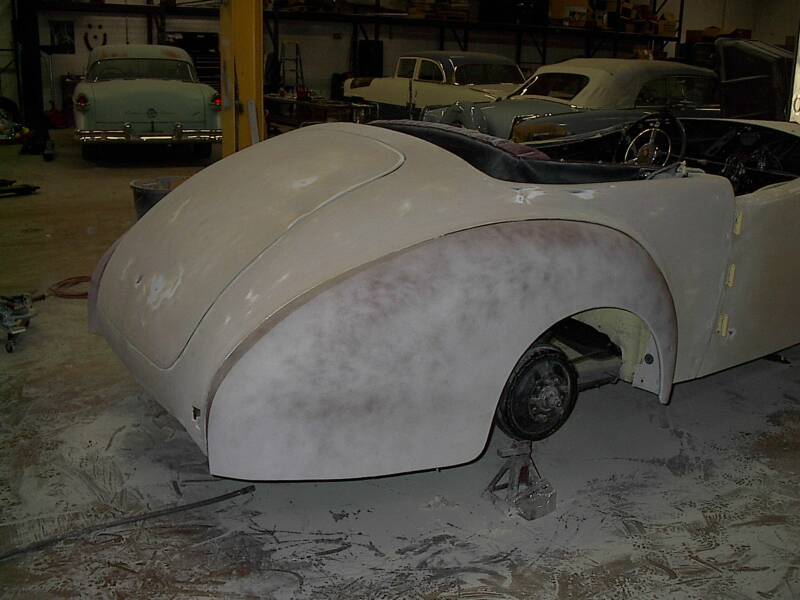
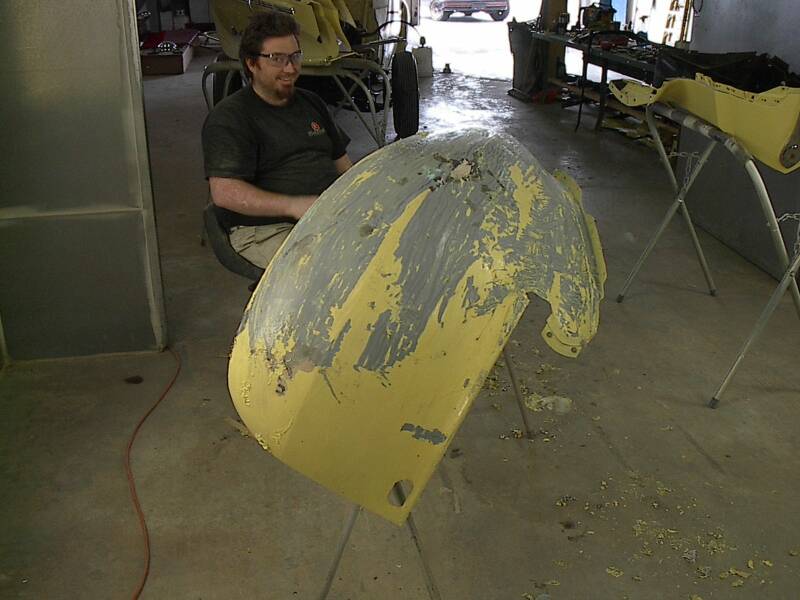
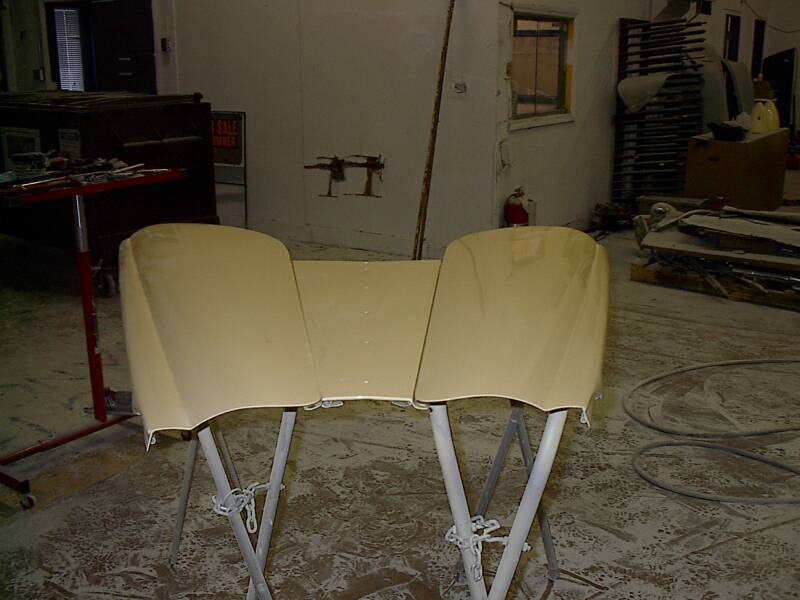
Here she is with the top up as she rolls into the shop. We only counted two bows in the top assembly... something is missing here. Upon further investigation we notice that the bow straps are too long and there is an empty mounting on the bracket. The bottom two pictures show the fenders being stripped.
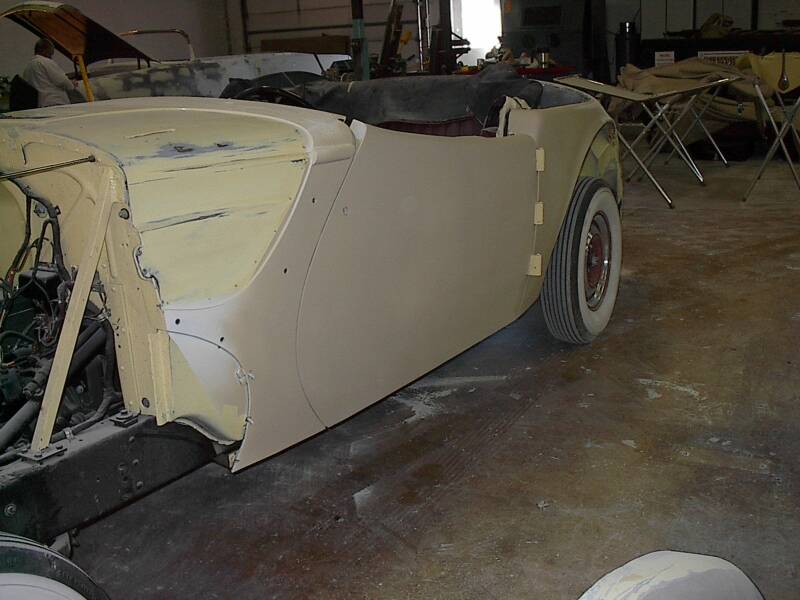
An early shot of the passenger side. Notice the incorrect mirrors mounted on the cowl. This car originally had mirrors on the front fenders.Contact us
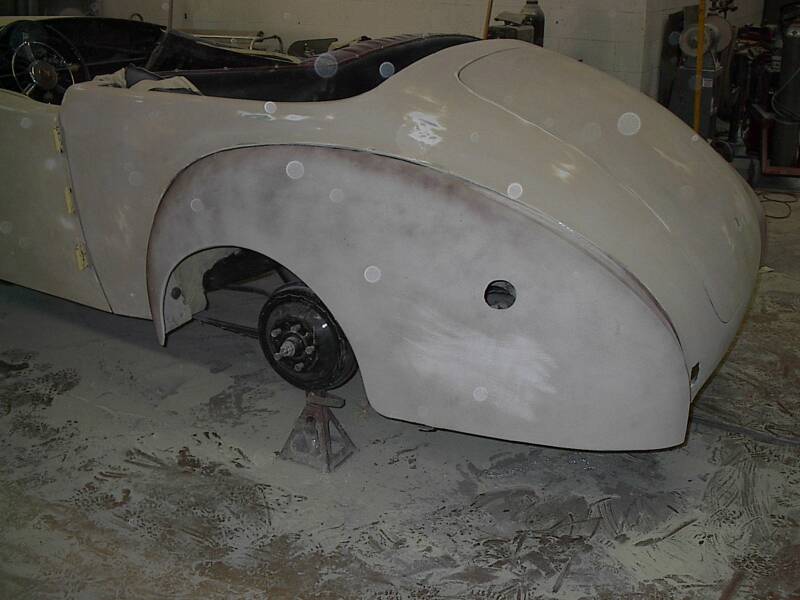
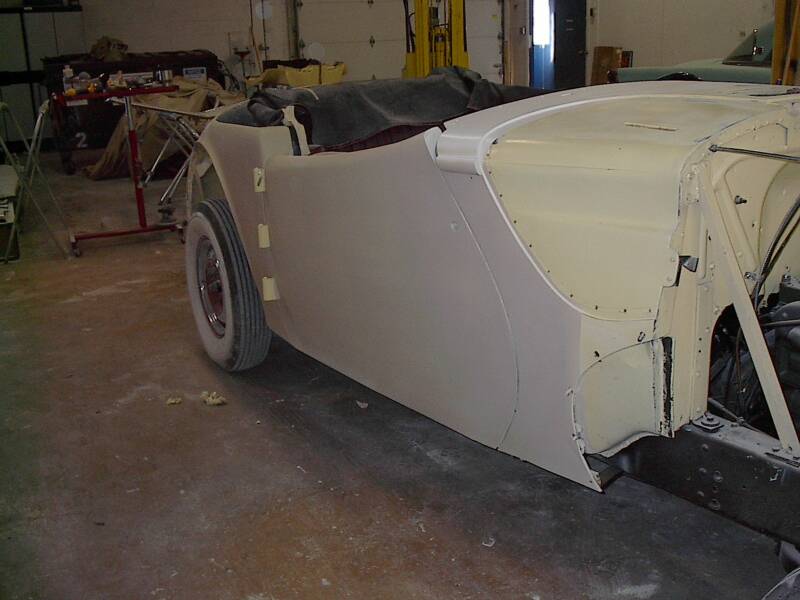
Here is a shot of the passenger side as of October 13th, 2006. Both side have now been stripped all the way to the cowl.
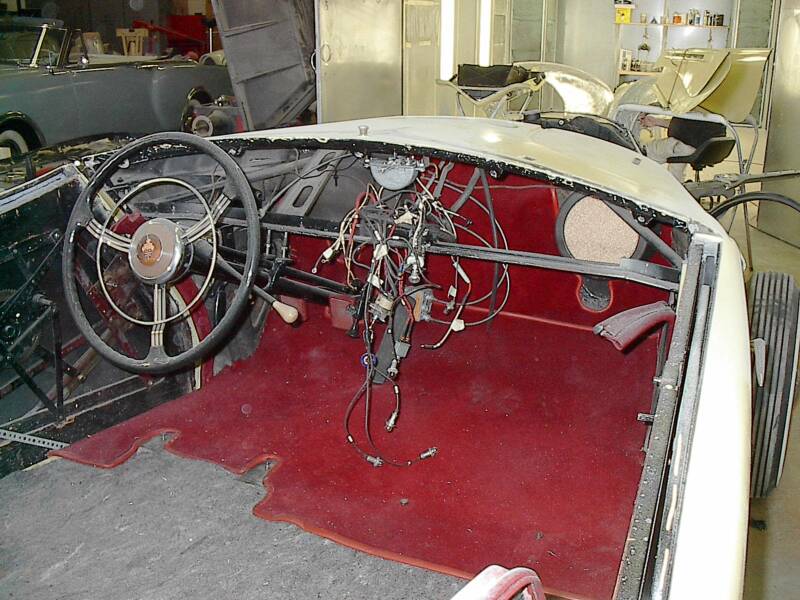
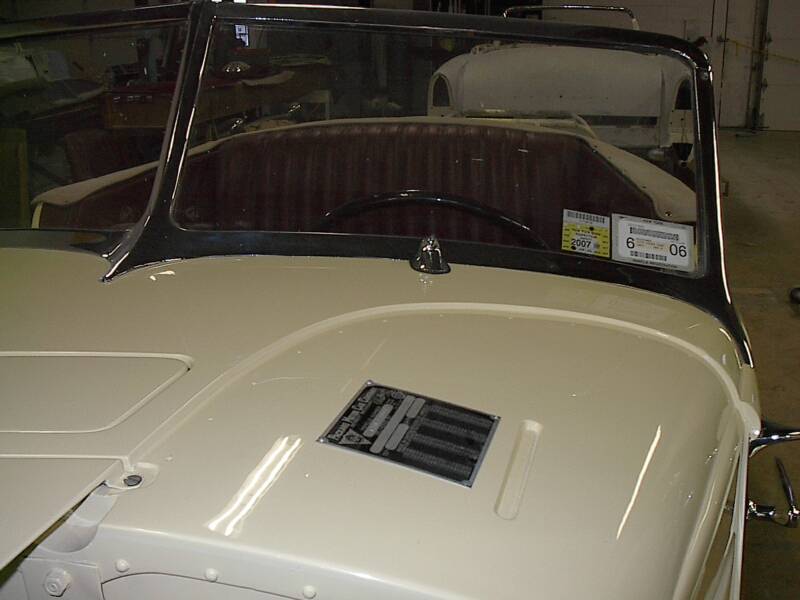
Here is the dash now as it is dismantled. When the windshield was removed the line of the original black could be seen on the cast aluminum cowl.
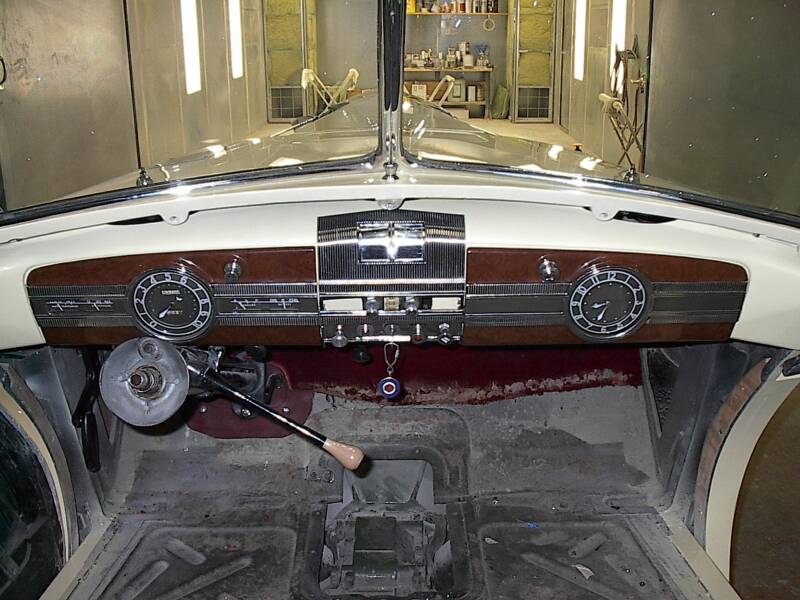
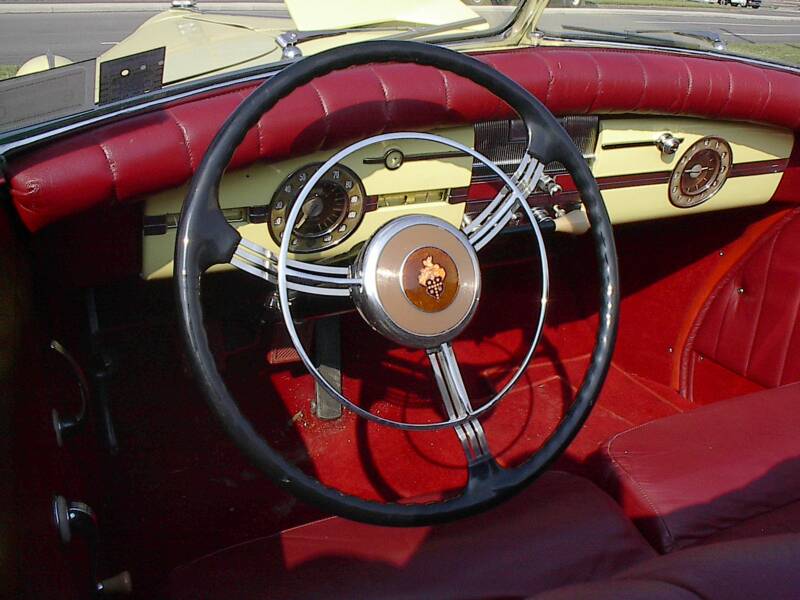
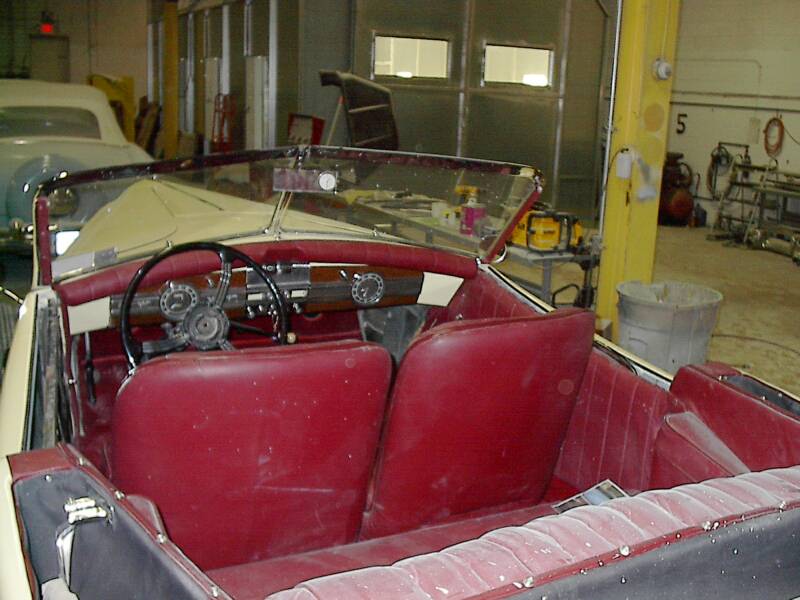
The 120 Packard Darrin Banjo Wheel. A work of art unto itself. Behind the wheel you can see the symmetrical dash with speedometer and glovebox clock. Contact us
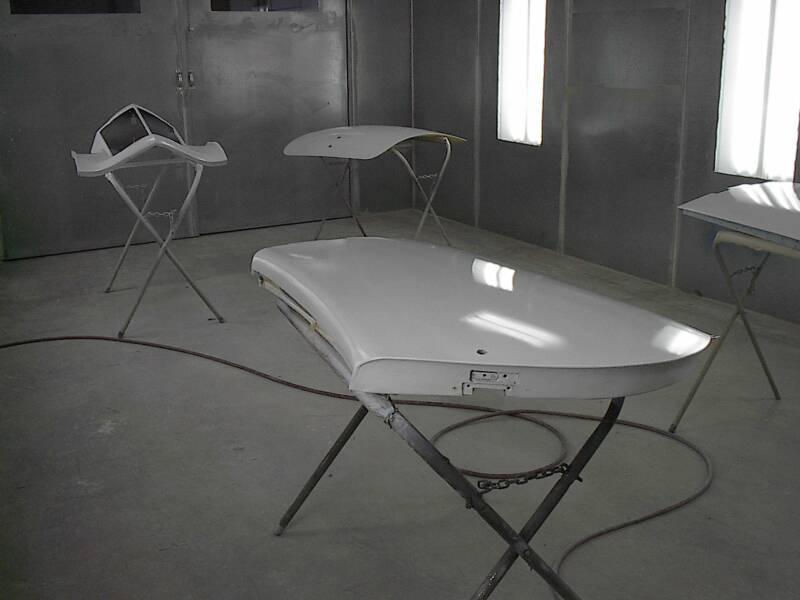
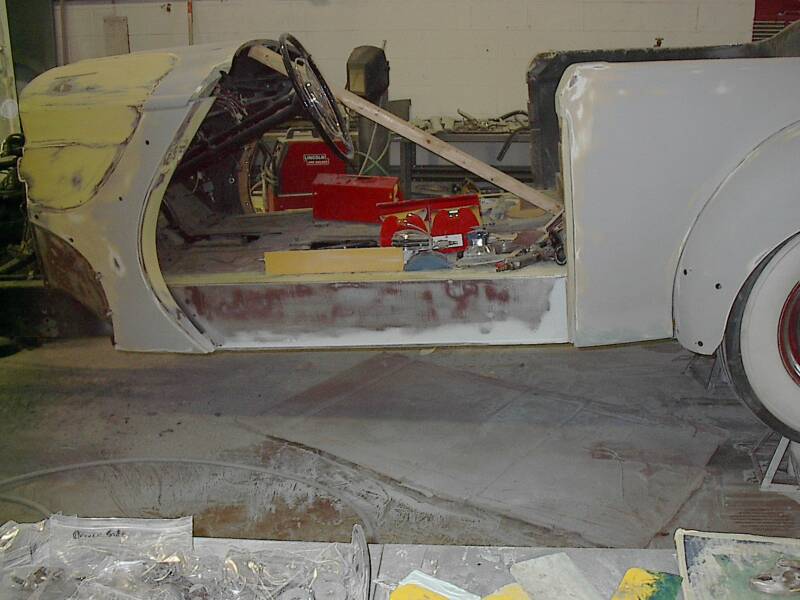
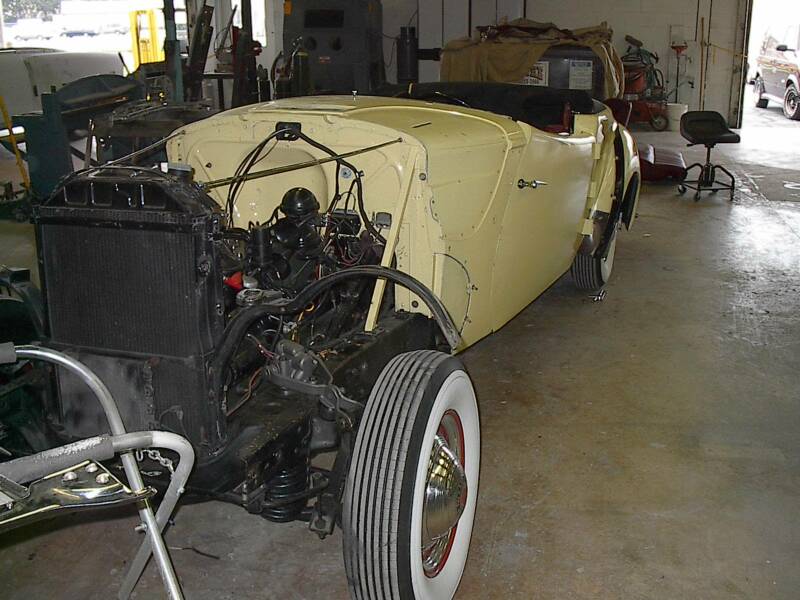
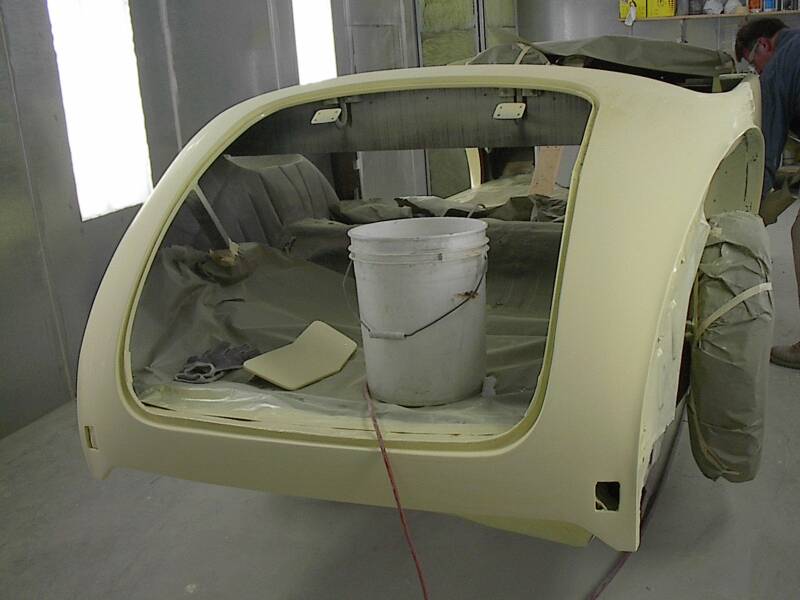
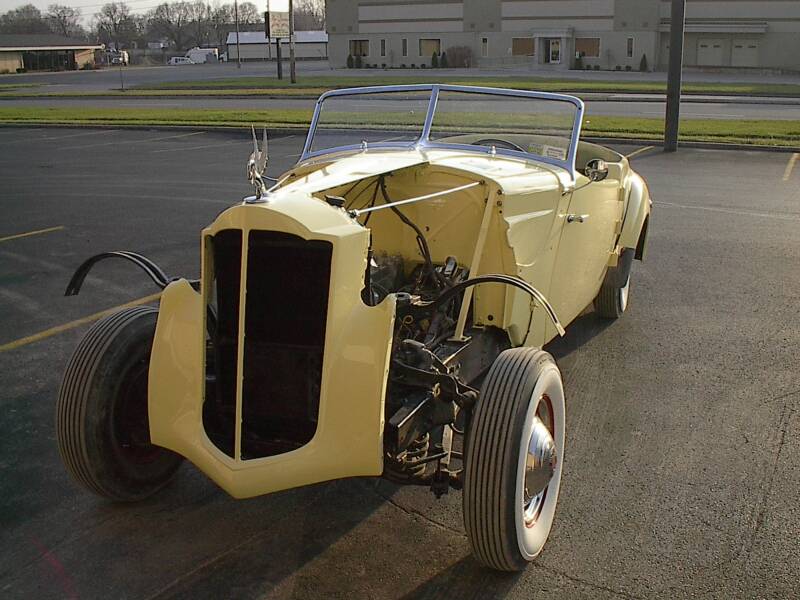
I am really impressed by the way this car is put together. Everything went really smoothly on Tuesday and now the hood, fenders, doors, grill shell, trunk, skirts, and scoop can be stripped and repainted. The trunk lid and rear fenders stay on the body for alignment.
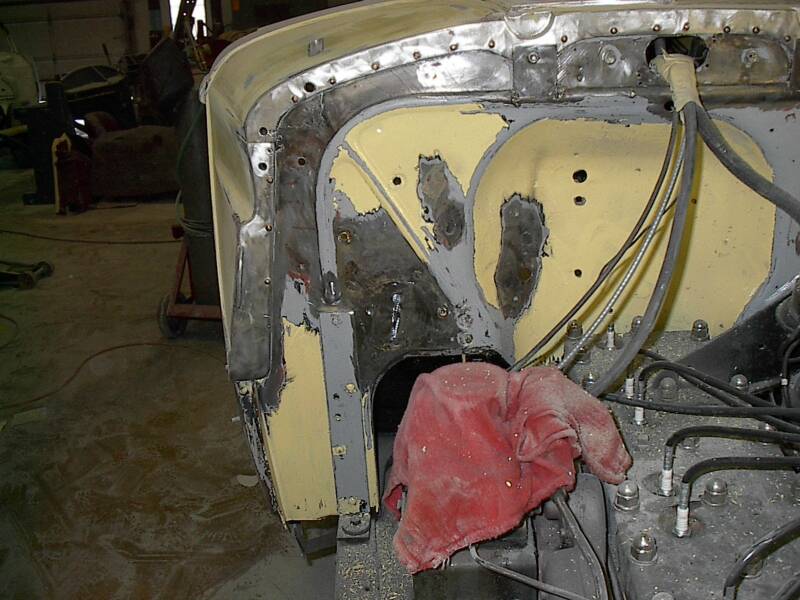
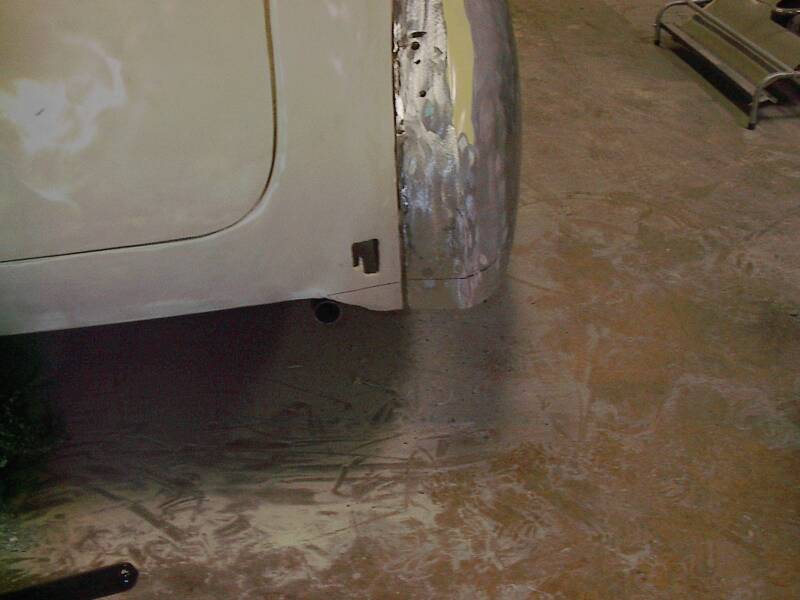
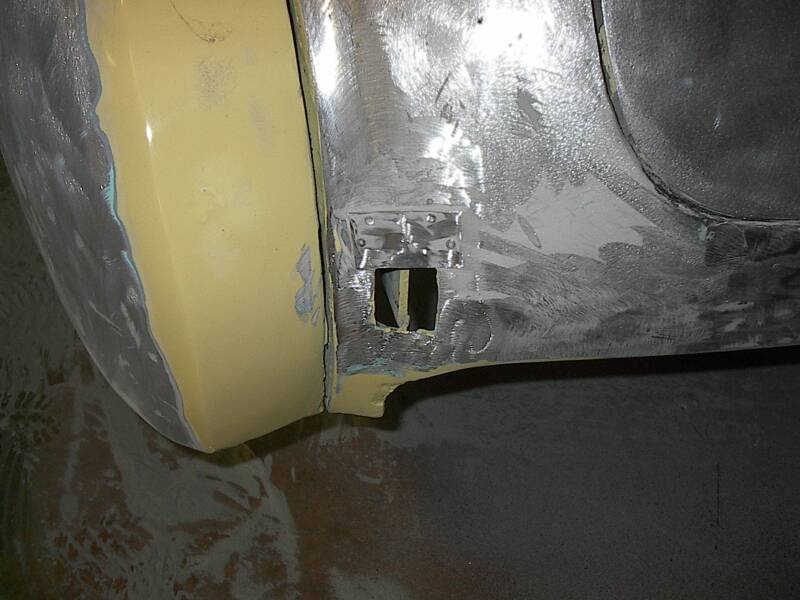
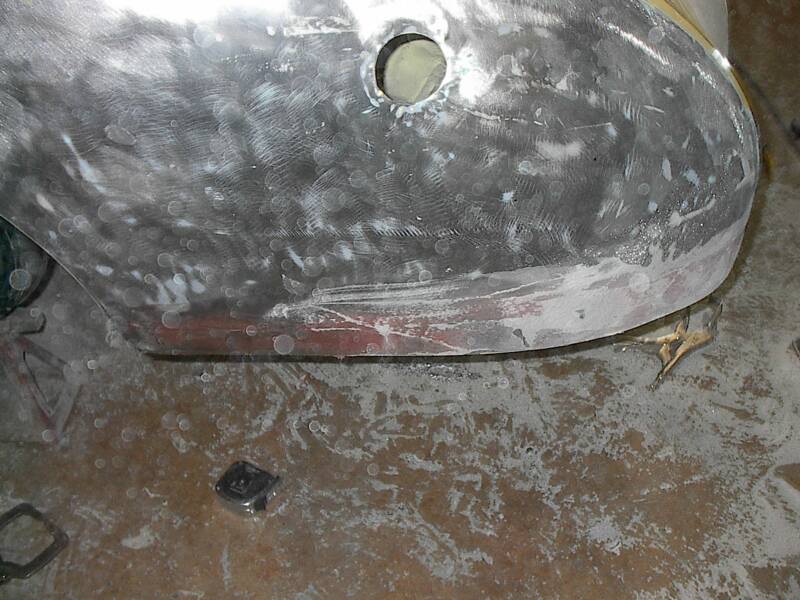
In an earlier age this must have been easier than brazing with a torch. Above the hole where the fender bracket pierces the body a small piece of metal is pop riveted as a patch.
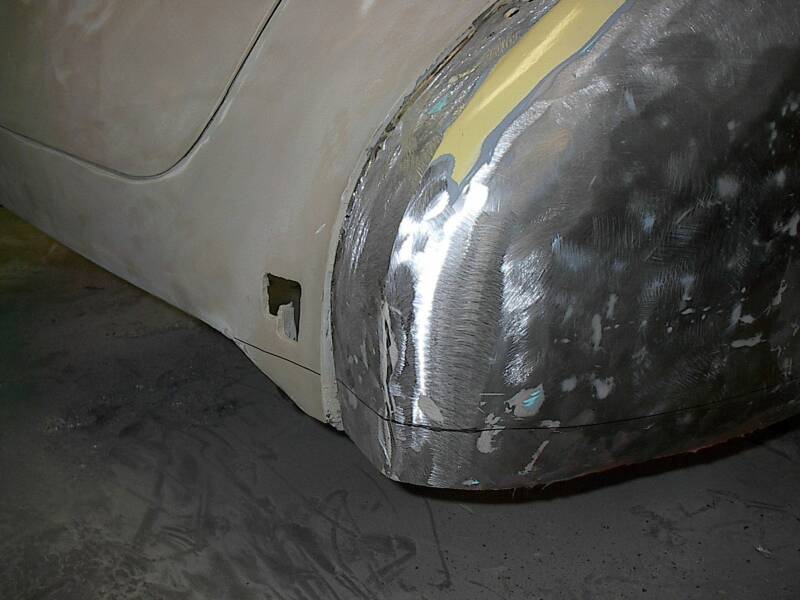
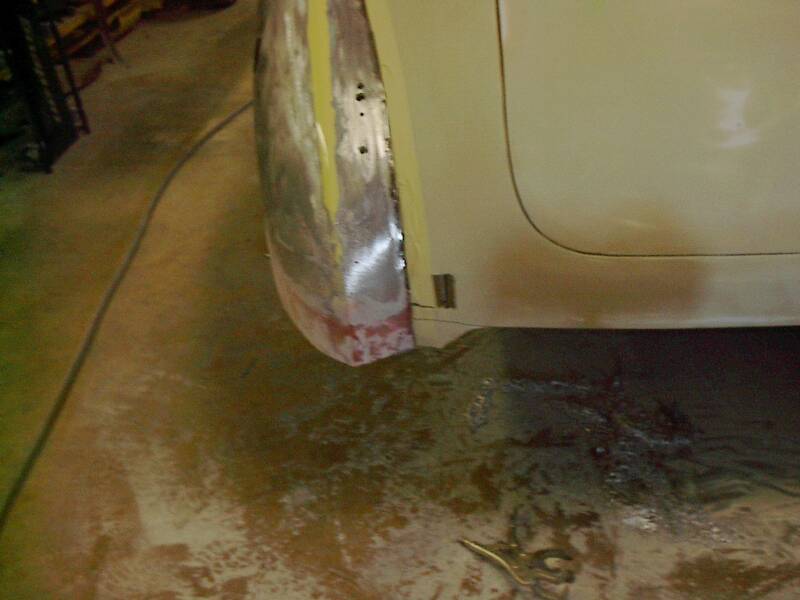
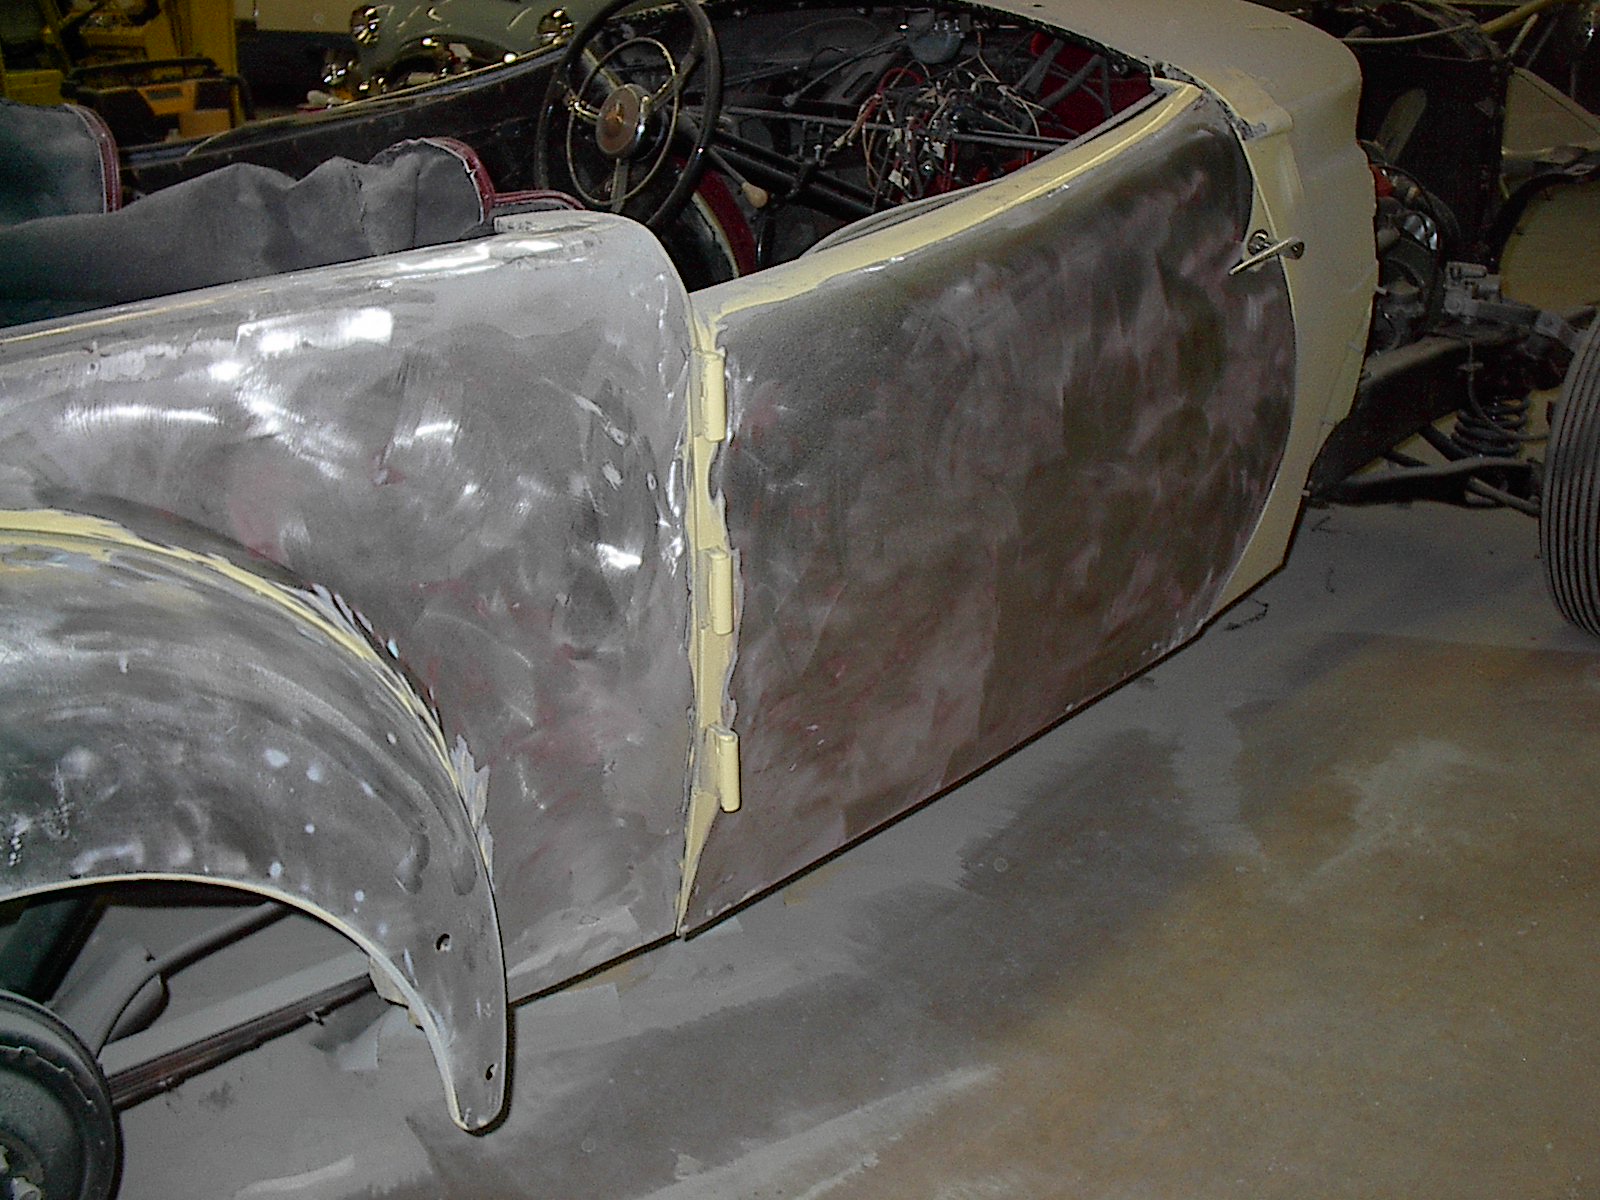
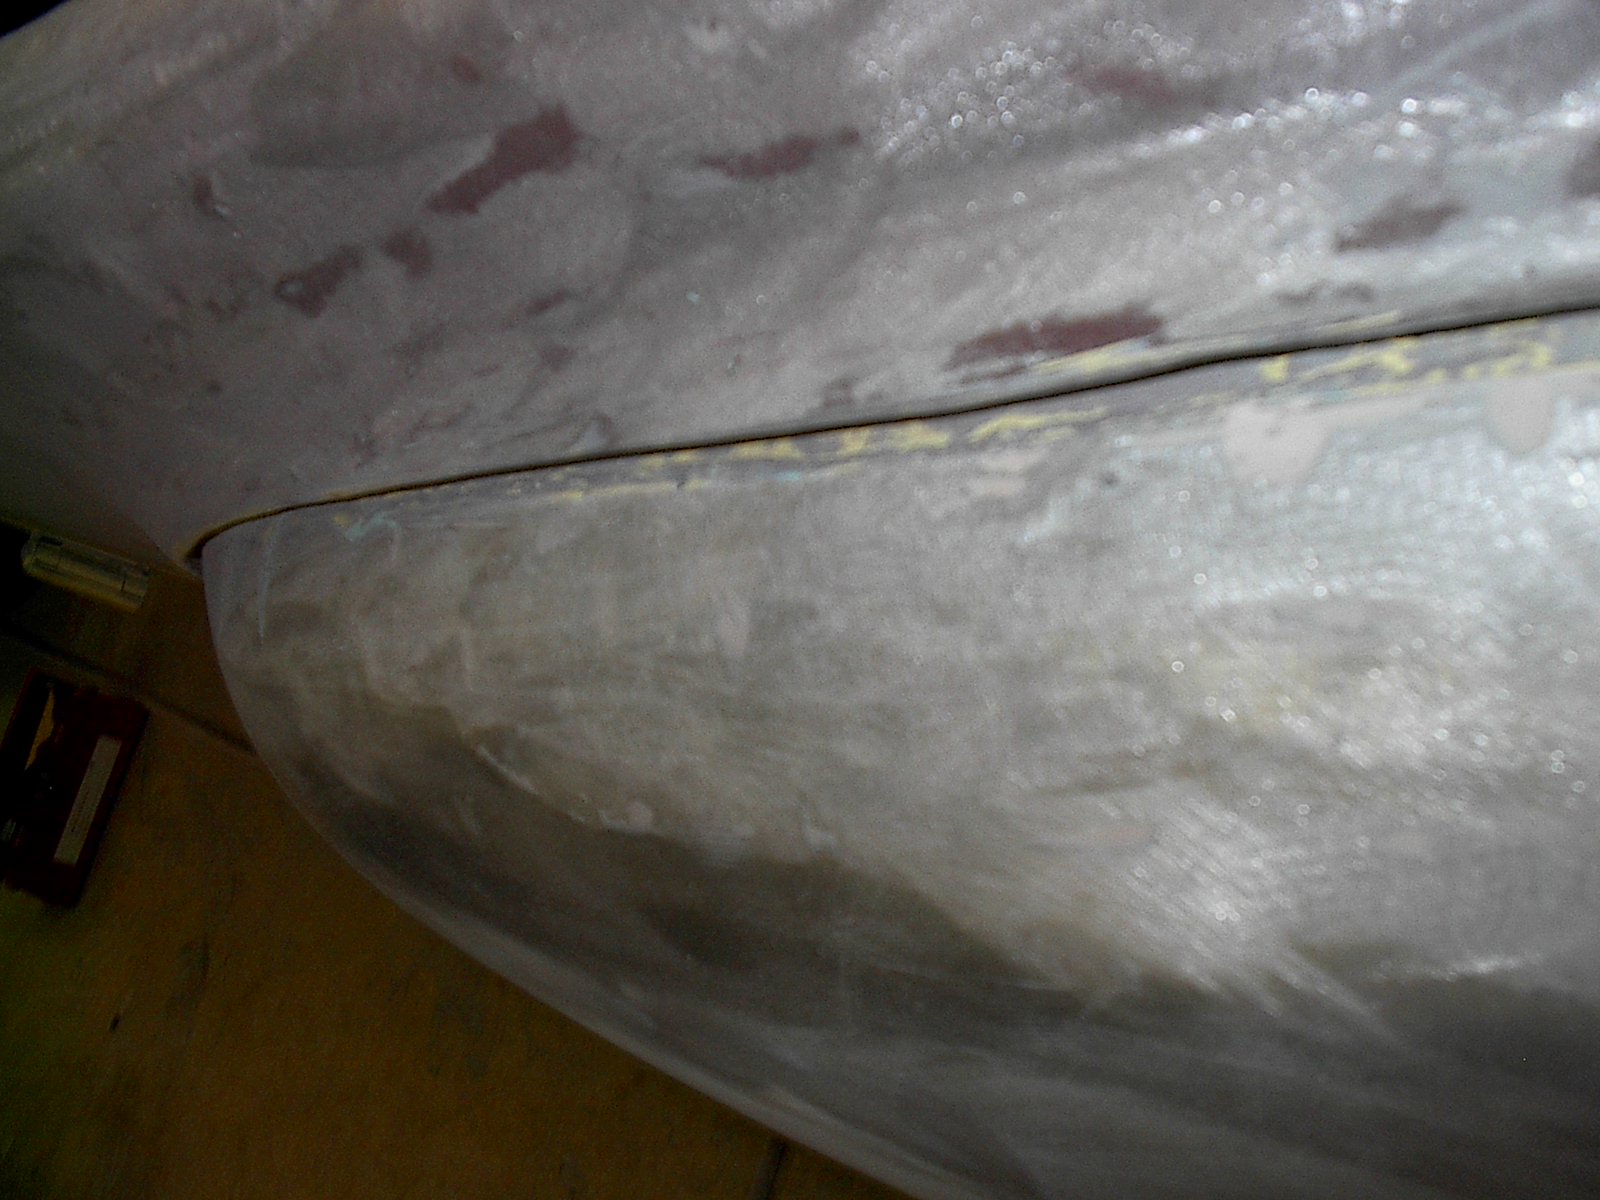
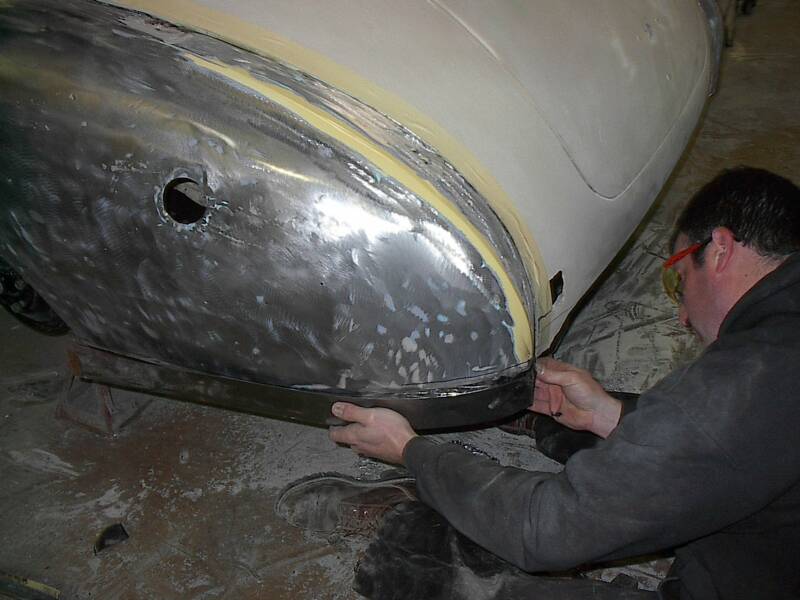
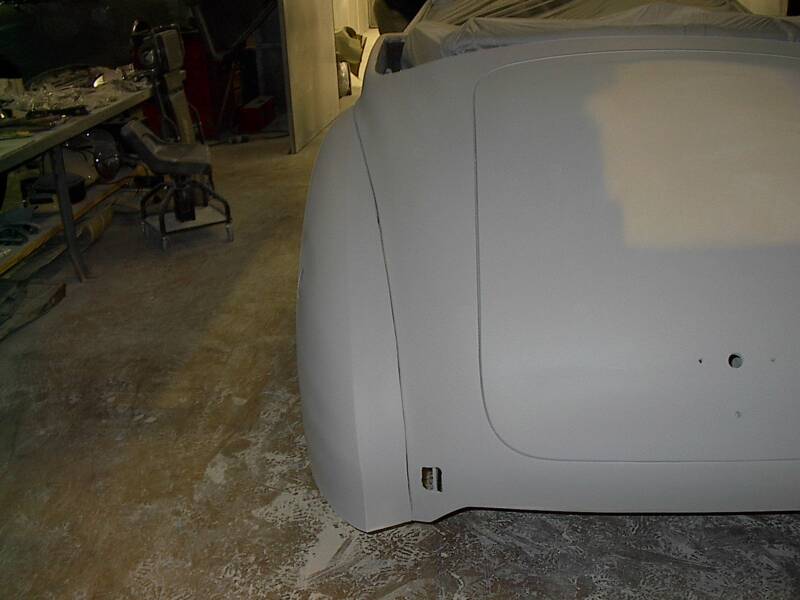
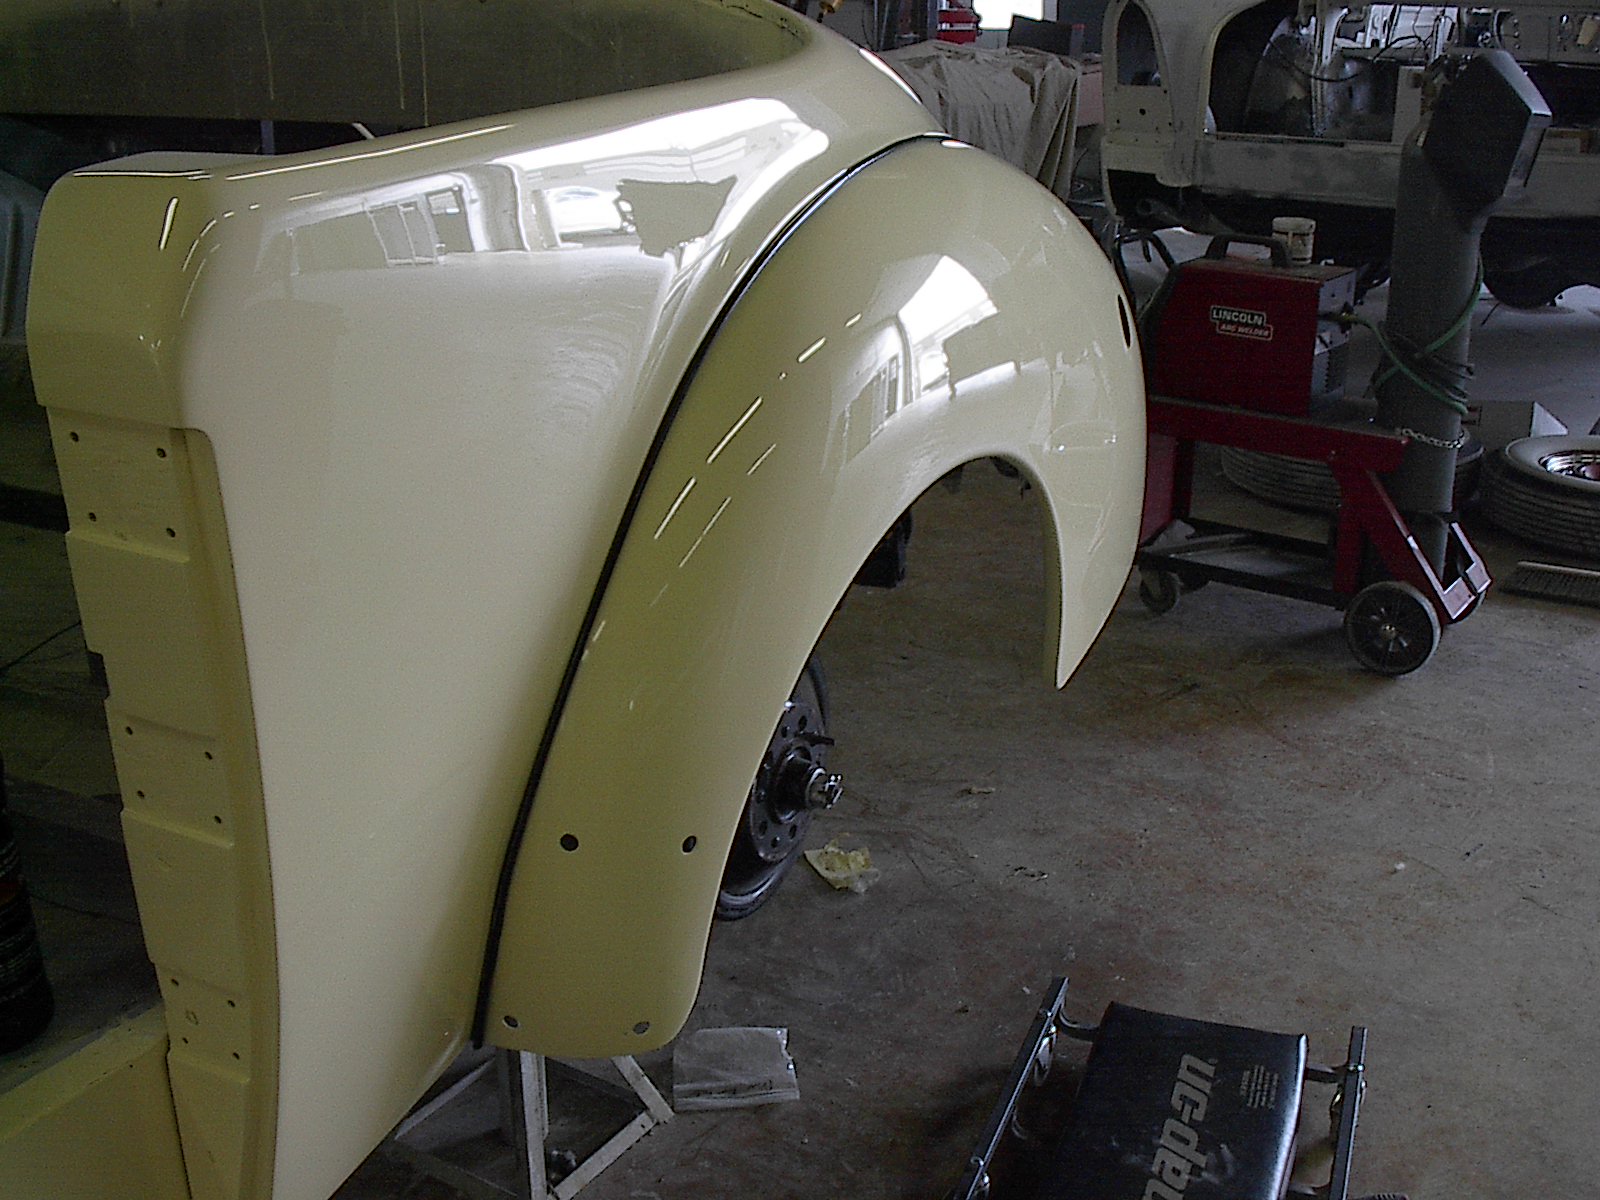
When the fender welt is pulled and the paint is drawn back, it is clear a lot of lead was used to close this gap on the driver's side rear fender seam.
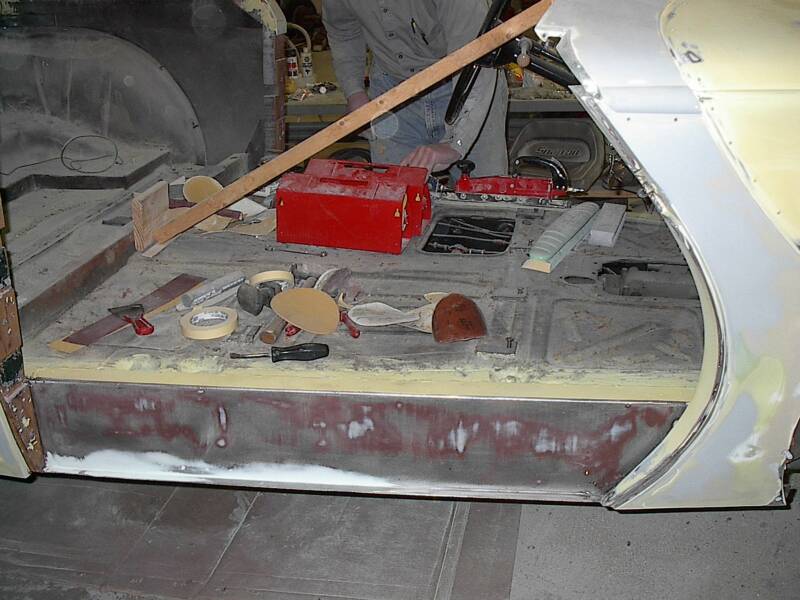
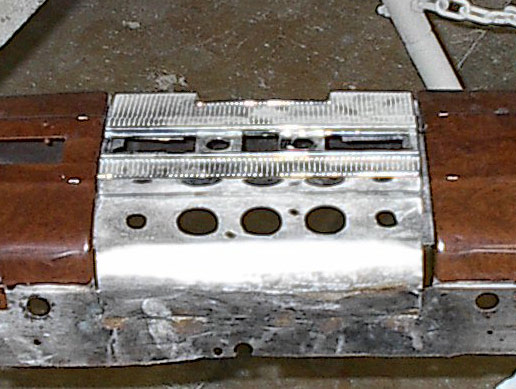
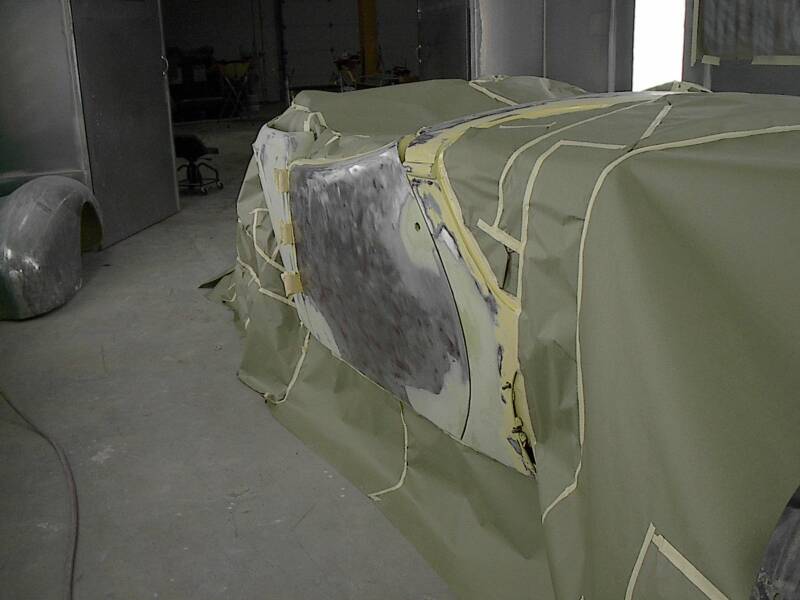
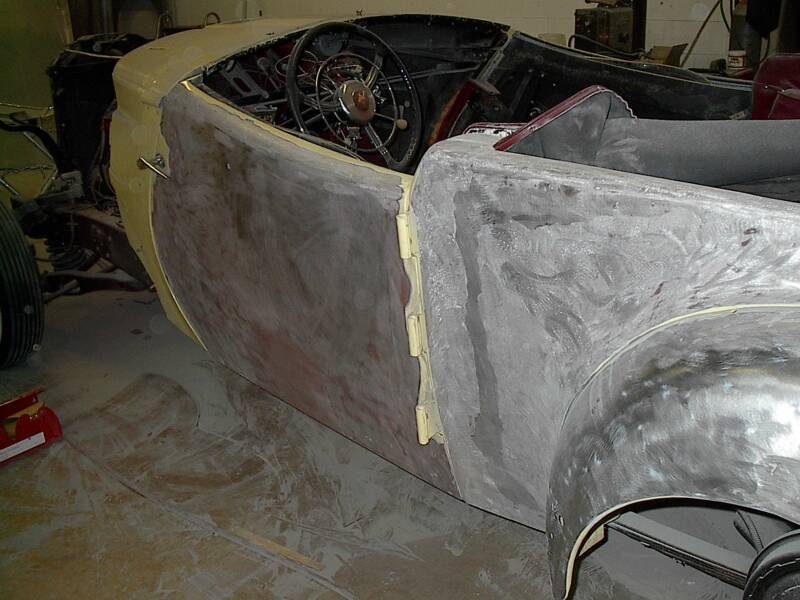
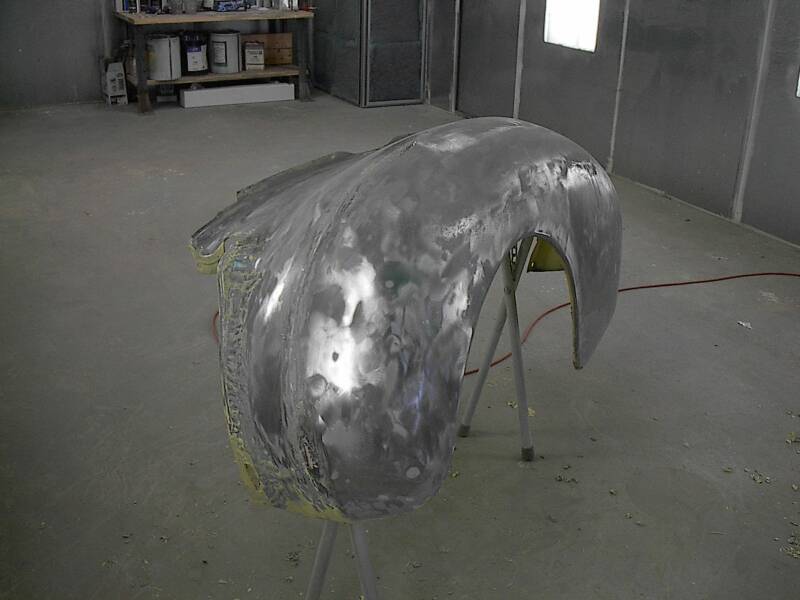
The paint stripping process carries forward to the rear quarters and the doors on both sides of the car. In the picture on the bottom right, you can see a lot of lead was used to smooth the body metal on the rear quarter.
Week 3
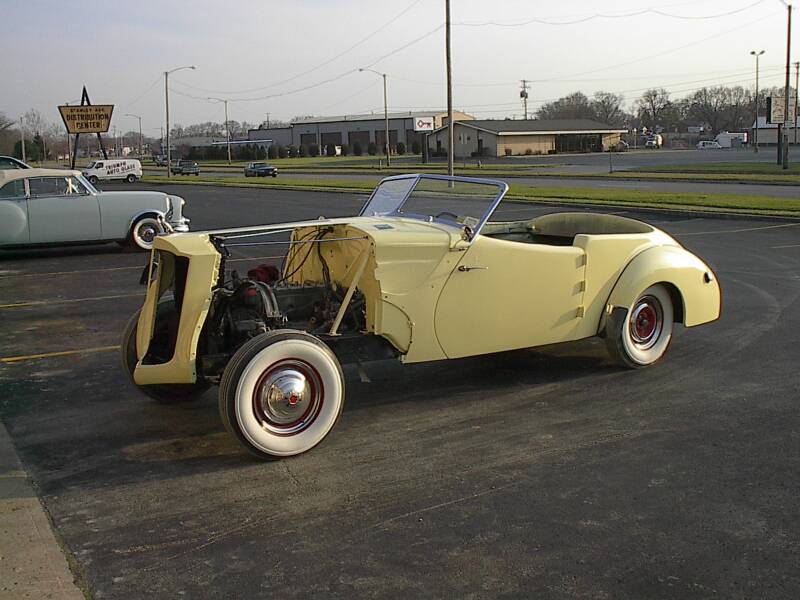
Just so we have a perspective about how far we have come in a few short weeks, here is a picture of the car from before the disassembly stripping and refinishing.
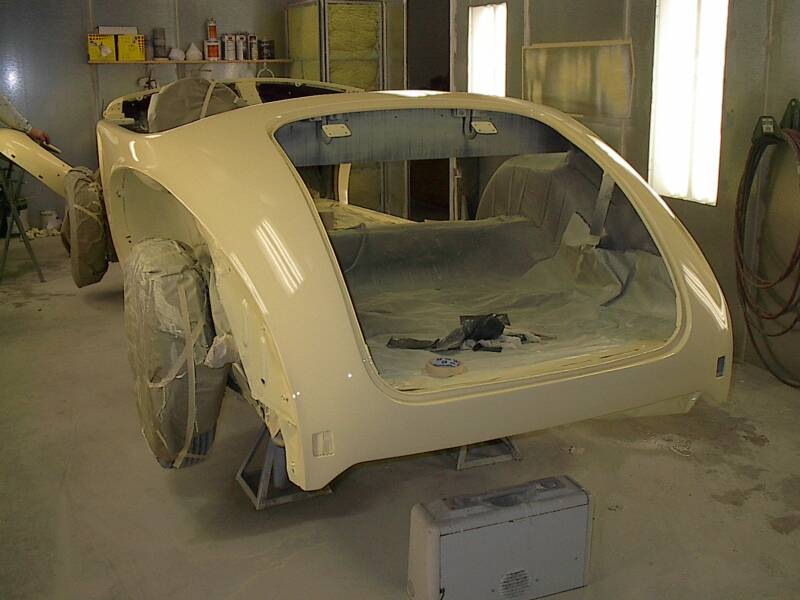
Here is the Darrin on Friday October 27th just before receiving its first coat of primer.
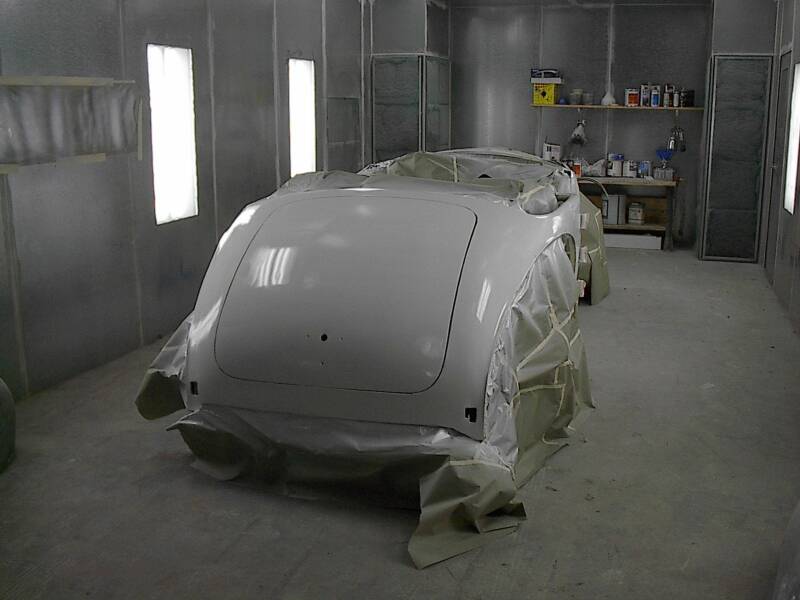
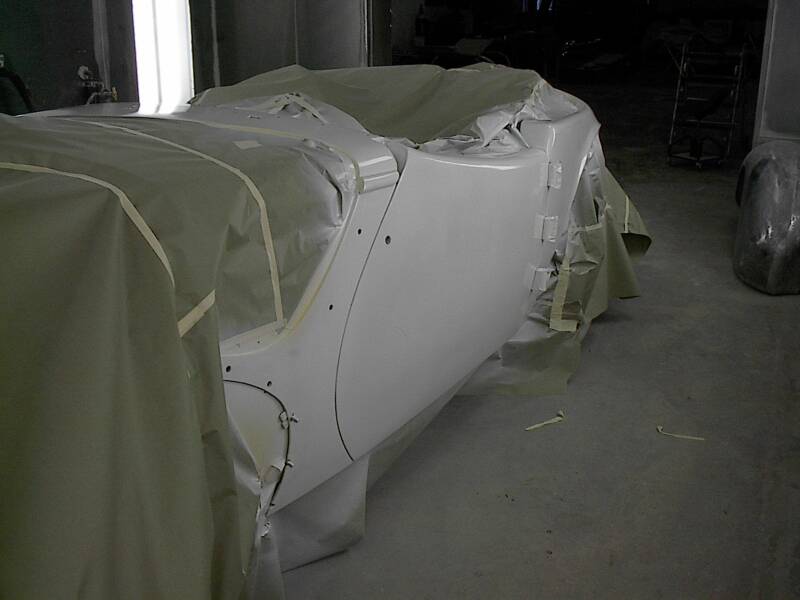
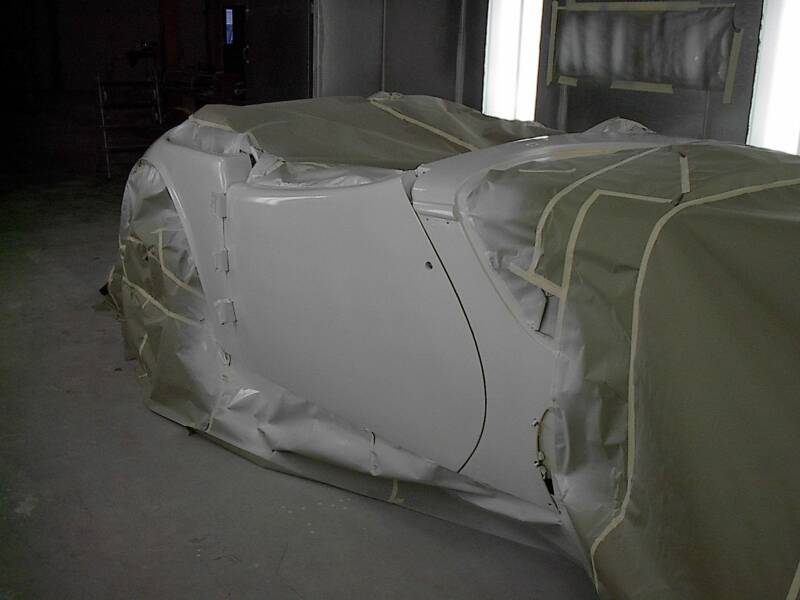
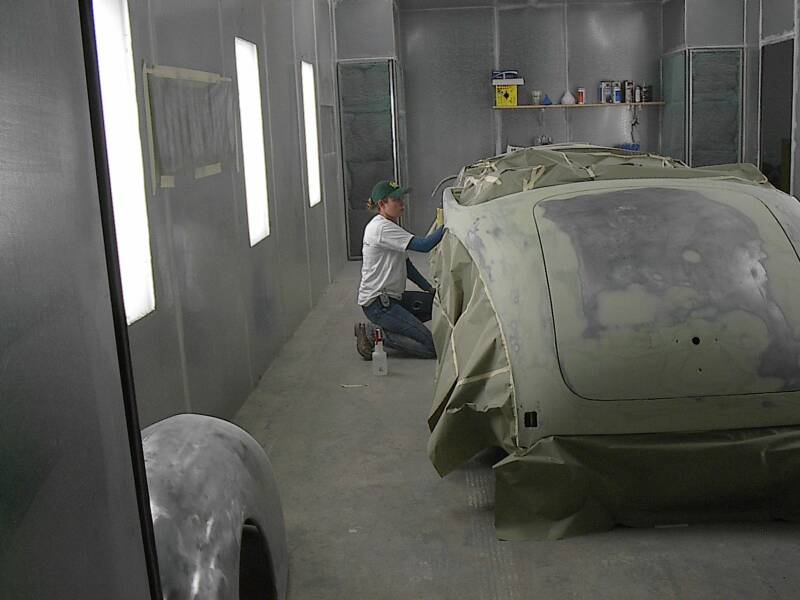
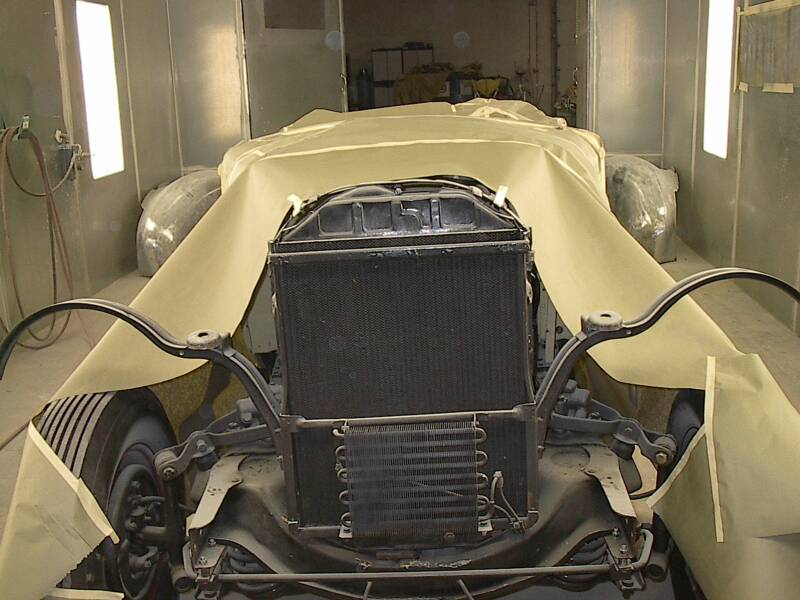
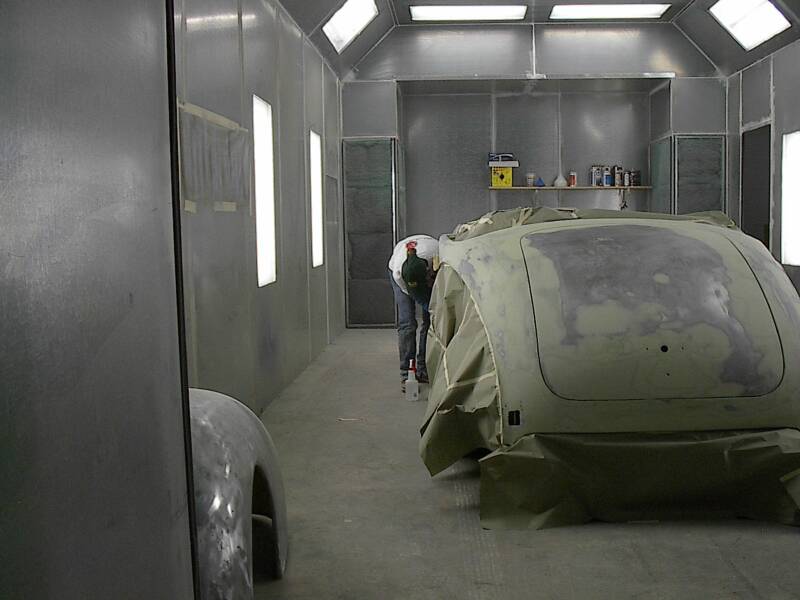
The car is rolled into the paint booth and paper and tape are put in place to prep for the first coat of primer. In the top two pictures you can see the paper covering those areas which are not going to be painted.
In the bottom two pictures Leia applies a cleaner which strips oils and dust from the car so that the paint will stick perfectly to the body.
Week 4
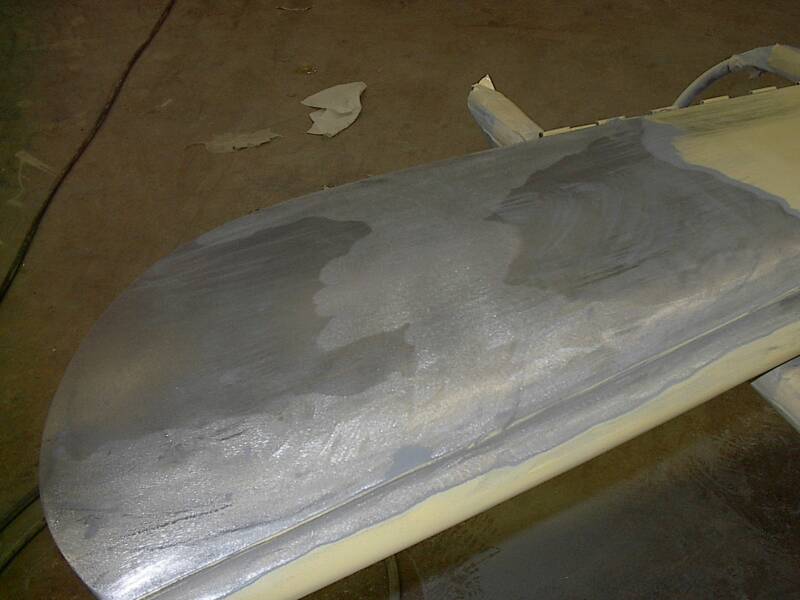
Here is the Darrin on Thursday, November 2nd just before receiving its second coat of primer. This coat is a primer/surfacer high build paint which allows final blocking and smoothing.
The first shot is of the back end of the Darrin in its second coat of primer and initial final block sanding. The remaining three pictures show the results of the first coat of epoxy primer.
A view of the driver's side after the second primer has been put on the exterior surfaces of the car. The cowl does not need as much resurfacing because it is aluminum and covered by the hood.
Week 5
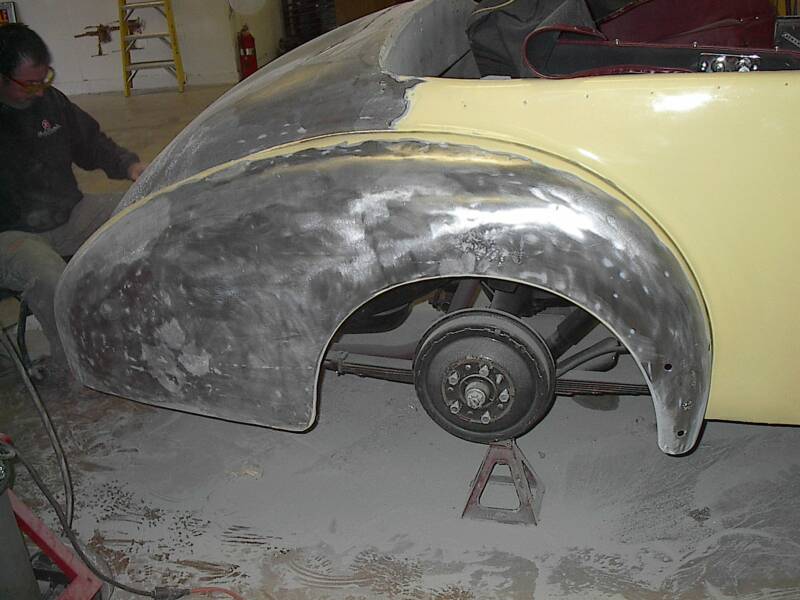
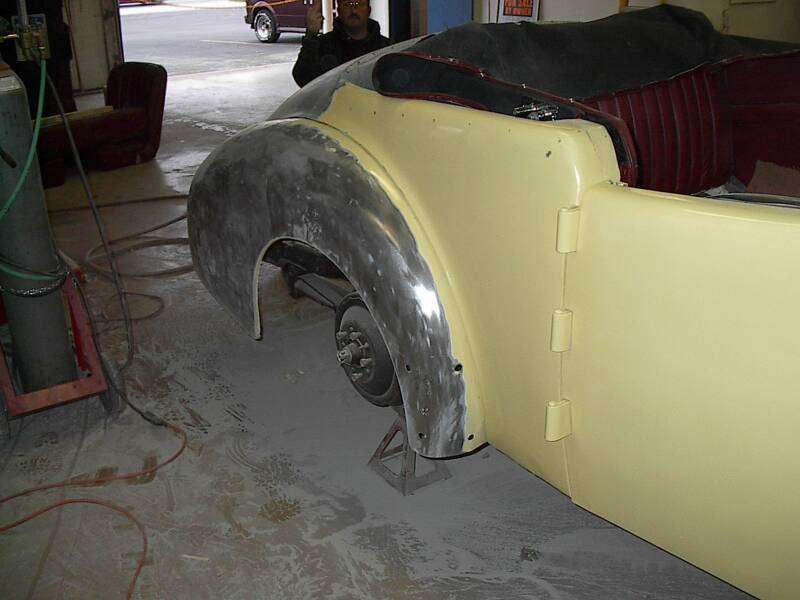
After the second stage primer, the fenders are fit back onto the quarters and work begins on the fender's fit and finish. Pat replaces a piece of bad metal on the skirt of the driver's fender.
After welding and grinding, the new piece is leveled to the rest of the car with fiberglass resin. The resin is use in place of the lead which was used in previous restorations of the Darrin.
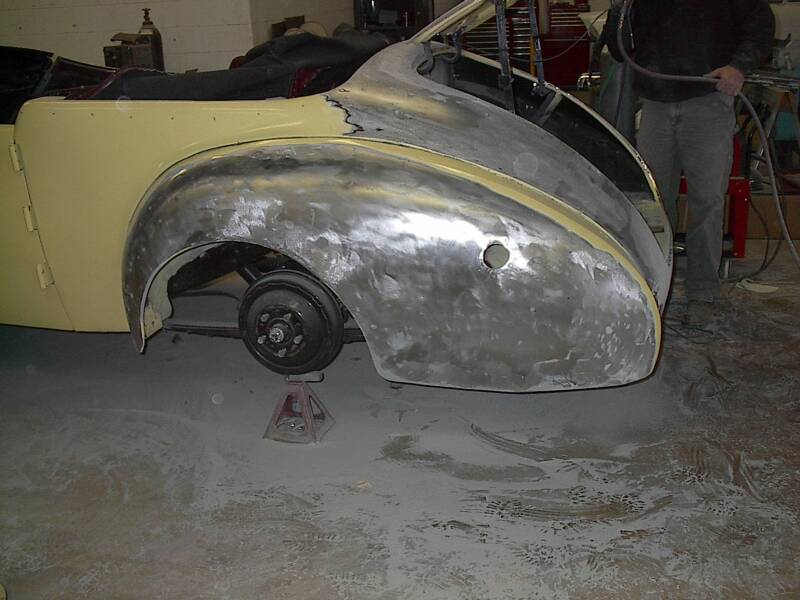
Once the rough shape has been established, work begins to reshape the top edge line of the fenders. In the top left you can see the edge taking shape. In the top right the old lead which shinier and ridge line is lost at the back of the fender. In the bottom two pictures you can see that the bottom point on the left side has been achieved and the point on the right is still rounded.
Week 5
Top two:
The rear fenders are really looking great. The lines are clean. The fit is tight.
Bottom two:
As work progresses towards the front of the car we attack the grill shell which reveals the patches where our Darrin had some round air vents at one point in its life. These vents were removed during a restoration in the 1990s.
The rear fenders received a high build primer for finish block sanding.
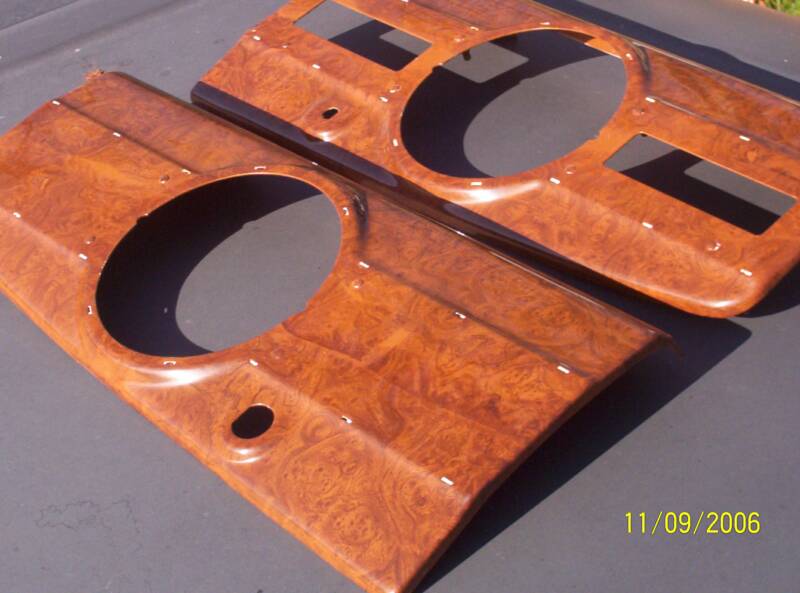
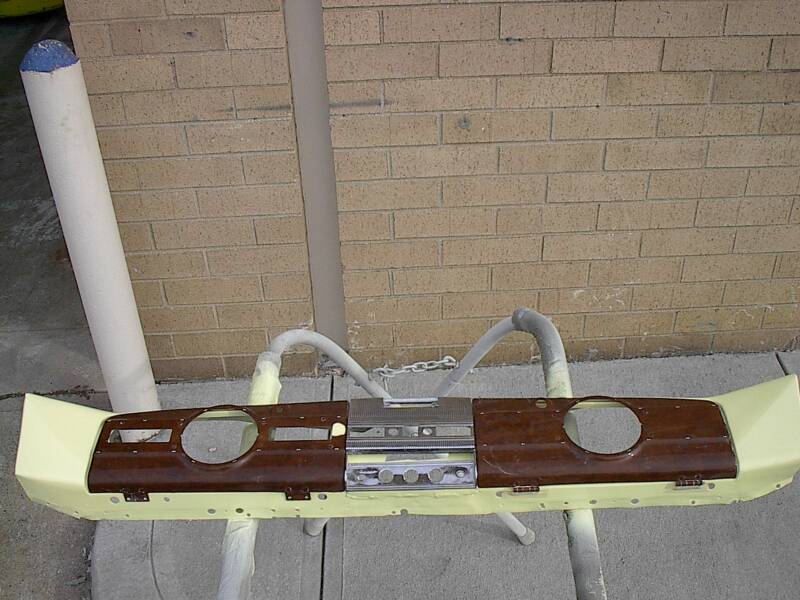
A kernel of goodness arrives from the woodgrainer Patrick Goss of Woodgrain by Estes. Beautifully restored Carpathian burl dash pieces.
Week 6
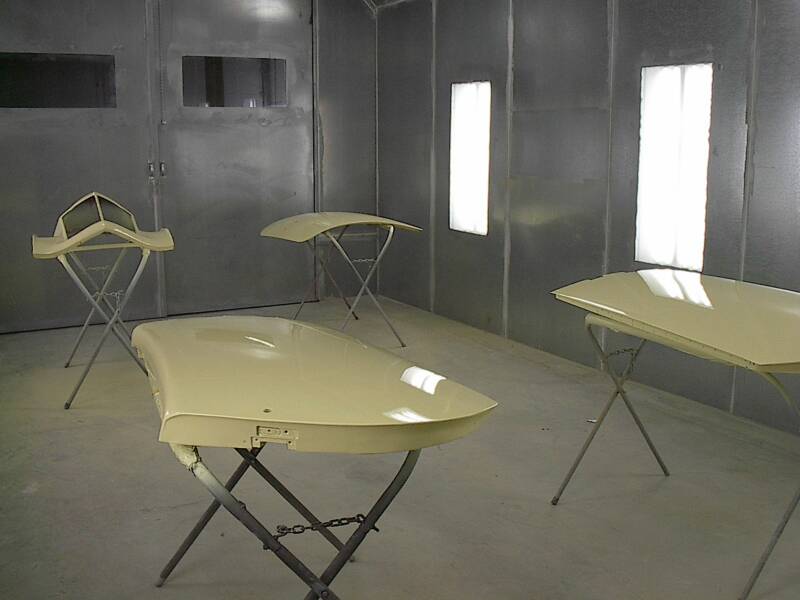
Once a small amount of metal work was done to this shell, it received this coat of primer, minor feather fill and sanding to prep for final paint.
The Darrin receives a coat of primer. The car is really coming together. Next week the whole car will get final paint and work can begin on the front fenders and hood.
Week 7
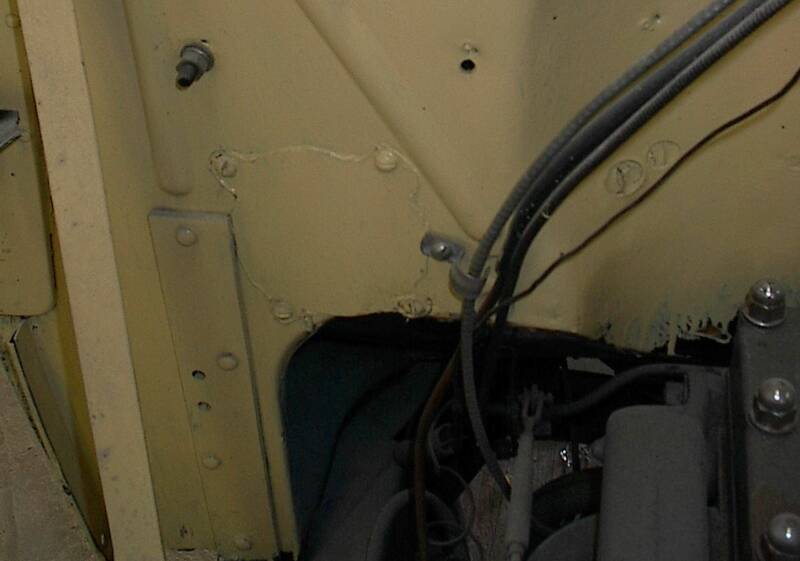
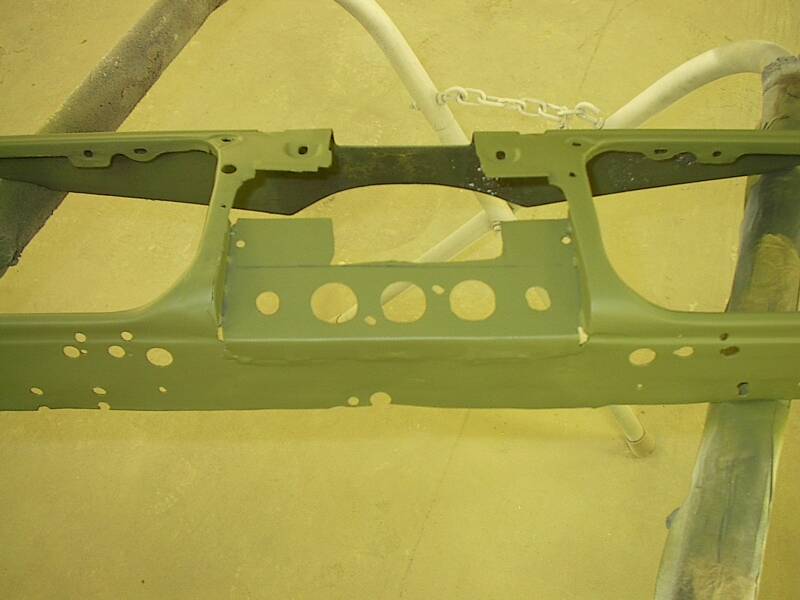
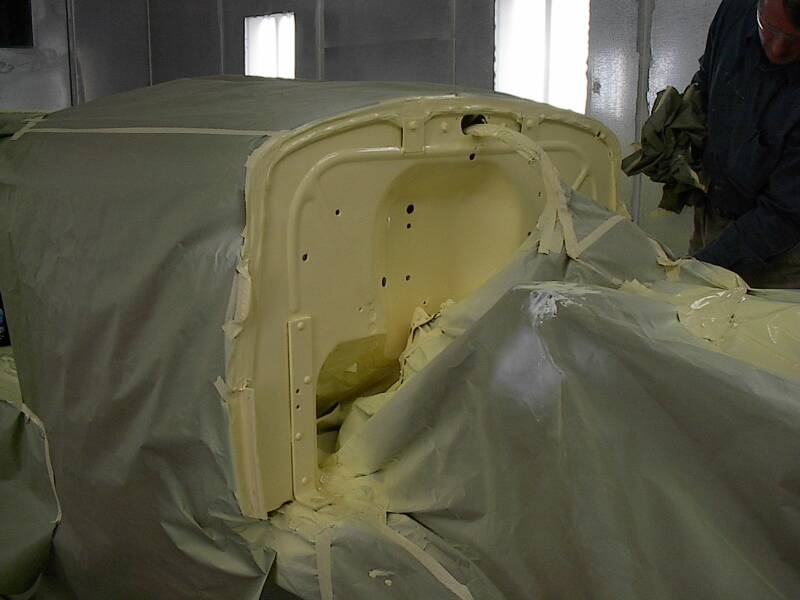
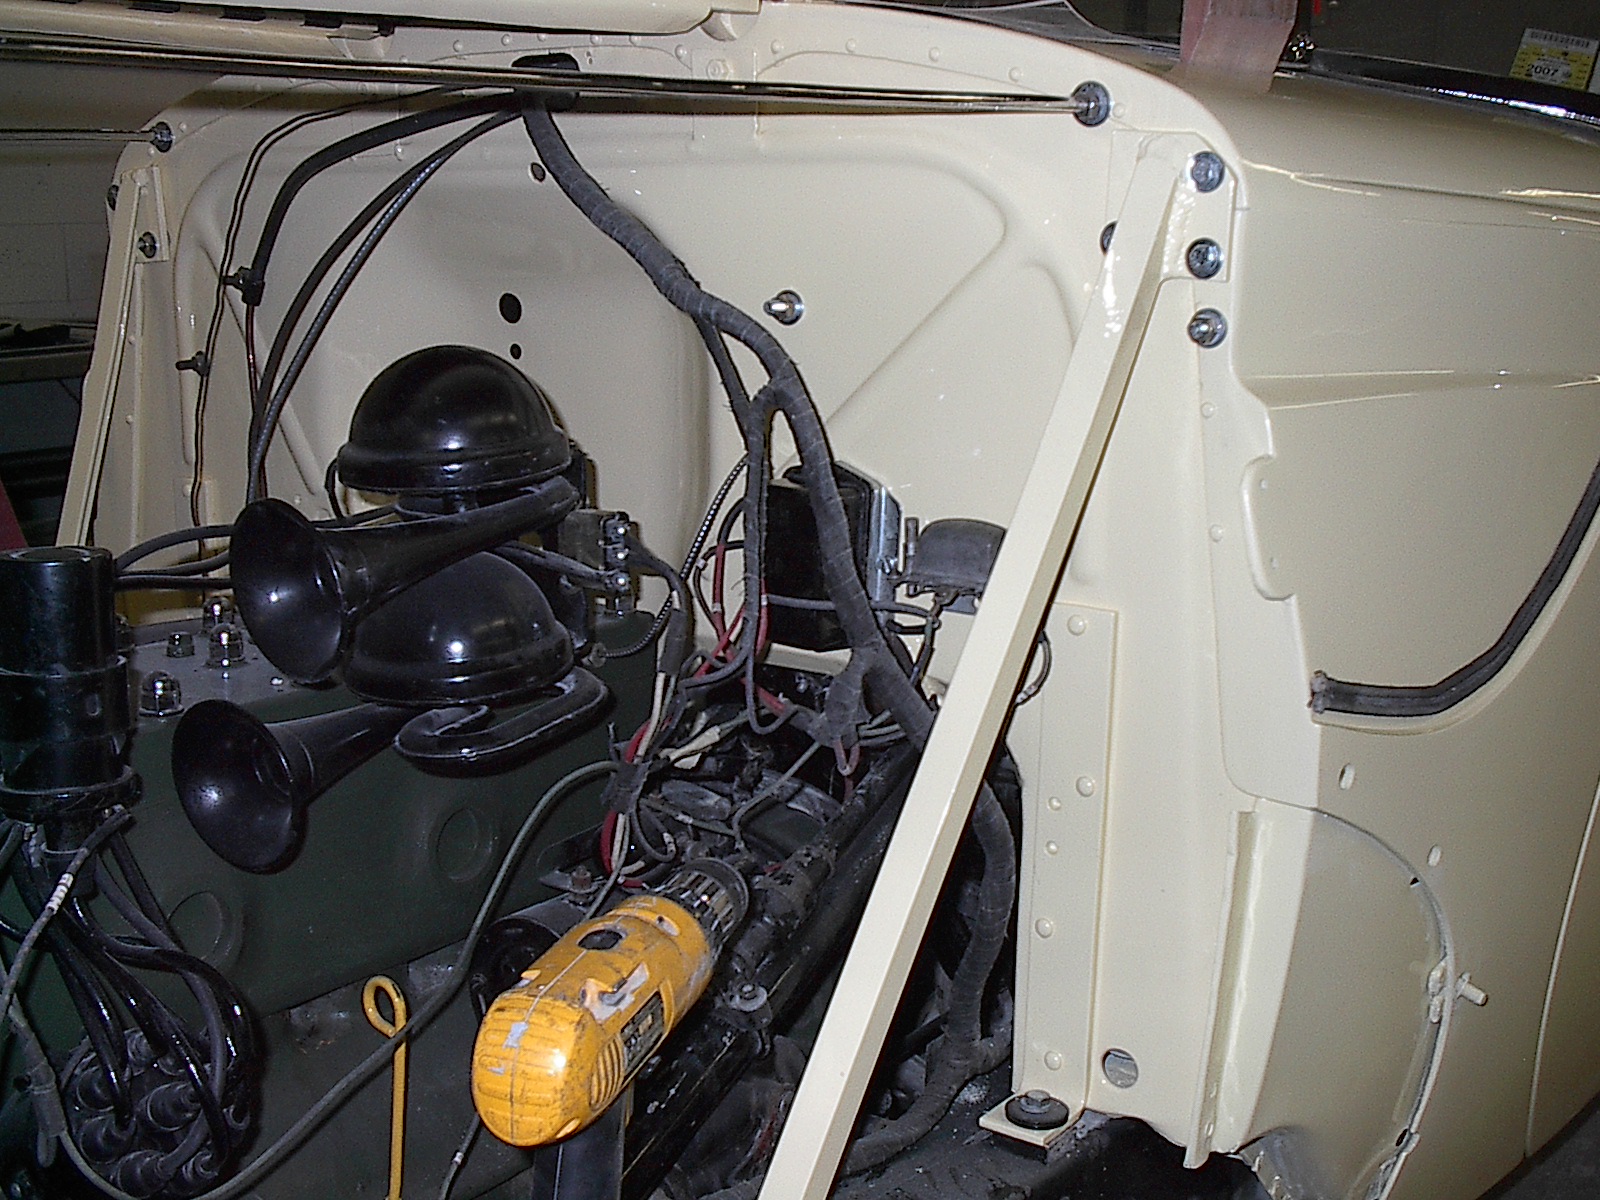
Our Darrin had unique vents which ran from the grill shell to the firewall. The holes in the firewall were covered with plates. These were removed and a proper patch weld takes the firewall back to original. The engine compartment will get a complete detailing. In the bottom two pictures, the door jam rails get stripped smoothed and ready for paint.
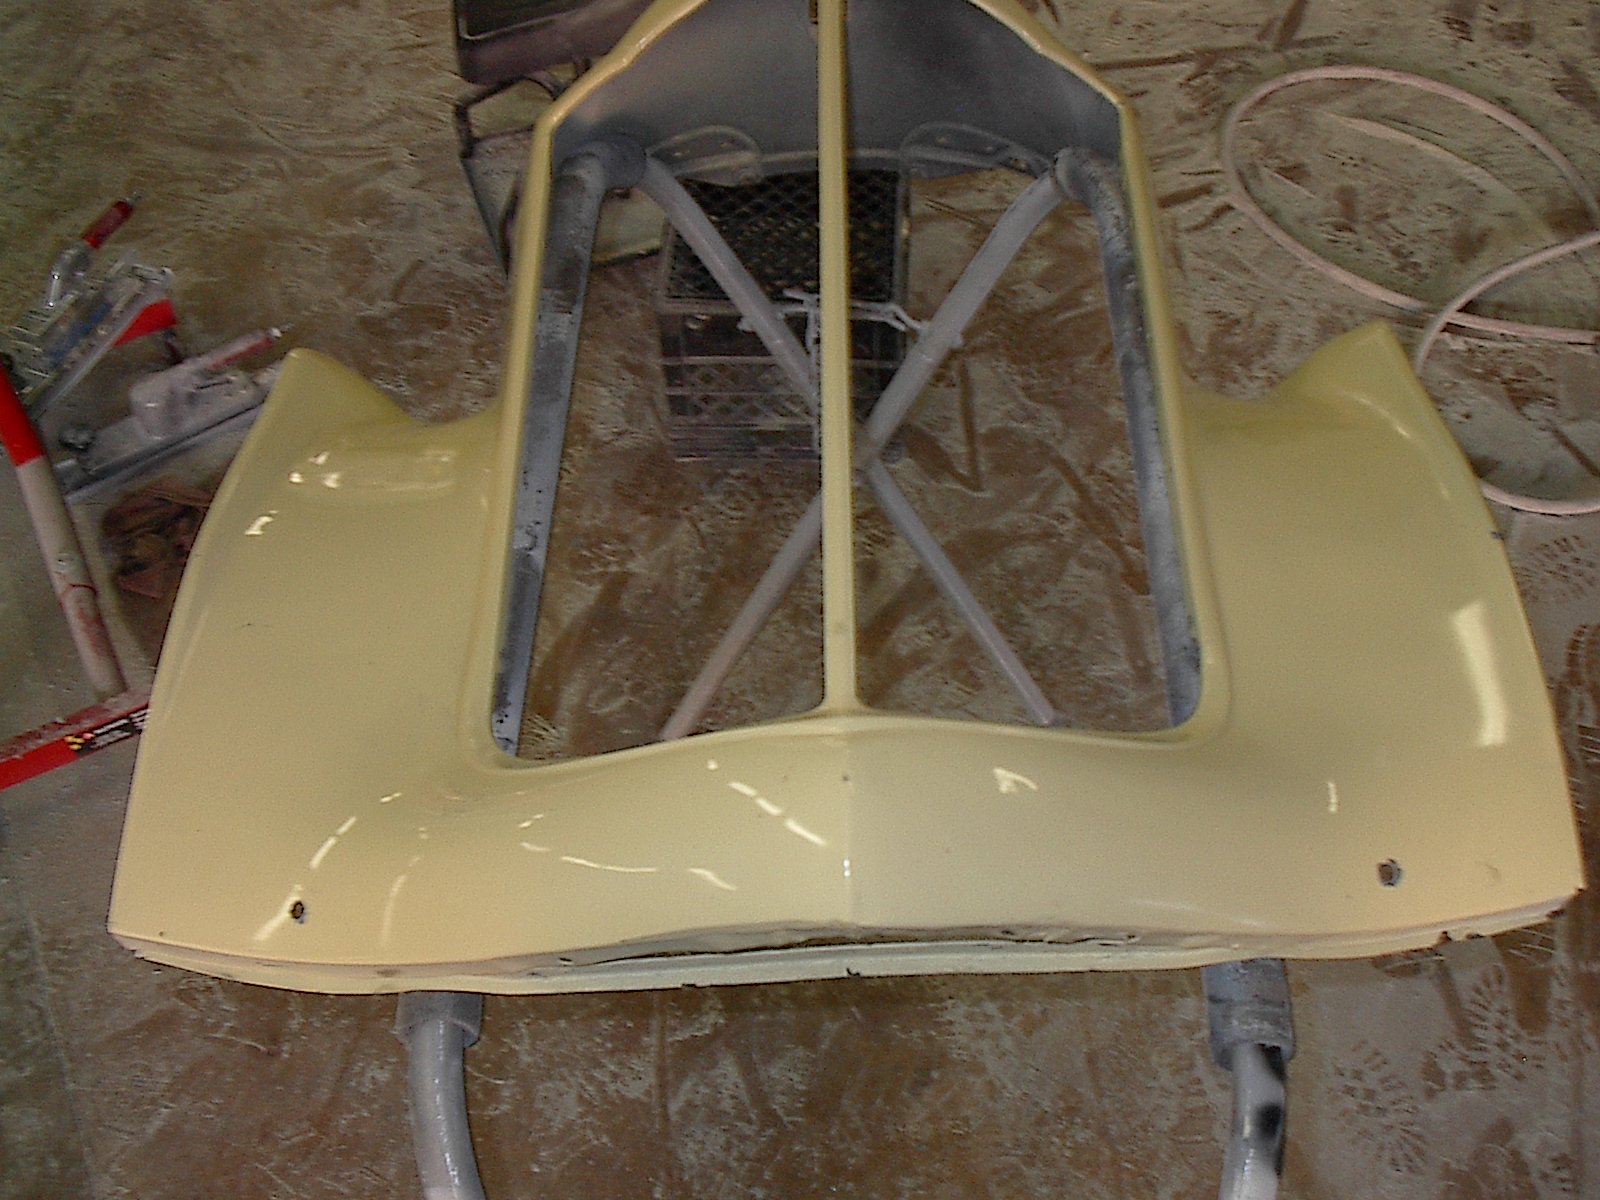
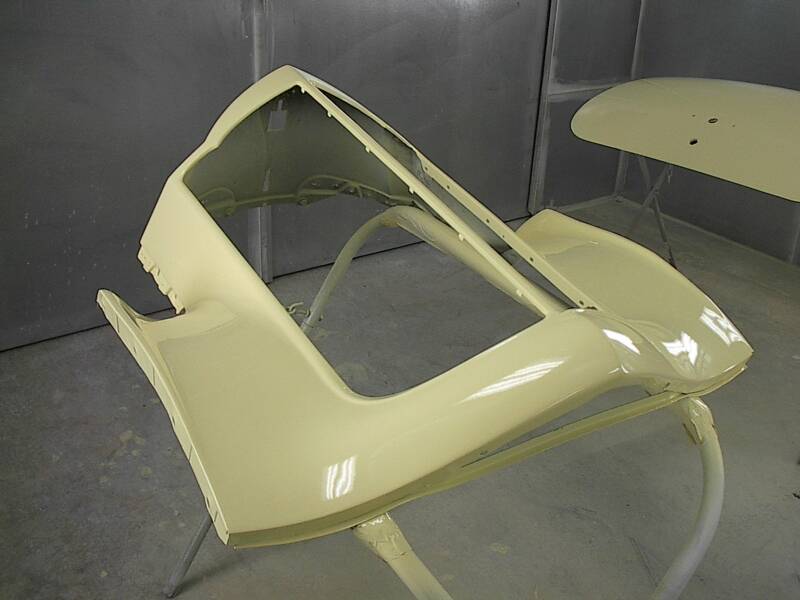
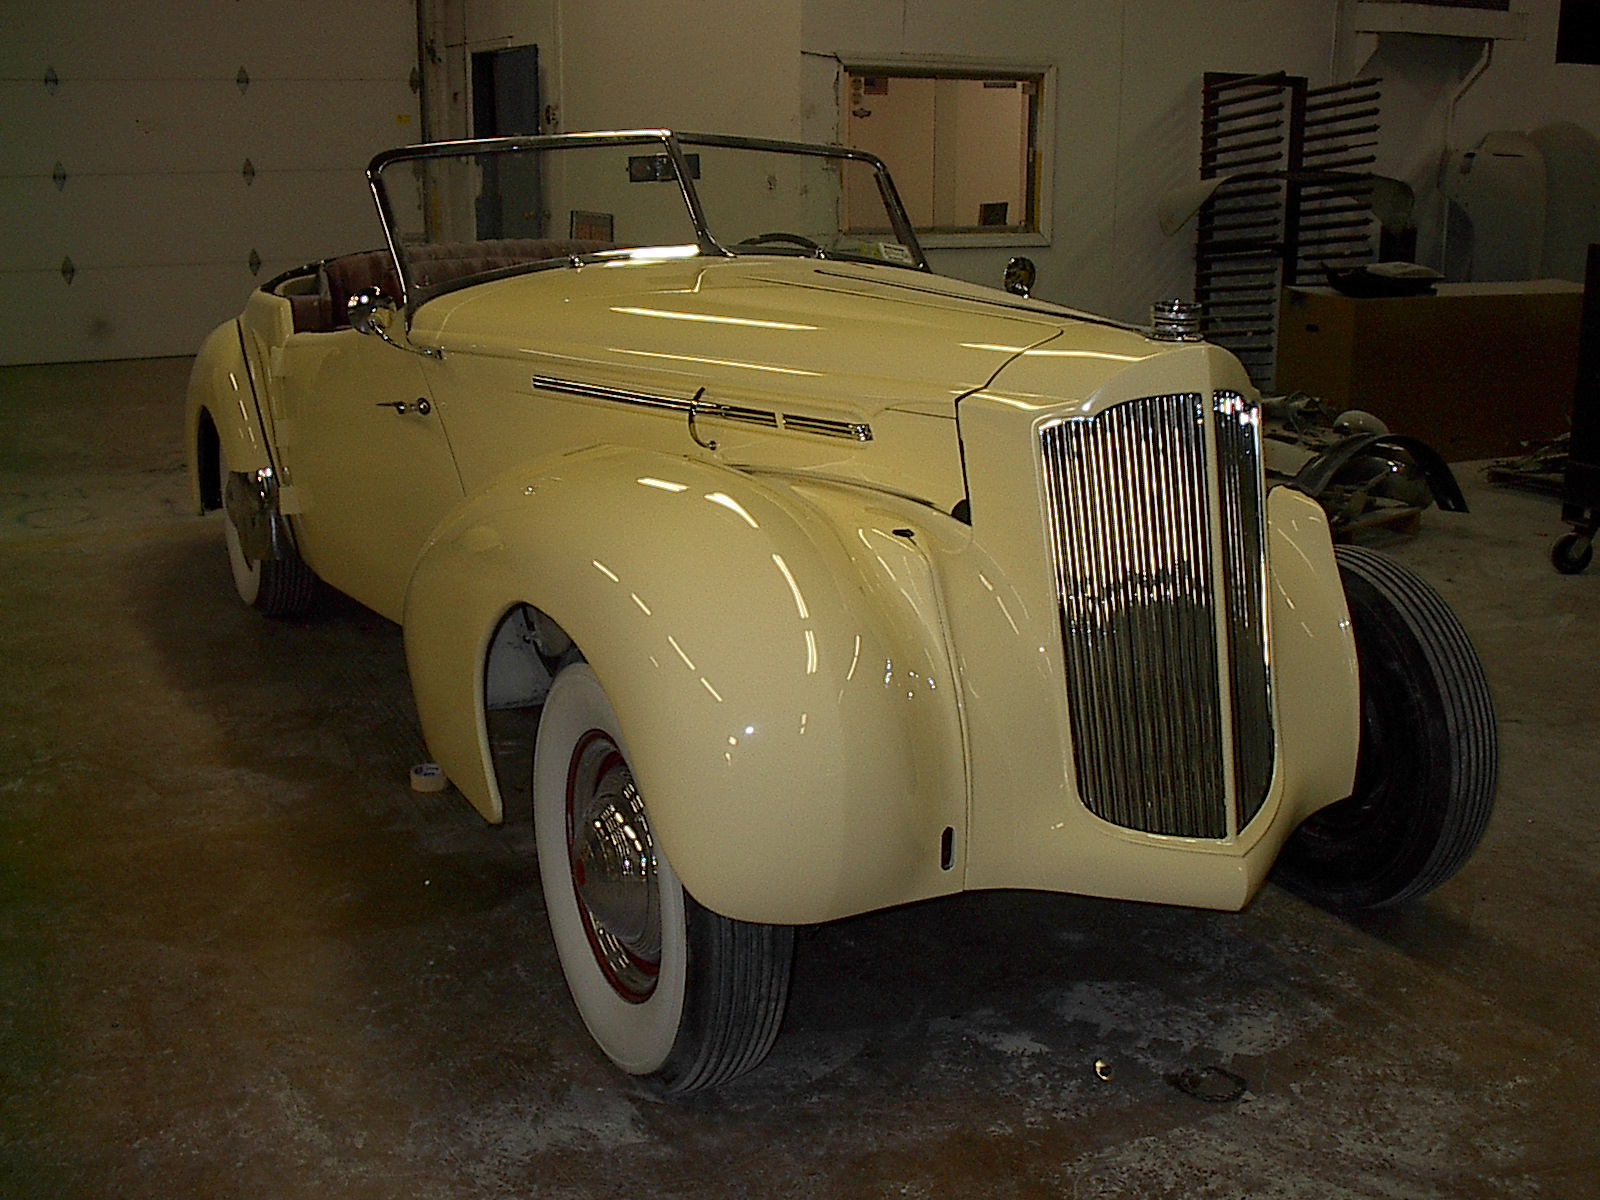
After primer, the grill shell gets its final paint color. In this case, Fender Guitar Yellow is the chosen color of the car.
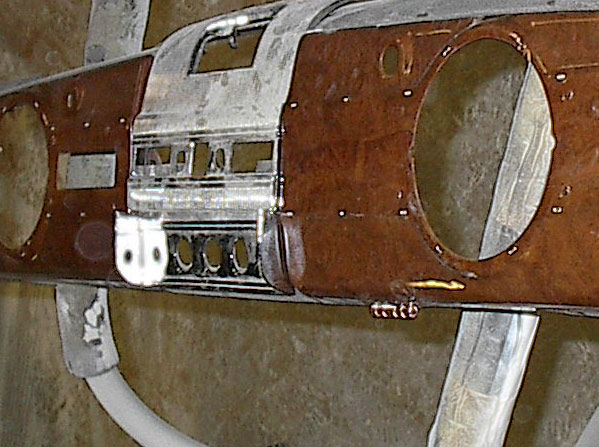
Here is the dash in final paint with the wood grain pieces and center chrome in place. All aspects of the project are really starting to come together.
Week 8
Week 9
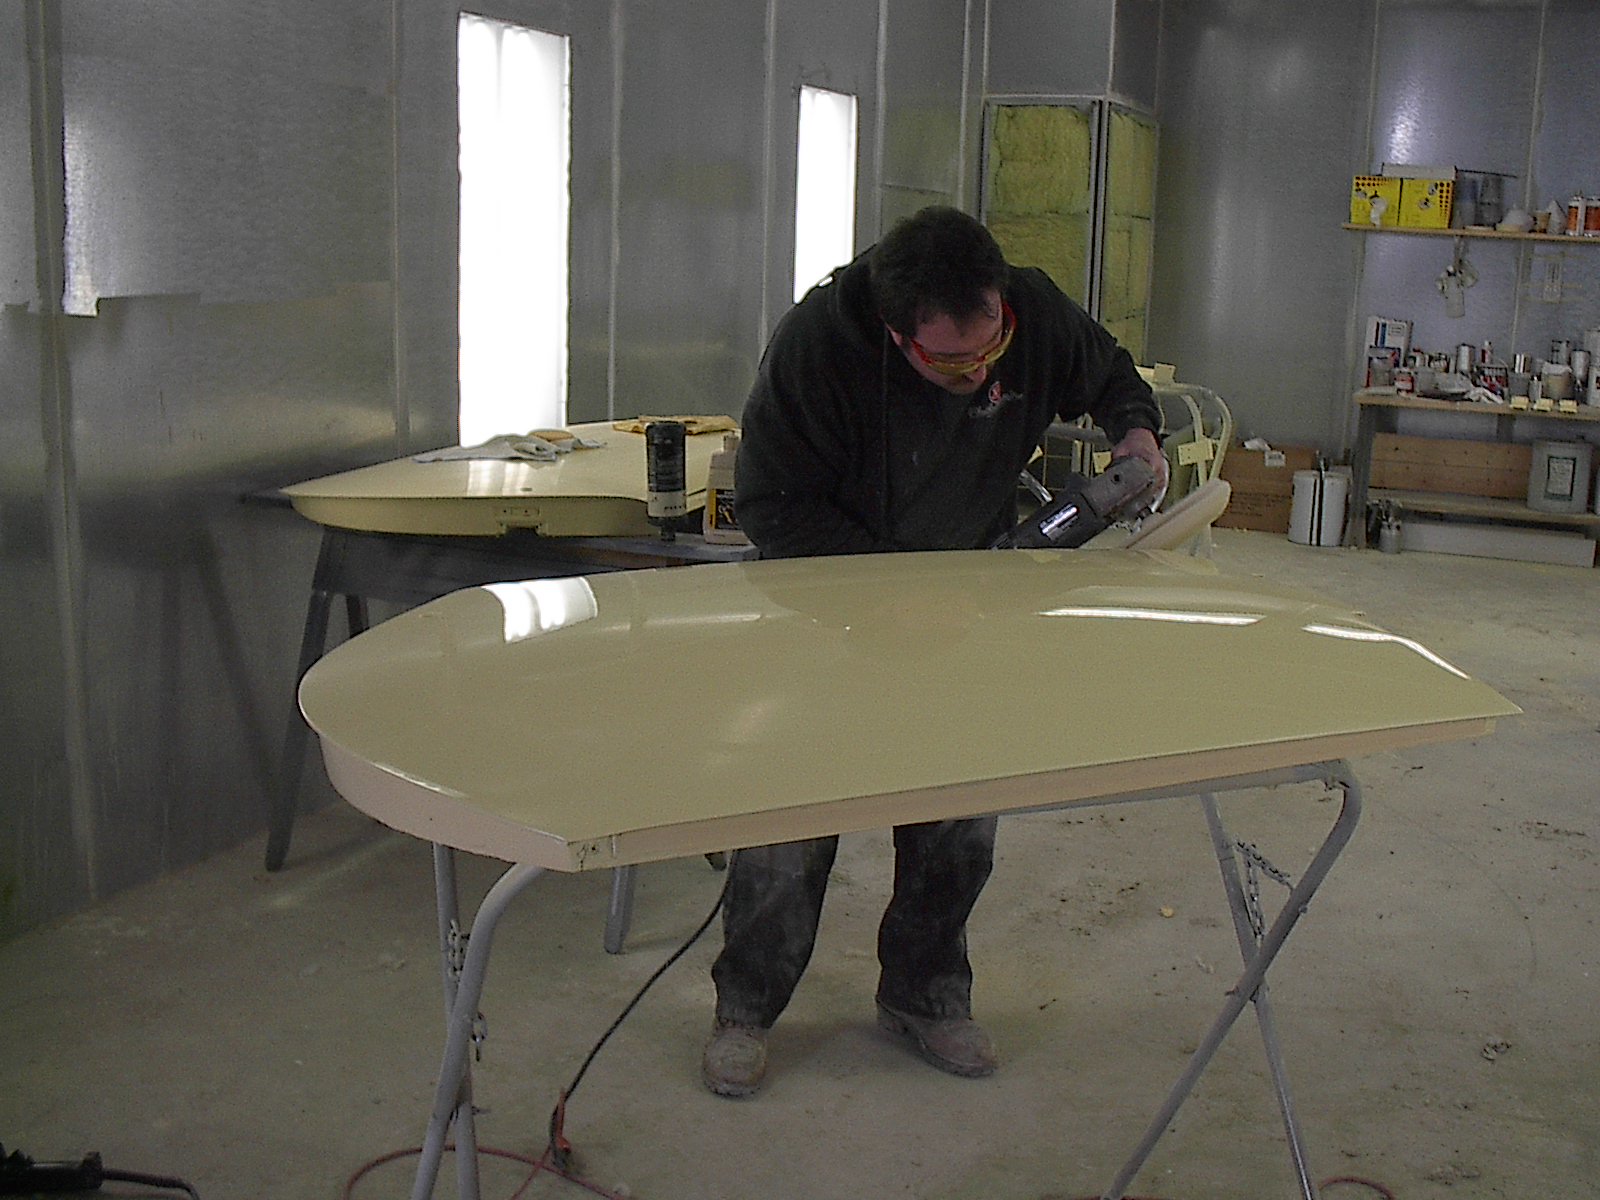
Once the first two coats go on the entire car and all the painted parts get wet sanded with 1000 grit paper before applying two more coats to achieve that show quality finish.
Every exterior piece gets a final coat of epoxy primer sealer and then two coats of the final body color, Fender Guitar Yellow. Here you can see the dramatic changes which occur in just a few short hours from one color to the next.
Here is a shot of the firewall getting wet-sanded and prepped for its final coats of paint.
Our 1939 Darrin after its third and fourth coat of paint. The picture does not do justice to how rich and deep the color is on this car. After this beauty has been buffed out, it will truly be a show quality car.
Here is a shot of the back end of the car before buffing out the final paint. Already we are seeing clear reflections. This beauty is going to shine.
This shows both rear fenders back on the car with the correct black welting specific to the Darrin built Packards.
Finally the time has come to start putting all the freshly painted body pieces back on the car. Everything has been buffed to a deep shine prior to this point. This a is a wonderful feeling to have the car on its way to going back together. Here is the driver's side rear fender being reinstalled on the car....What a beautiful sight!!
Week 8 Continued
Week 9 continued
Here, Pat is buffing the driver side door.
Buffing paint brings out the shine and gives it a mirror like finish after the color sanding process to make the paint surface smooth and even.
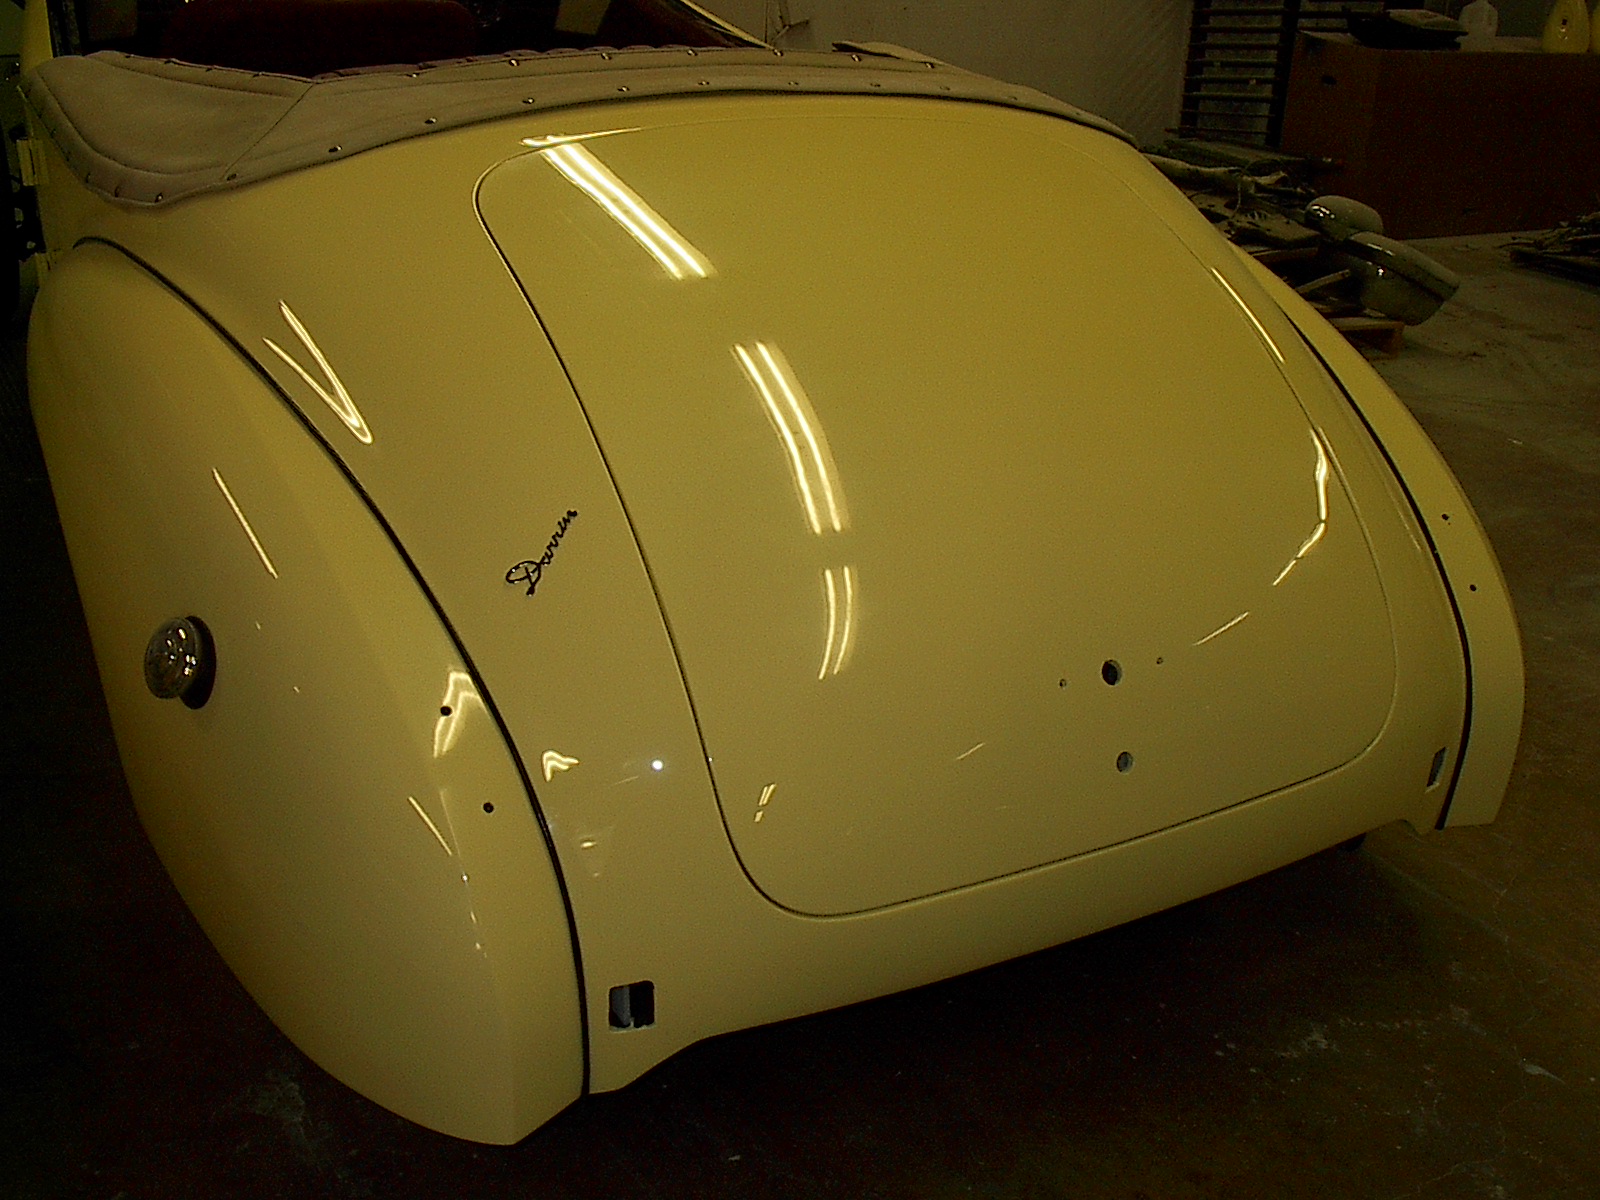
The time has come to install the trunk back on the car. The Darrin is starting to look like a car again instead of a pile of beautiful parts anxiously awaiting the reunion with the body of the car. We can almost hear the wind in our hair and the hum of the tires as we drive down the highway once again.
In this Darrin's previous restoration a modification was made to seat the lower knobs so that they would sit flush with the 40s super dash. To correct the problem the metal behind the chrome had to be relowered to its original position so that the dash pieces would be flush. The top pictures show the dash before and the lower two pictures show the dash restored to the right depth.
Week 9 continued
The grill surround, radiator, hood center and hood ornament are placed back on the car. This car is really starting to come together now. Looks like we have finally hit the home stretch.
The sun shines once again on the Darrin. We just had to roll it outside for a minute to admire the beauty of this car on a rare warm, sunny day in Ohio in the winter. The car takes on a whole other sense of beauty when the sunshine hits the new paint and really makes it known how deep and pure the color is.
Week 10
Now it is a officially a car and not just a jumble of 1939 junior parts everywhere. The vin plate is placed on the aluminum Darrin cowl.
The interior begins to go back into the car. The leather interior was in such excellent shape that we decided not to replace it. So the same maroon interior gets reinstalled (even if it is a little dusty!)
The dash is now in its proper place with its proper woodgrain sections. The steering wheel will be reinstalled after the dash is completed. The carpet on the firewall has also been installed. From this view it appears that the hood just keeps going forever!
Week 12
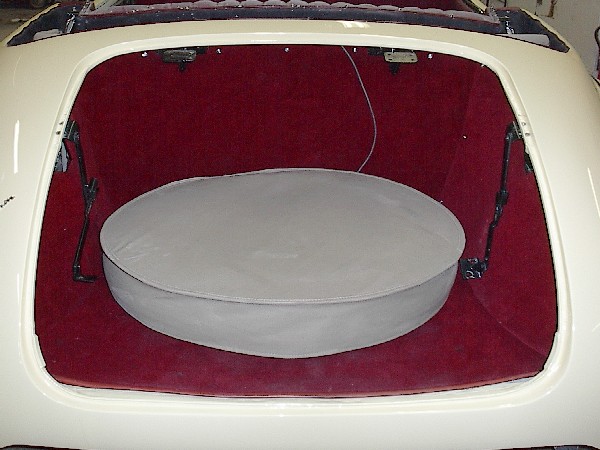
The trunk is now all back together and ready for the lid to be replaced. Even the spare tire is back and this car is almost ready for the road.
This a back view of the front seats now back in the car. The only things left to put into the interior is the drivers window, door panel and horn button and that's that (except for a good cleaning)!
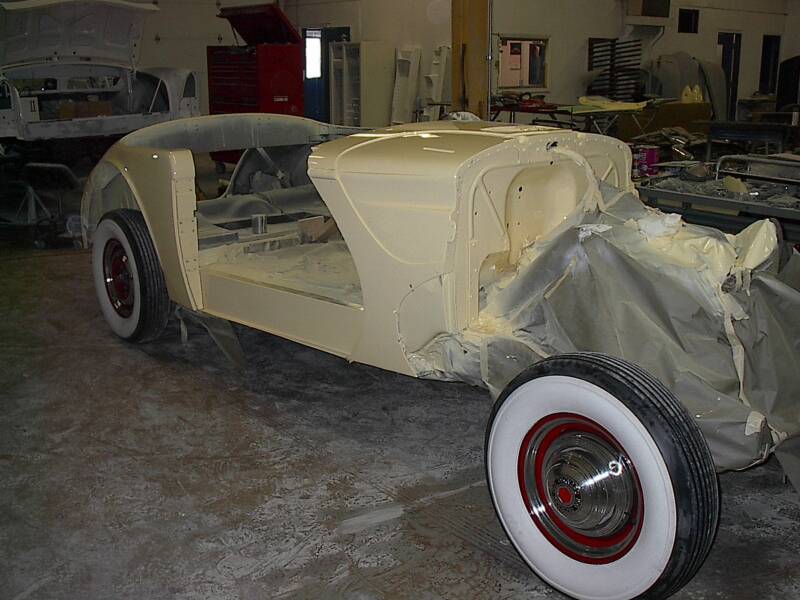
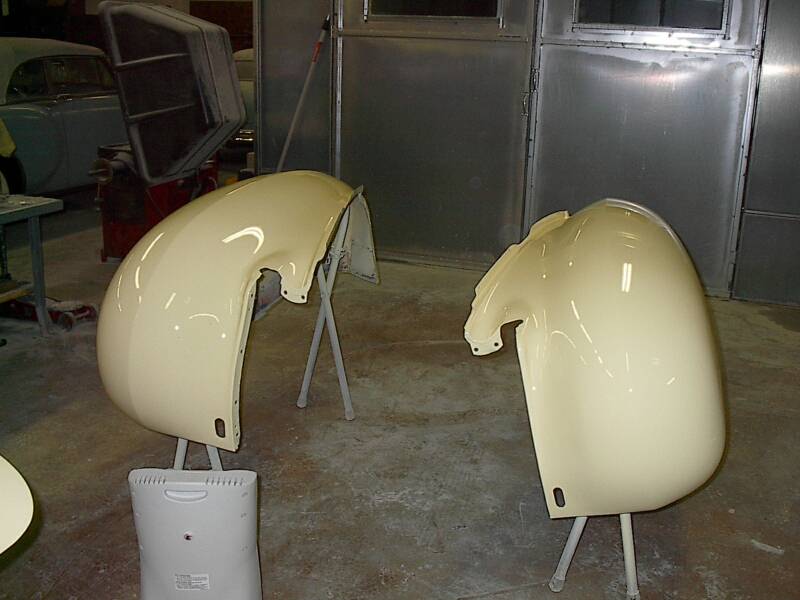
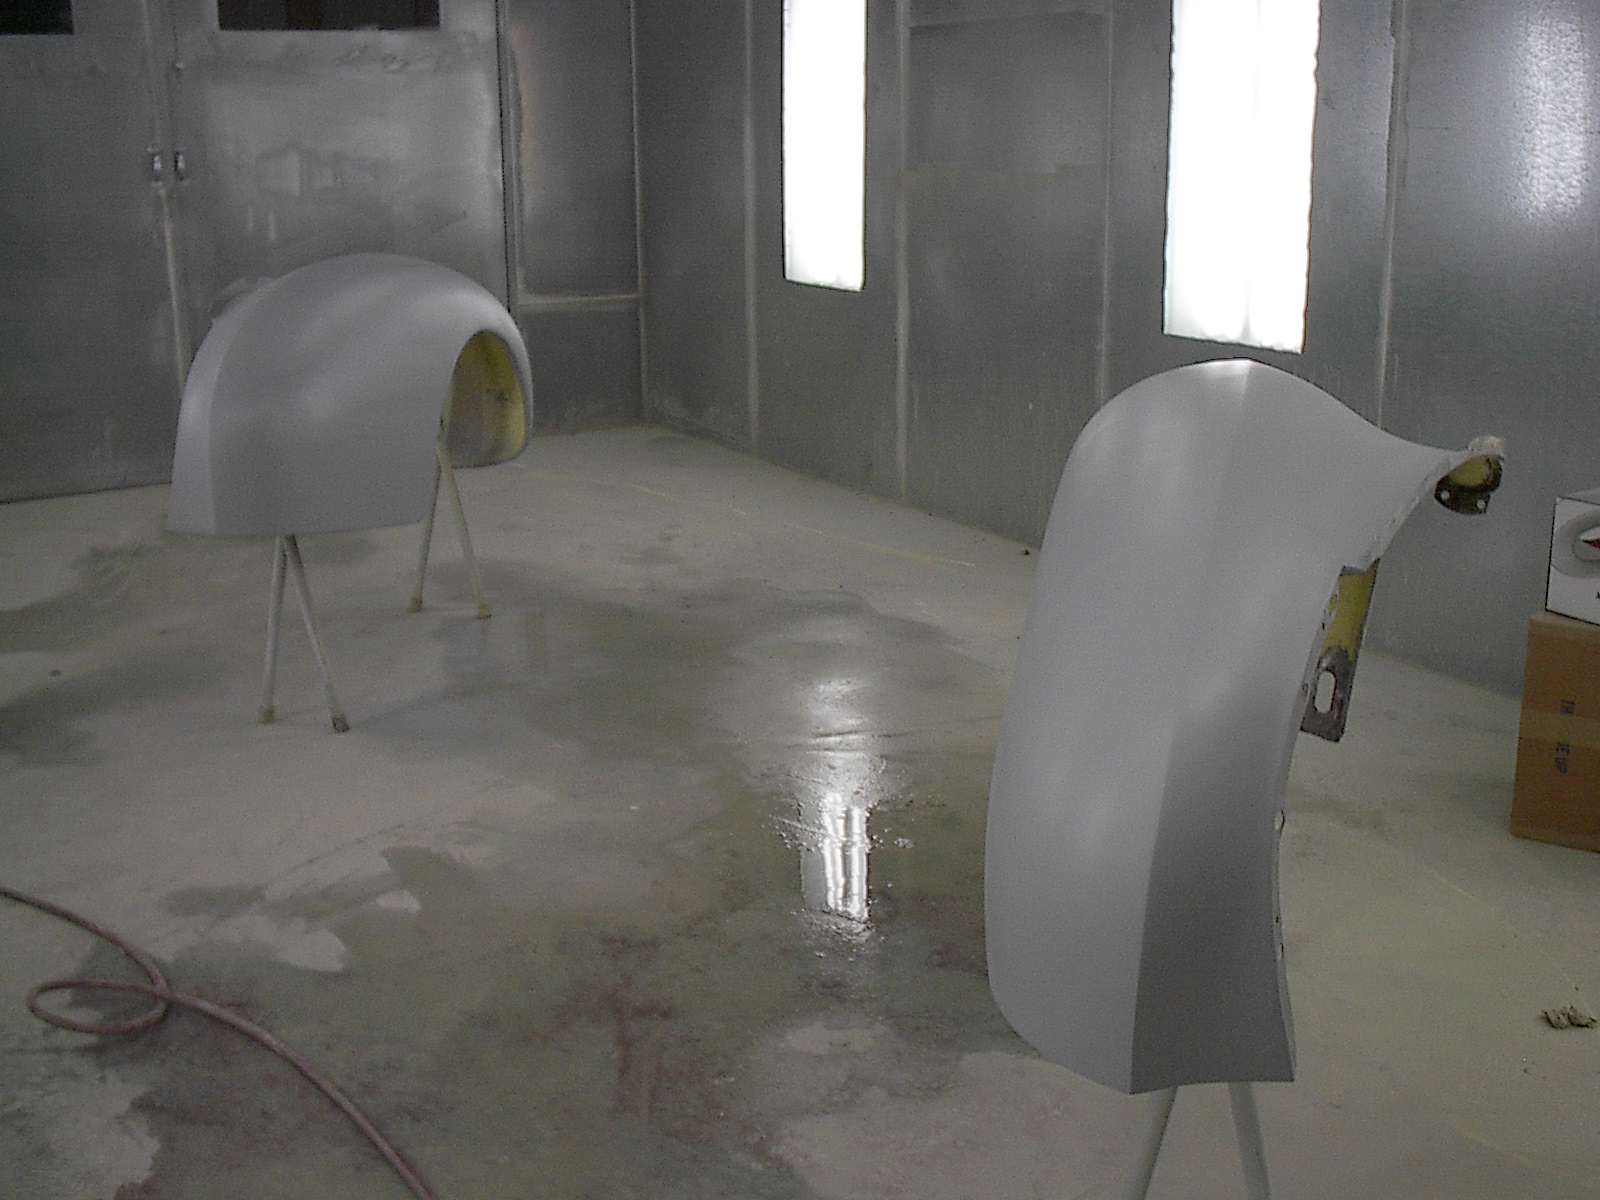
Both front fenders are now painted and ready for final preparation to be reinstalled on the car. They are going to get the same treatment as the rest of the car, which includes wet sanding in four different stages and buffing to a high gloss.
Week 11 continued
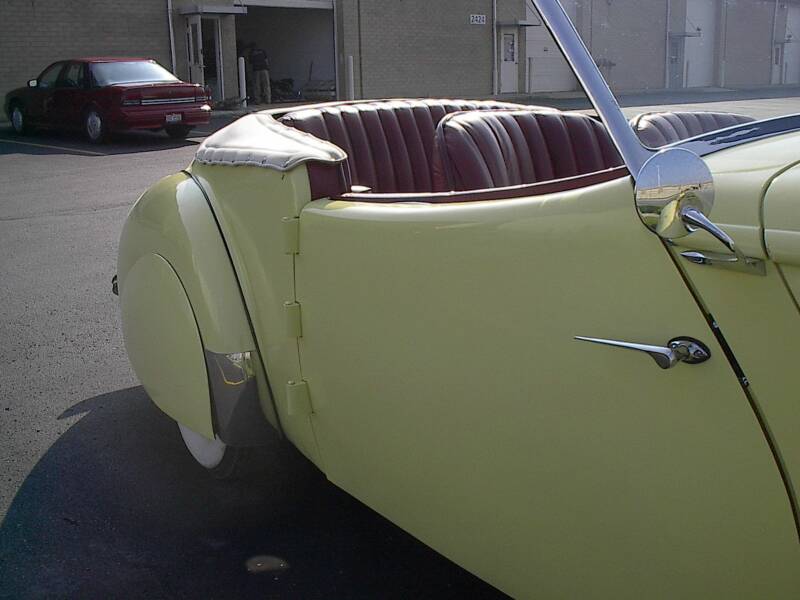
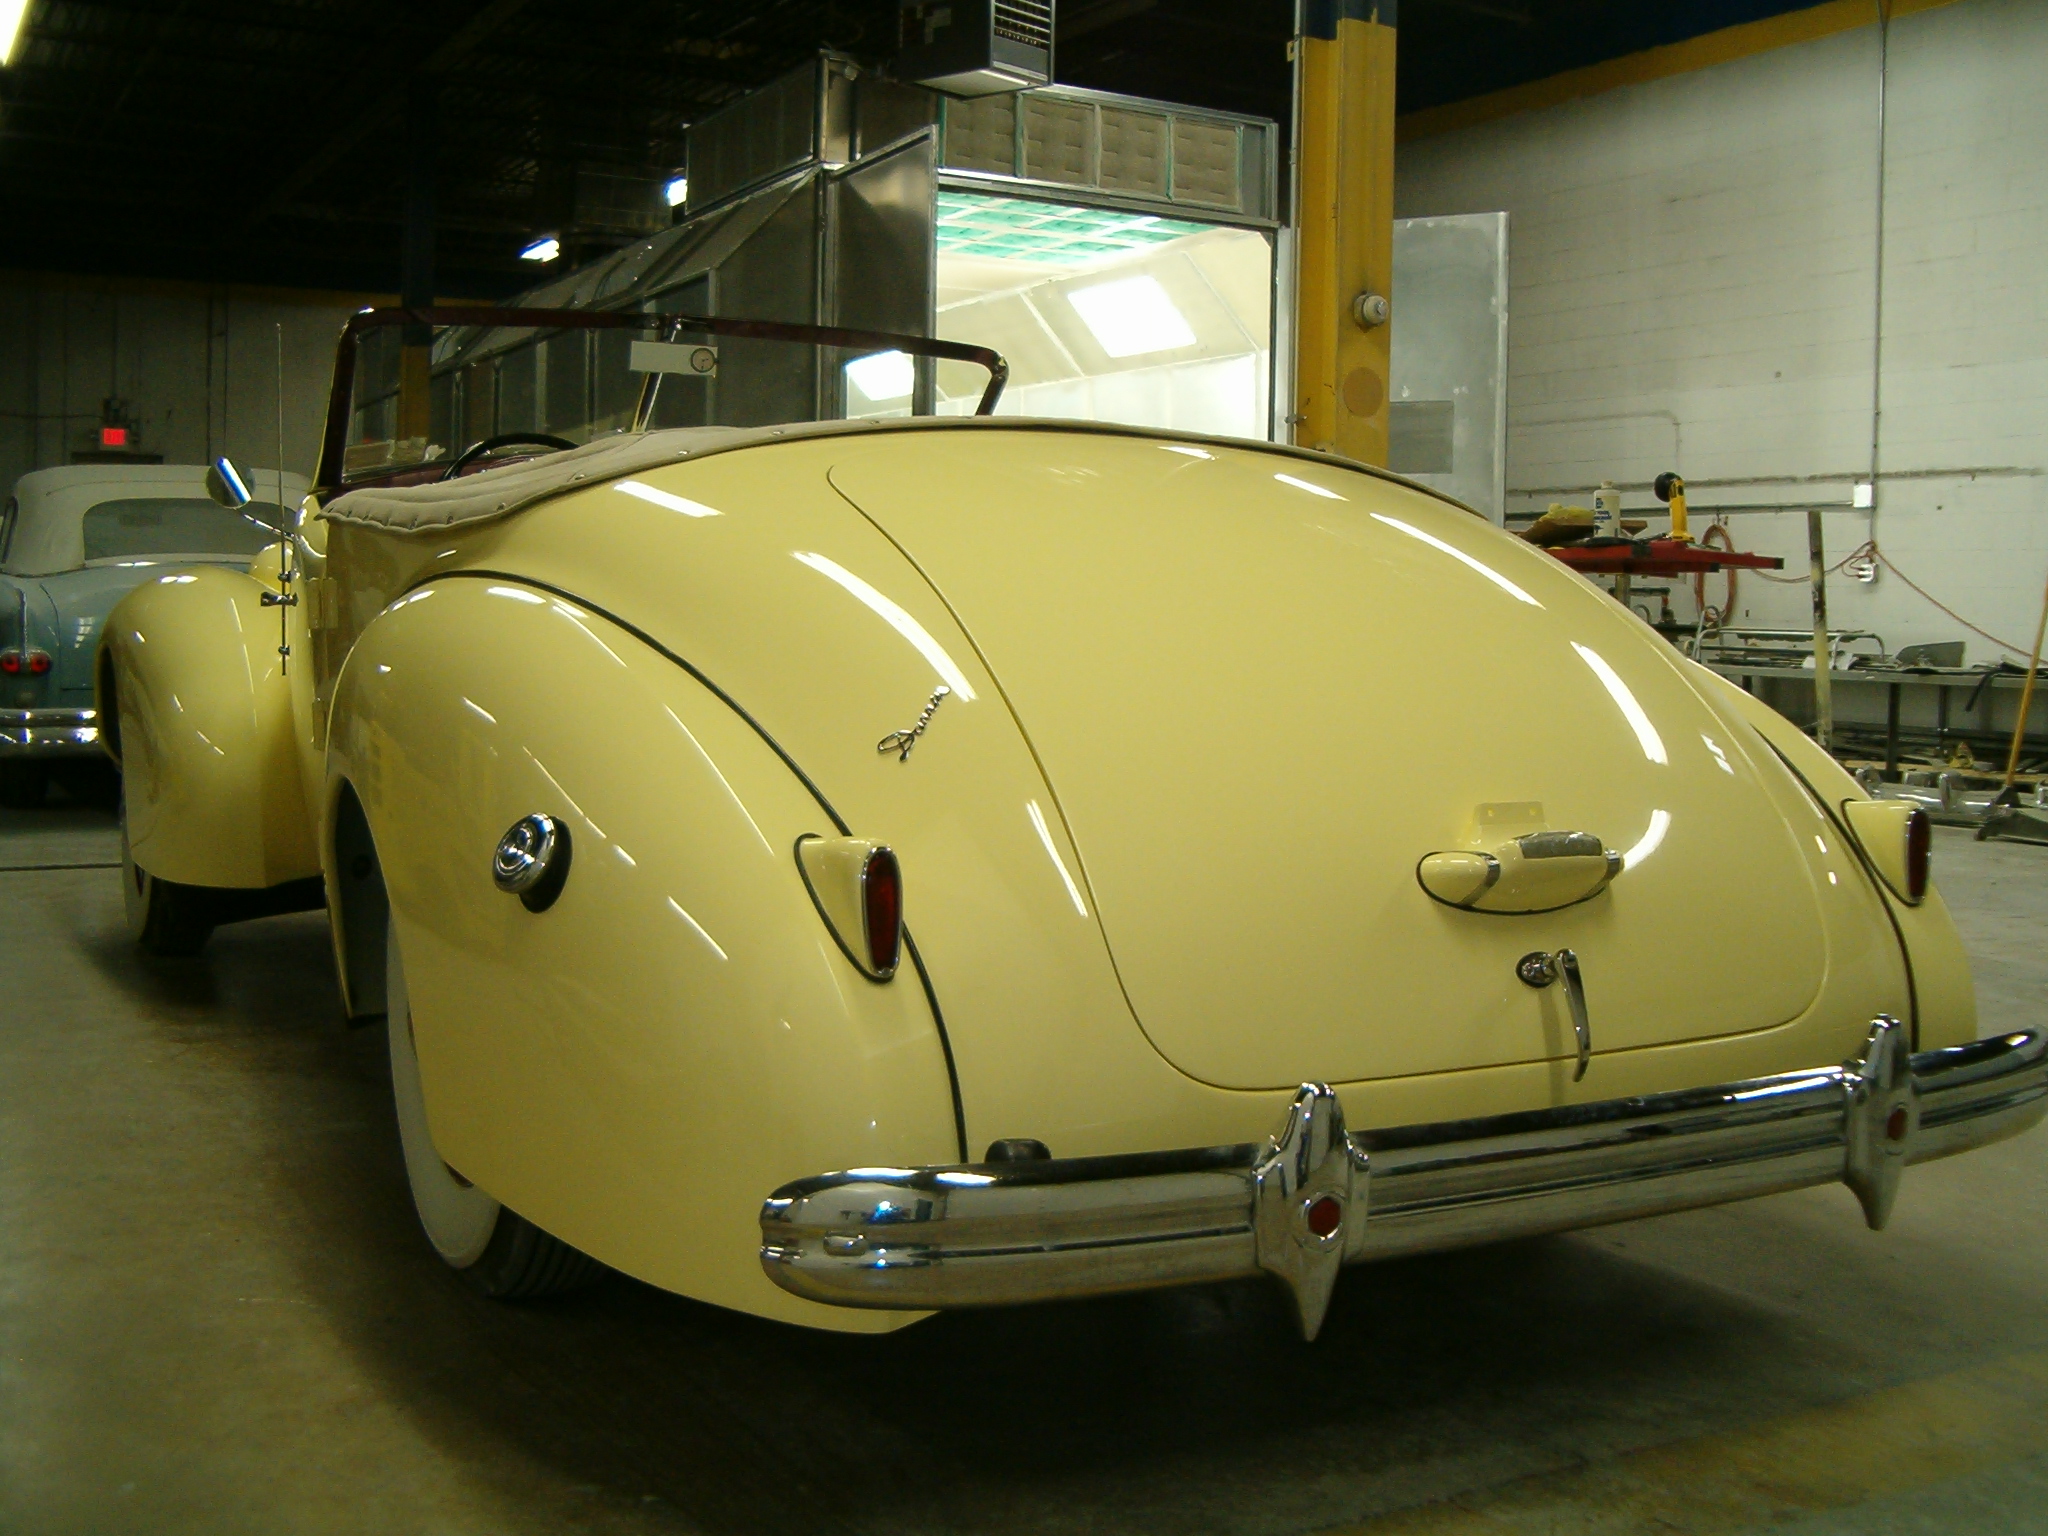
Here we show the famous Darrin Script back in its home on the body near the trunk. Also the fenders are now ready to accept the taillights.
Here is the brand new looking firewall for the Darrin, correctly painted body color and all extra unneeded holes have been filled for an ultra smooth look.
Since we have had a very mild winter in Ohio, the Darrin gets one more peek at the sun. The car is only missing a few more body panels before her exterior is completed. But we had to bring her out before our mild weather turned back to snow once again for a quick test drive around the parking lot.
Week 11
Here is most of the butterfly hood assembled and ready for a test fit on the Darrin's very long front end. The last two pieces of the hood will be attached after this piece is on the car.
Here the front fenders are shot with primer/surfacer. All that is left for these fenders is one more sanding, an epoxy primer coat and then finally, Fender Guitar Yellow
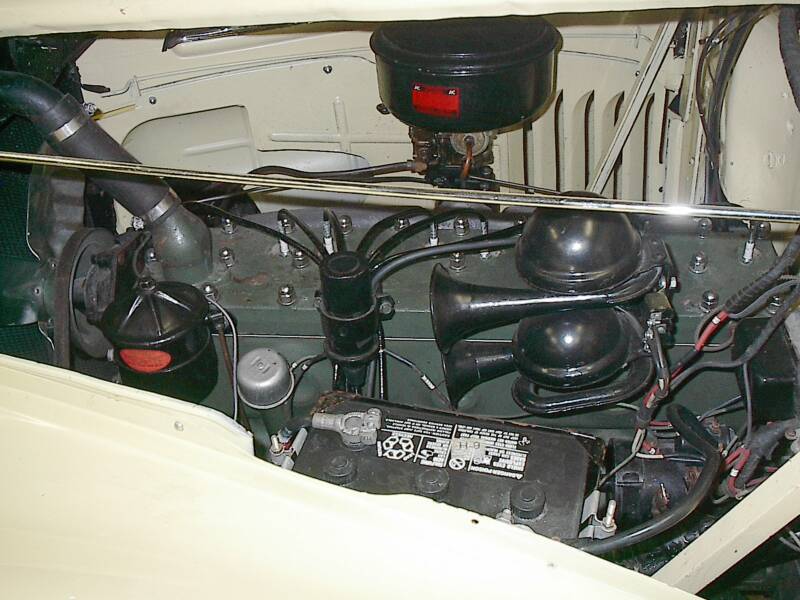
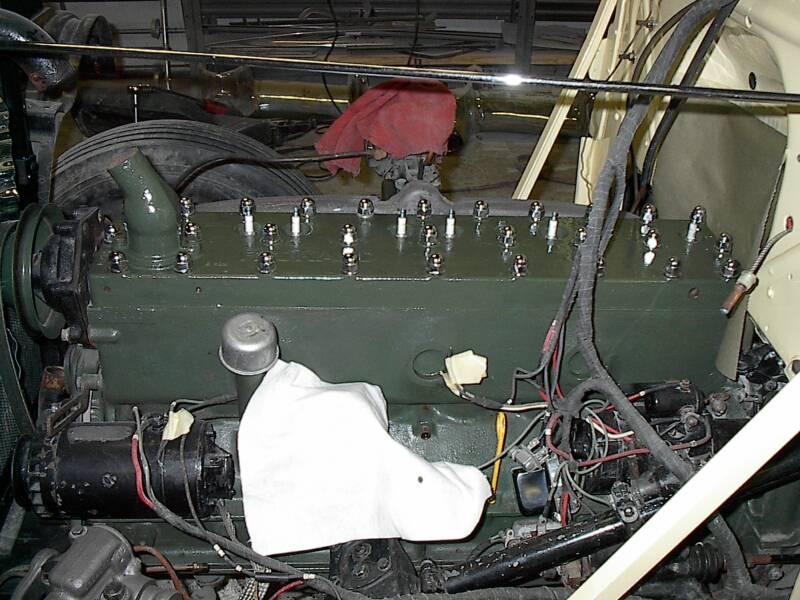
Here the engine shows a spiffing up. Some parts had to be repainted, some polished, and all cleaned. The engine compartment sure shines after a good freshening. Also towels are covering the distributor and carburetor to protect them from any stray dirt.
Week 12
This back view shows the car eager for a new license plate and a trip on the open road. The taillights, license light and trunk handle are all there...Also the Darrin script, can't forget that!!
The parts bench for this car is almost empty! The headlight buckets are now on the car and ready for lenses!
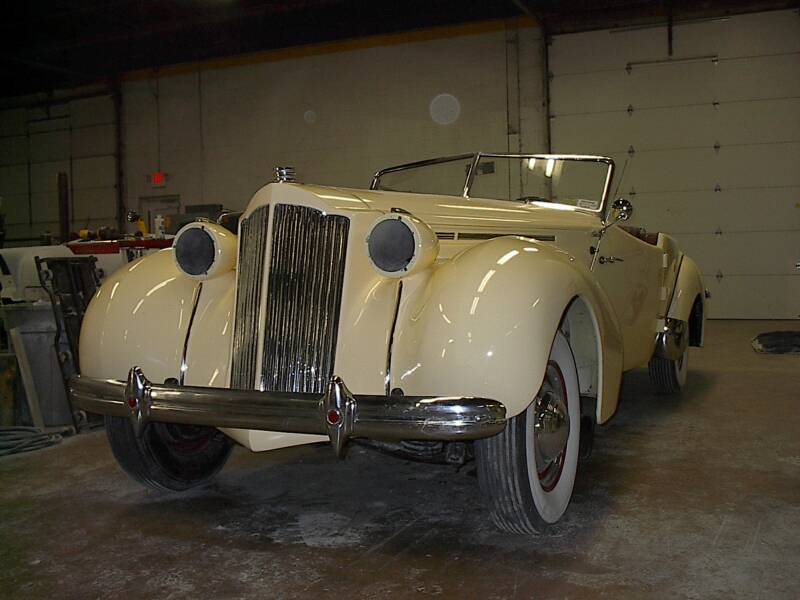
This car is becoming a real head turner!! With the second fender in place and all that is left is to add is the headlights and the hood ornament, this Darrin is almost ready for her close-up!!
WOW
what a car!
Week 11 continued
The moment we have all been waiting for!! I know it may look lopsided now but just wait til the second fender is placed on the car...then watch to make sure you don't lose your breath!
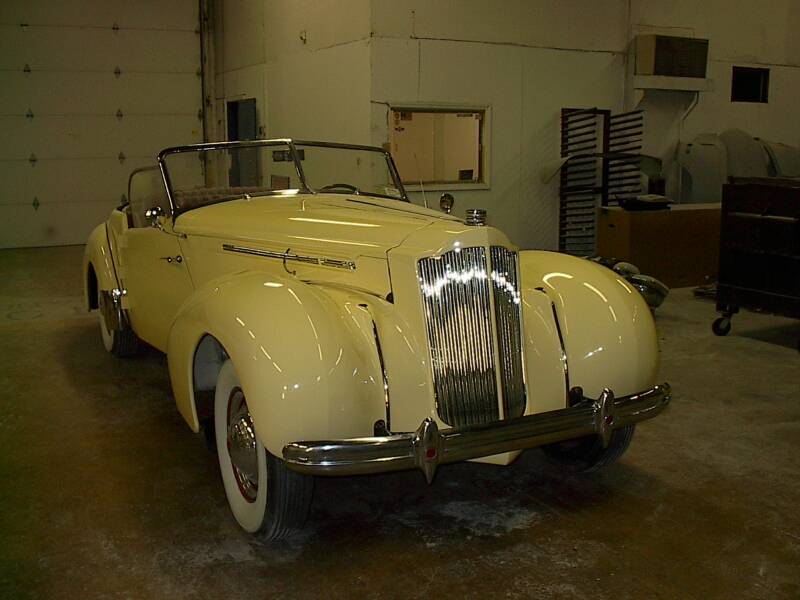
The hood is finally complete!!! The last piece of that long butterfly hood is in place and it is looking good!!
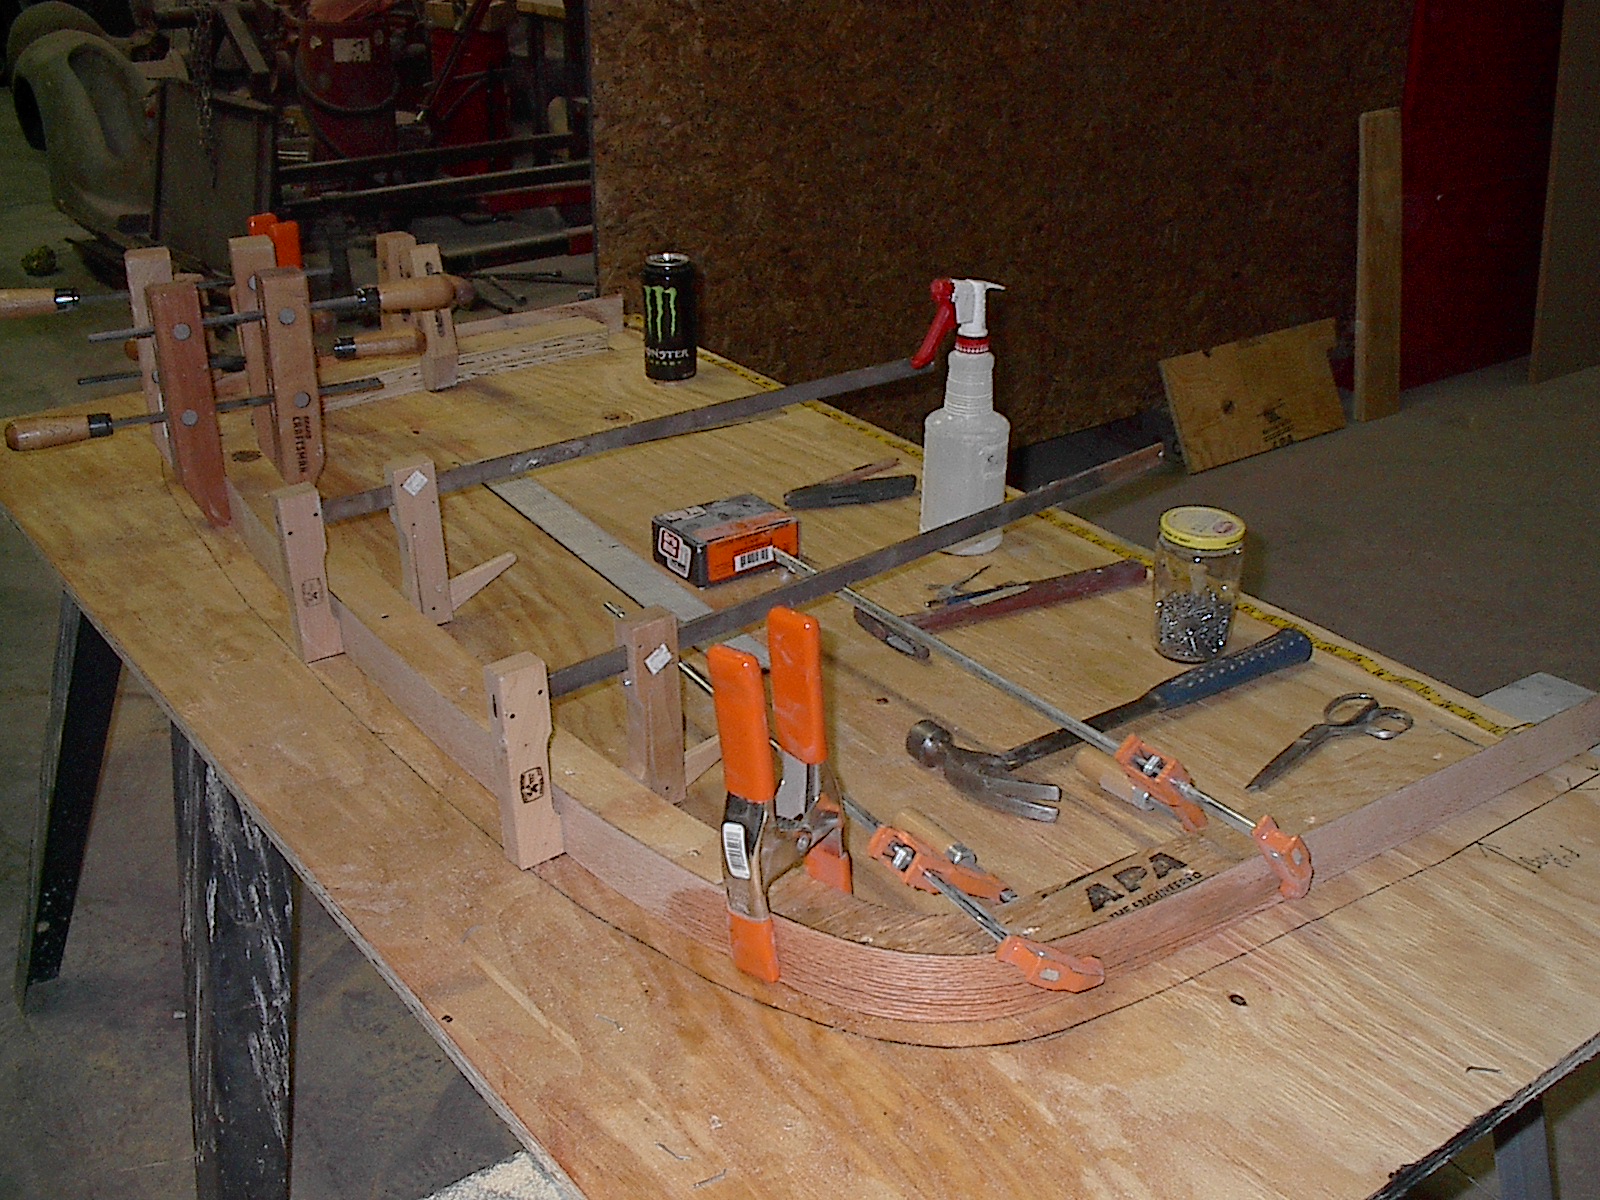
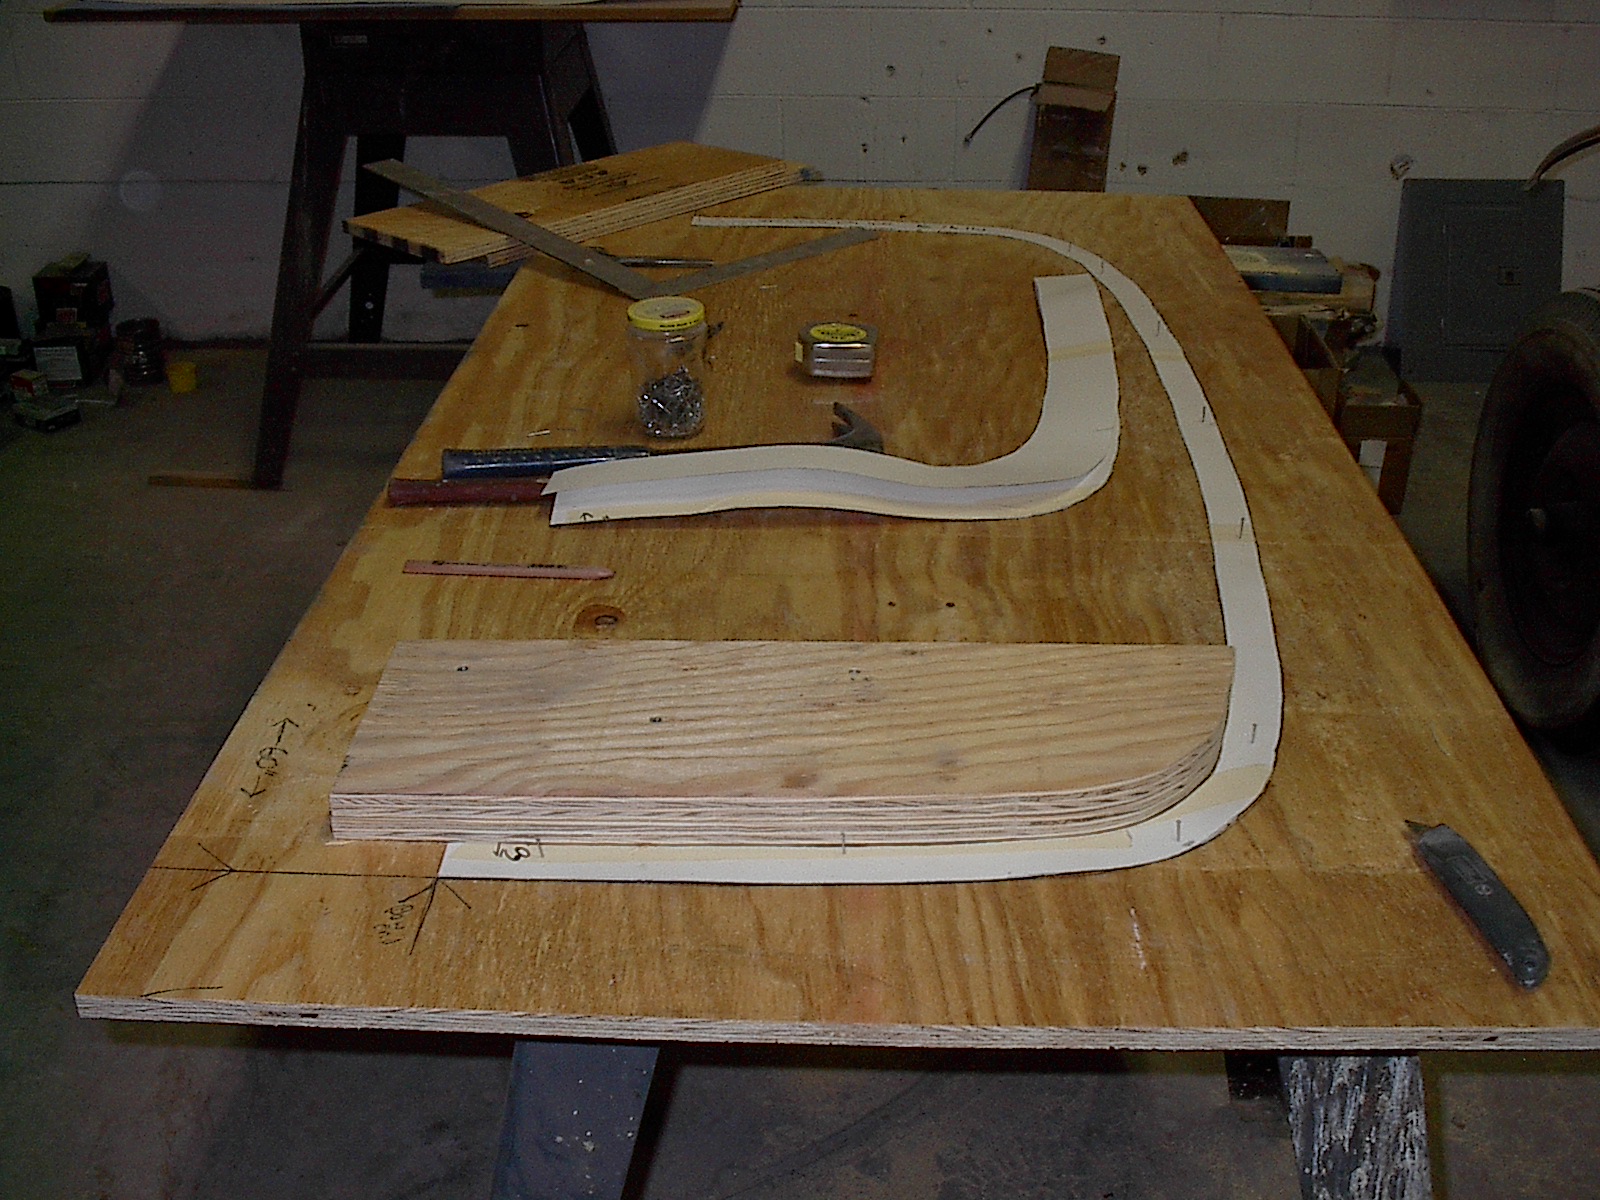
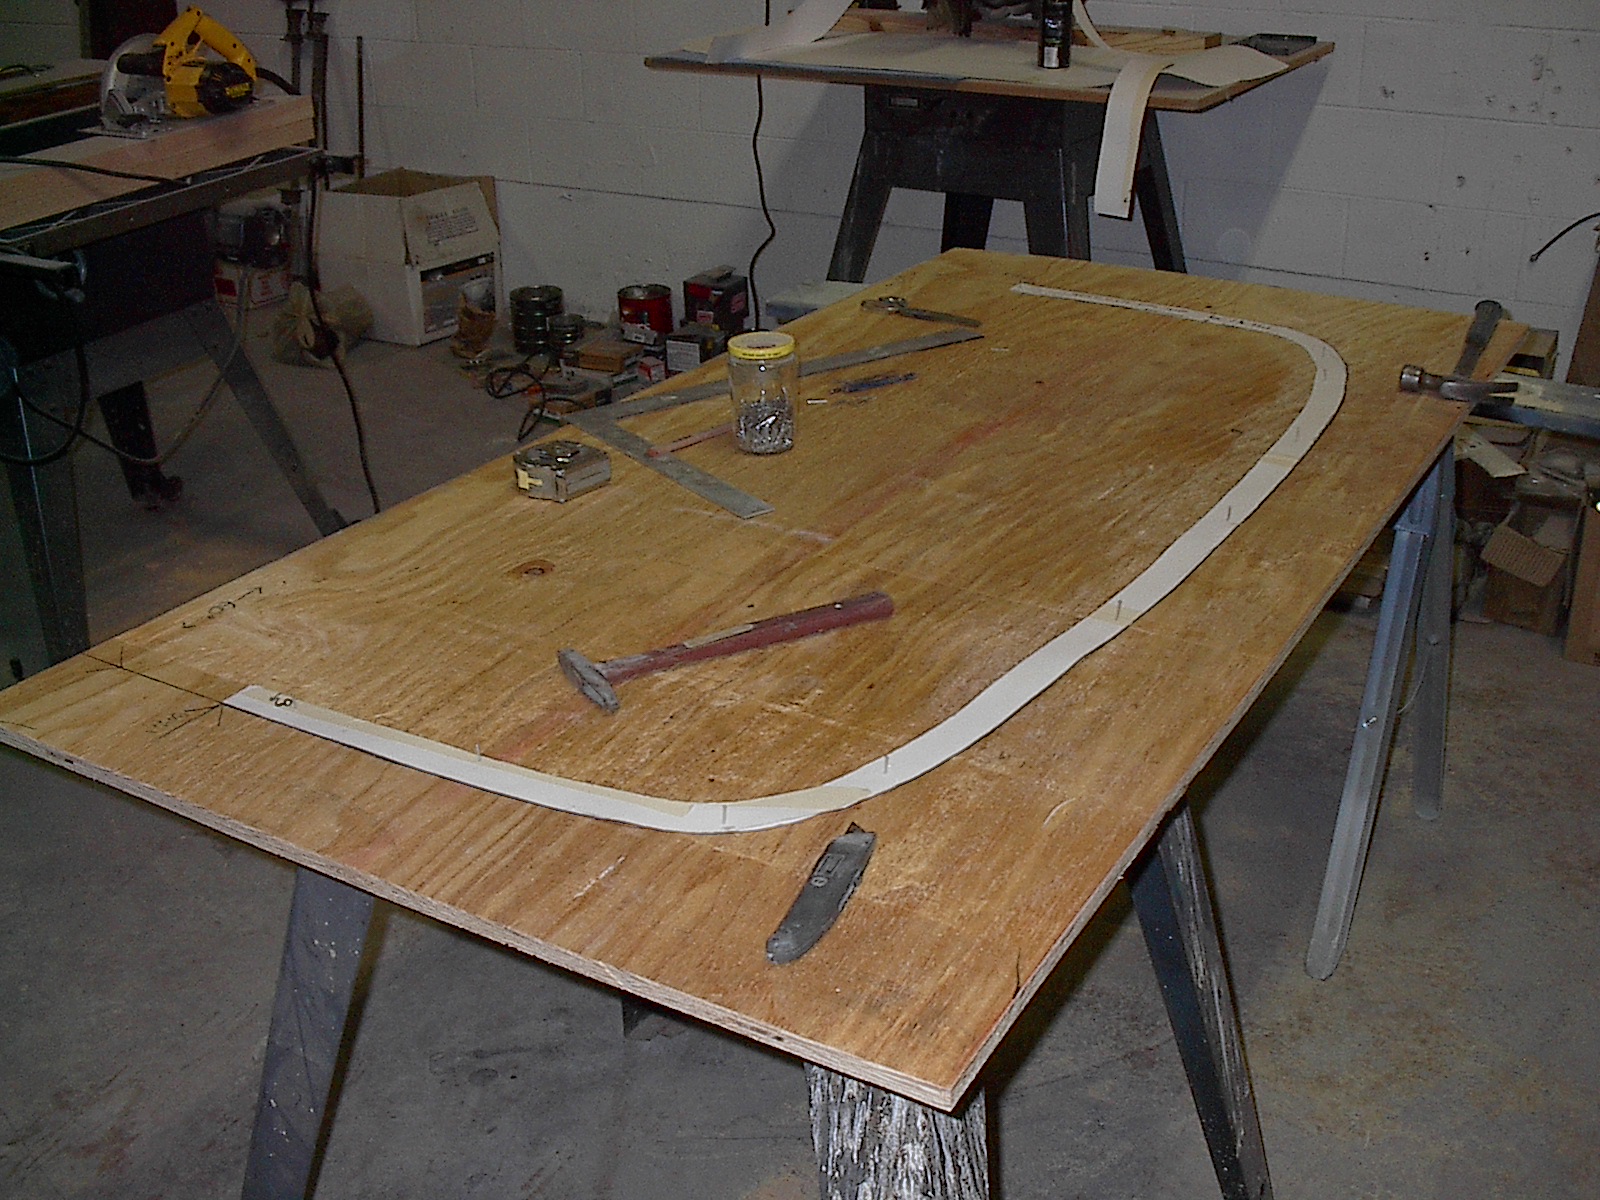
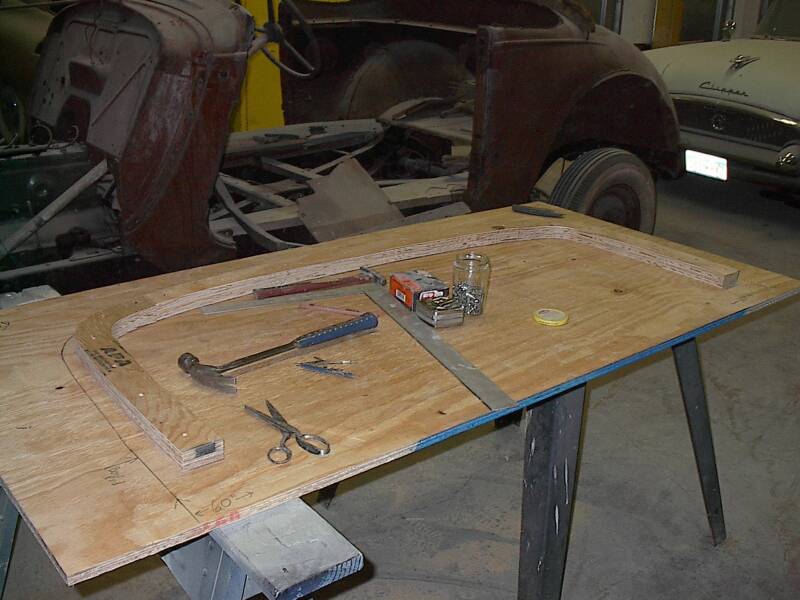
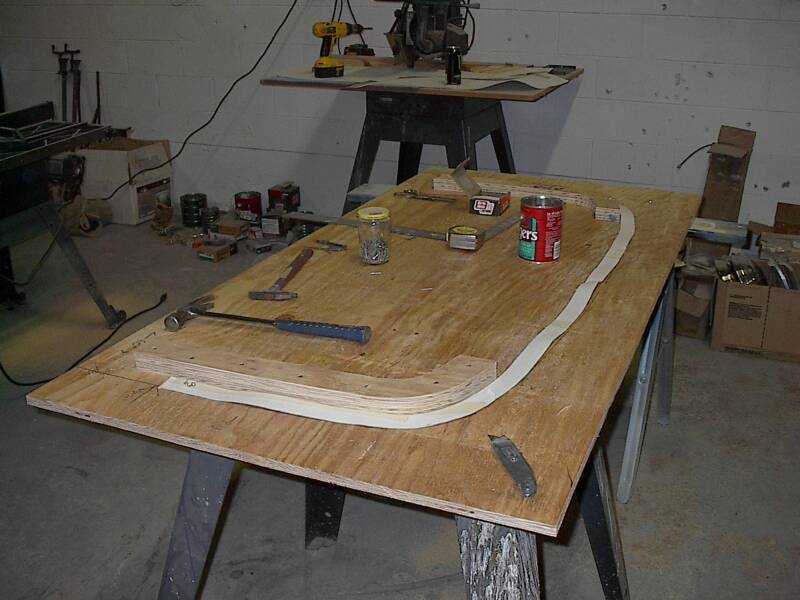
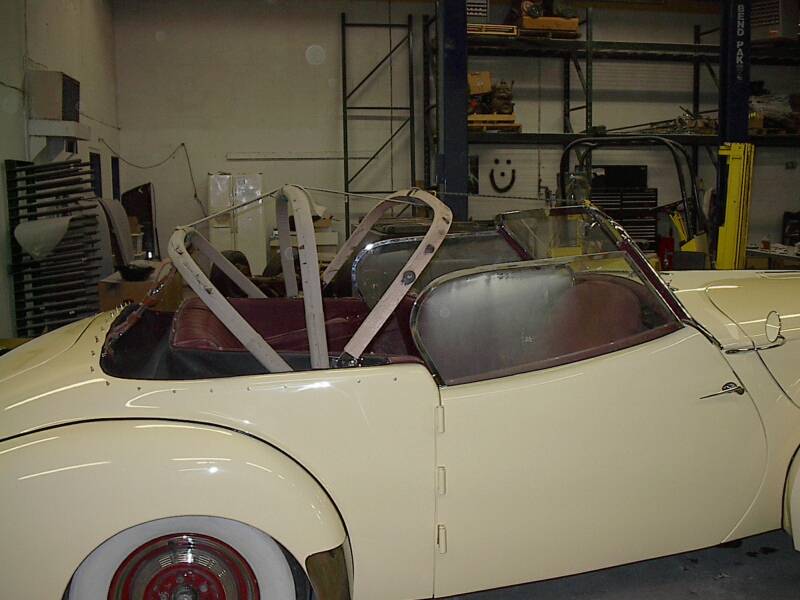
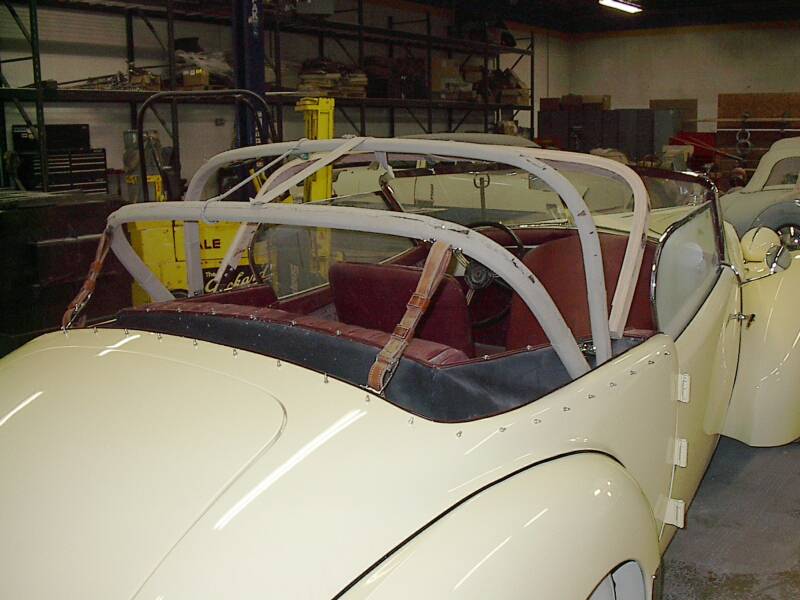
Darrin's were equipped with three top bows to give its top shape, stability and the ability to keep water out!! Unfortunately, this Darrin only had two when it came to us. And since its a custom car; we had to make a new top bow!! This picture is of the jig we built to form the wood strips into the correct shape and size. Thank you Mr. Eugene Tareshawty for your help making these measurements perfect.
Week 13
Here is the finished bow on the car. The very most forward bow is our freshly made one. In the picture we are trying to set the heights and distance for each bow on the car.
Clockwise starting from the top left.
Here is more detail on the jig we built to form the new top bow. First, the pattern is transferred to a plywood base. Secondly, another piece of plywood is cut to make the correct shape. Next, the plywood is finished being shaped on the inside to allow us to clamp the bow to the jig. Lastly, here is the finished jig ready for strips of wood
As you can see, every available clamp in our shop was put to work to laminate our top bow.
But in the end it was worth it!
Another view of the top bows in their positions. Also you can see the snaps that attach the top or the boot to the car are now reinstalled on the edge of the top well. Notice the high tech means of keeping the bows together and spaced correctly; bungee cords! The old bows will be uncovered, checked for defects and then recovered with bow fabric.
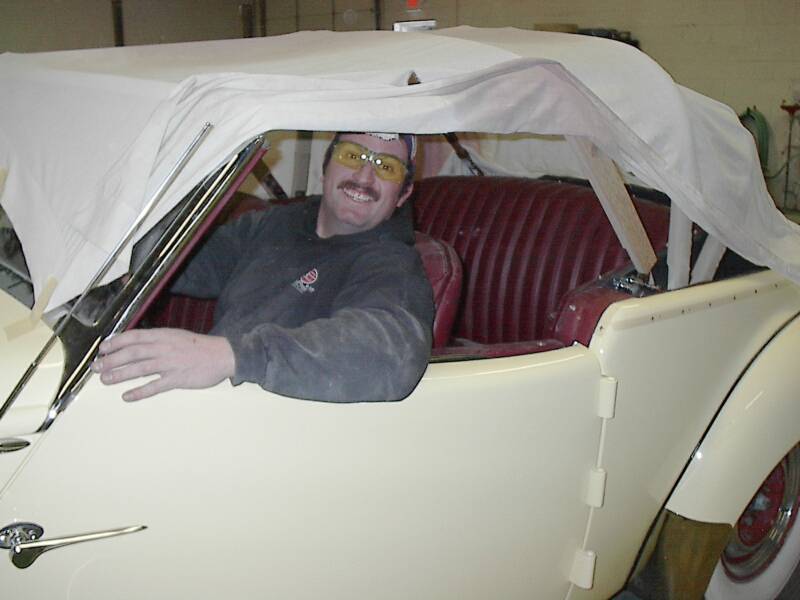
Pat wanted to check the interior height of the new bow and the temporary "top". He does enjoy sitting in the driver seat.
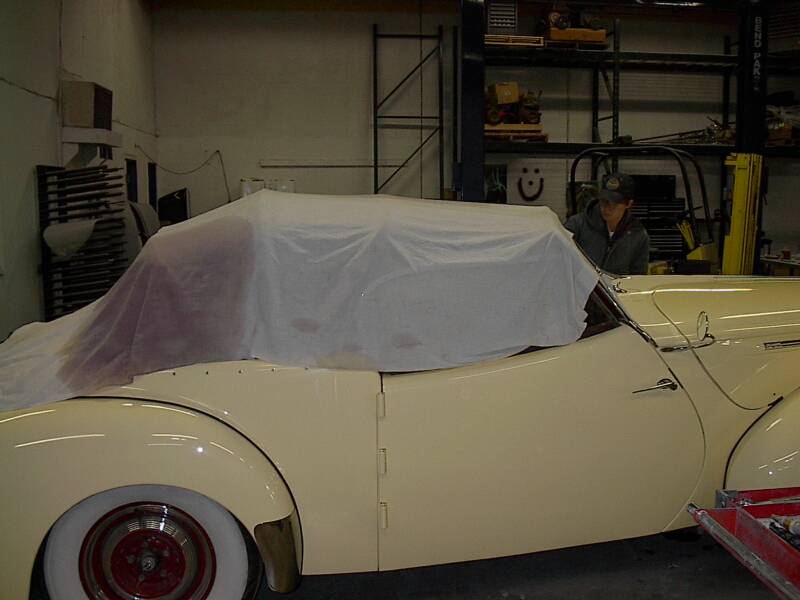
We wanted to see how the top would basically lay on the bows to check the height of each bow. A sheet worked nicely to get a general idea what it will look like.
The Darrin has parted ways with Aldrich Restoration!!
It now resides in the the John O' Quinn Collection in Houston, TX.
Congratulations on your new car Mr. O' Quinn!
Below are some parting shots of one of our favorite restoration projects!
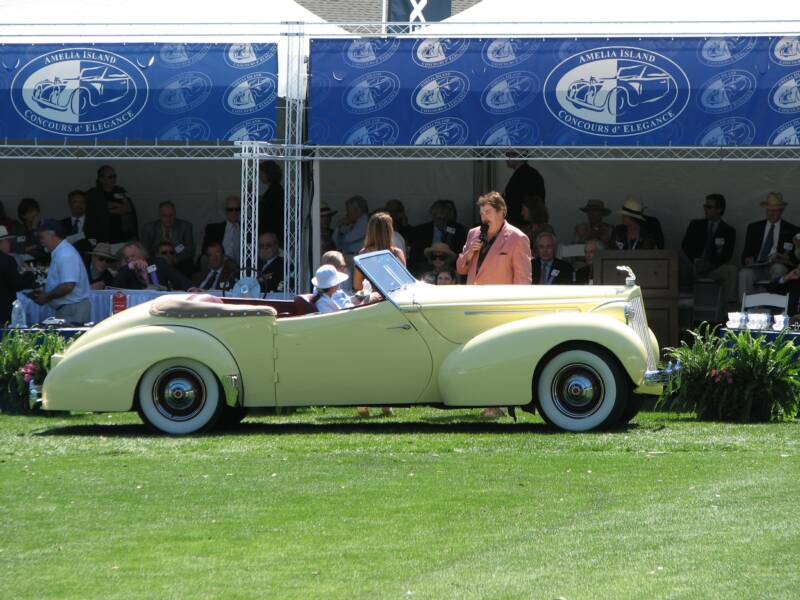
NEW!! This car won a Second Place in its Class at the
Amelia Island Concours D' Elegance!!
The Darrin wins second place in its class at Amelia Island and its new owner receives their trophy!
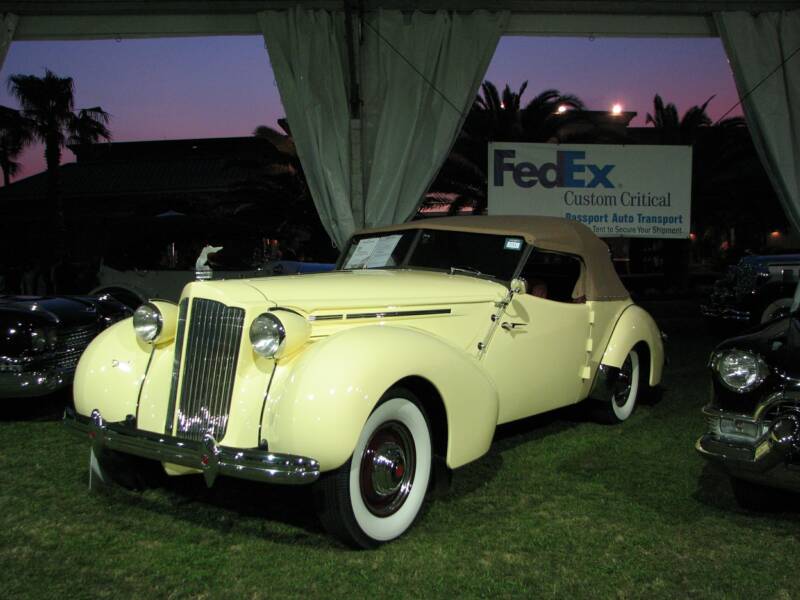
The Darrin has its spot under the RM Auction tent at the Ritz-Carlton and is backdropped by at beautiful sunset!
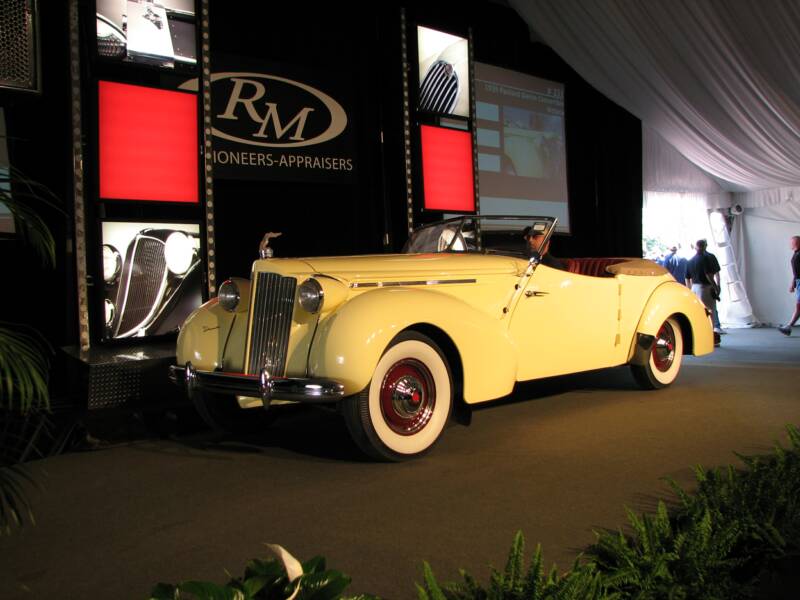
The Darrin crosses the auction block and we wave goodbye to it one last time. We hope the new owner enjoys the car as much as we did!
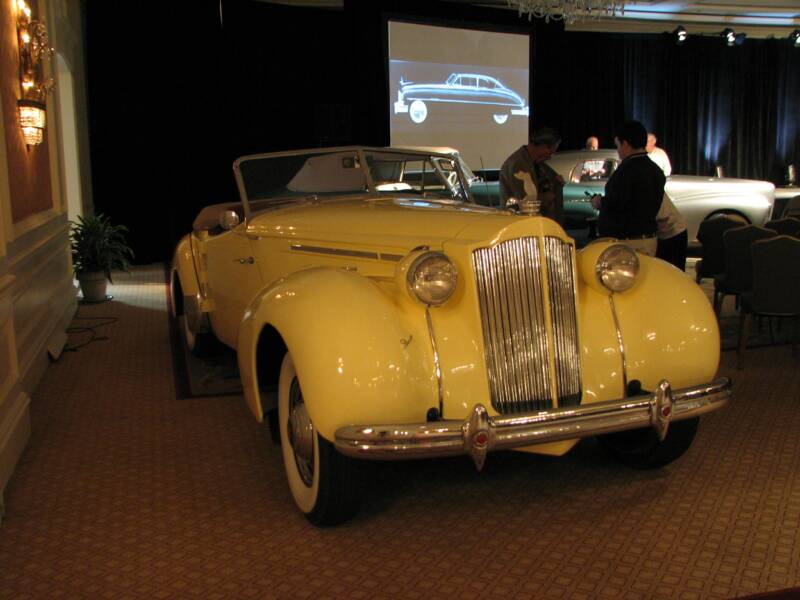
An elite group of Coachcraft cars were invited inside the ballroom where the current owner of Coachcraft describe the building of each car in detail.