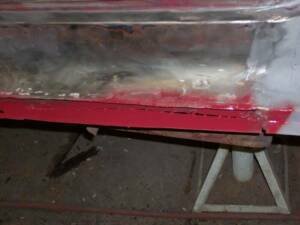
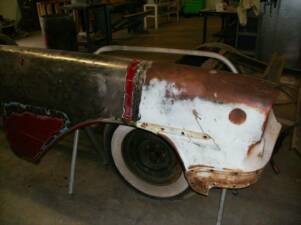
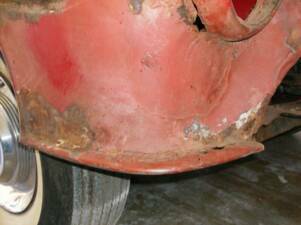
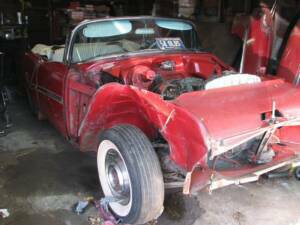
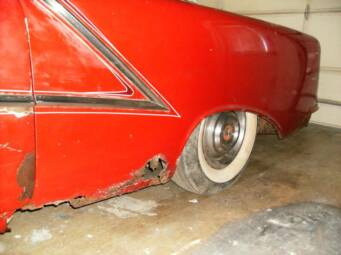
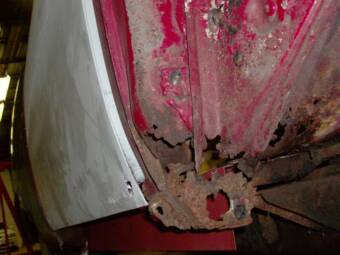
Here we see significant damage and rust eating away at the lower quarter panels. We have quite the job ahead.
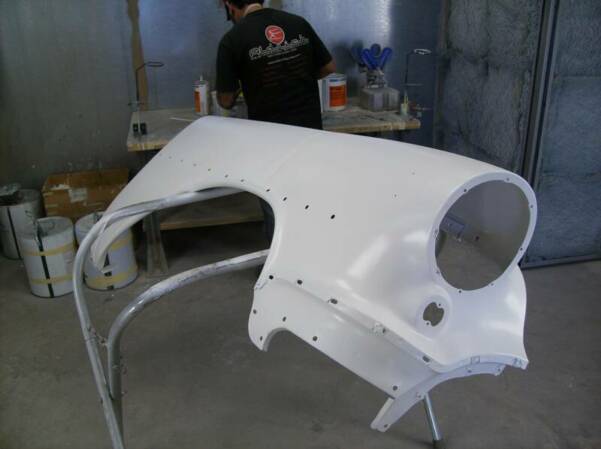
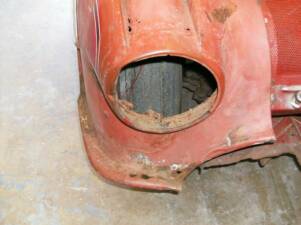
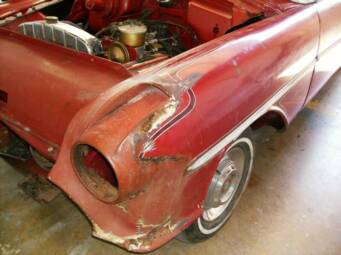
This is one of the previously mentioned "modifications" done by the previous owner. We will need to remove the scoop from this fender or better yet find a better candidate for replacement.
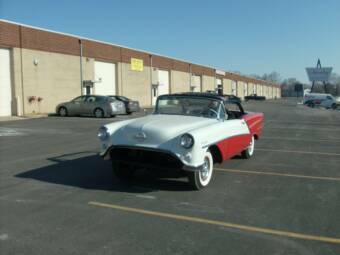
We have nicknamed this project the "Oldsmobile No-Fire"
In actuality its a 1954 Oldsmobile Starfire Convertible that was modified by its previous owner and will now be returned to orginal condition by Aldrich Restoration Specialists.
Straight from the burrough of Queens!!!
Week 1 continued
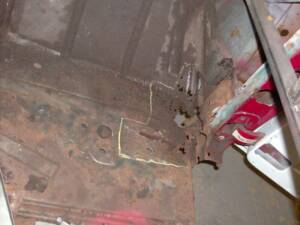
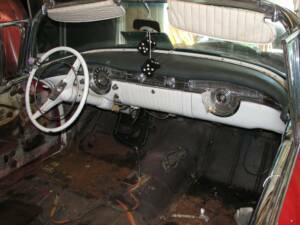
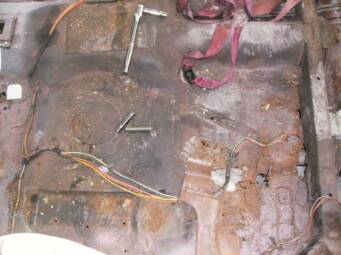
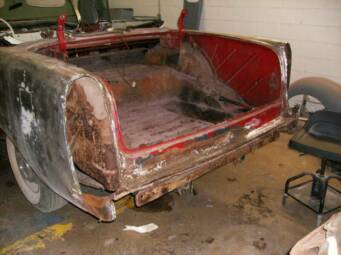
After removing the seats from the car we find some rust in the floors, but so far nothing too extreme as compared to the rest of the car.
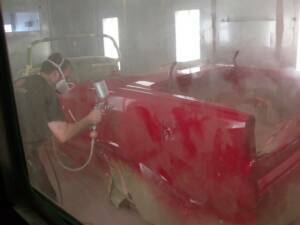
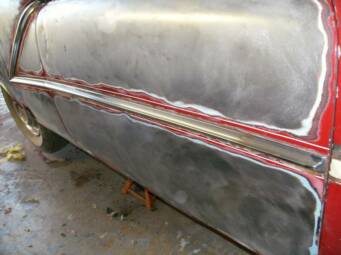
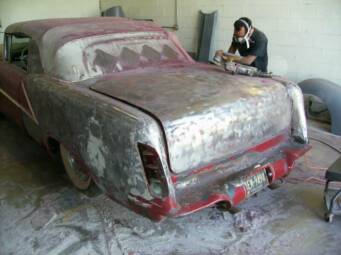
Work begins on the "no-fire" by stripping the paint off of the car to see what may be lurking underneath....
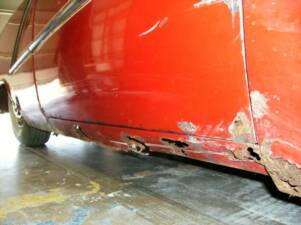
Here we just so various rot found on this car from the door sill to the front fenders to in front of the wheel wells.
This car will test our metal skills to the very end!!
Week 2
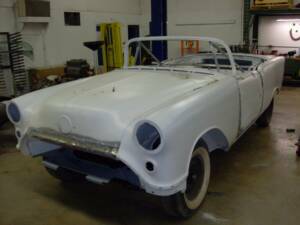
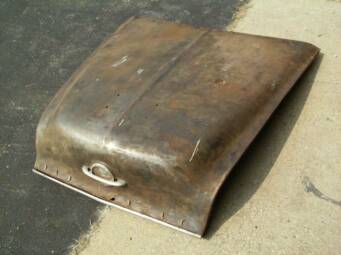
The hood is stripped of all paint. And we decided to take it outside for a couple "before" pictures.
Continuation of the paint stripping process. This is the passenger side door.
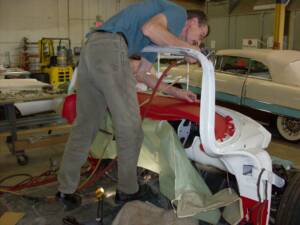
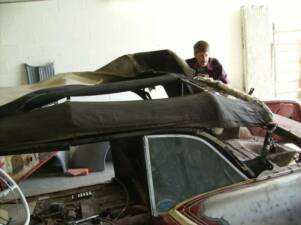
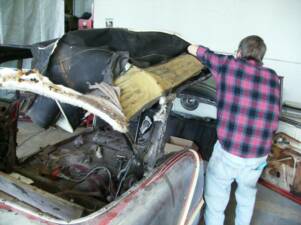
The top comes off the "no-fire"
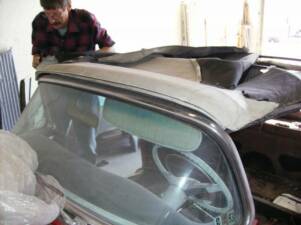
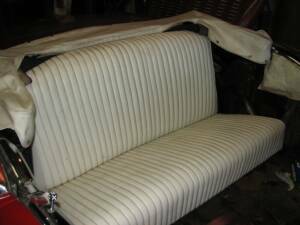
We try to save as much of the orginal top as possible so we have a good pattern to make another one.
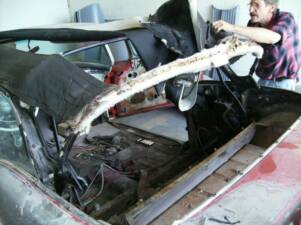
Our upholsterer Tom is seen here painstakingly disassembling the top.
Week 3
Week 3
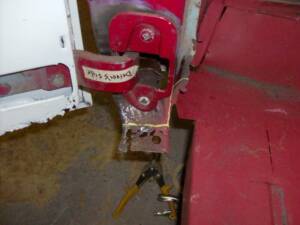
Just as a refresher...this is what the old modification looked like...
The last owner had made some modifications to this car which included the taillight housings. We had to remove all the metal from addition in order to bring it back to the original condition we want.
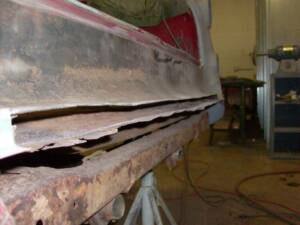
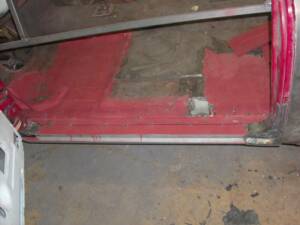
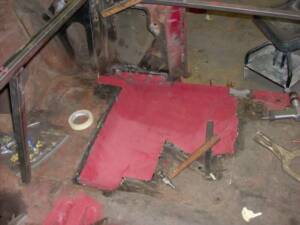
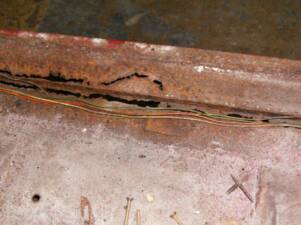
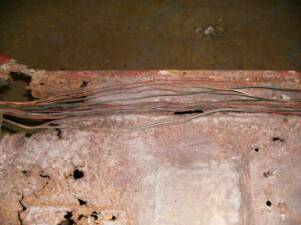
The "swiss cheese" becomes apparent when we start closely looking at the floor pans. We see lots of cancer in this originally New England car. But we can handle this with some sheet metal, a bead roller, welder and some talented hands.
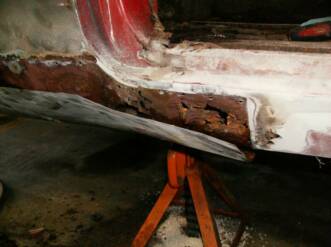
Under the door sills is a lot of rust we weren't entirely expecting, but we will take it in stride and just add new metal here too.
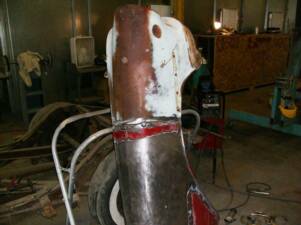
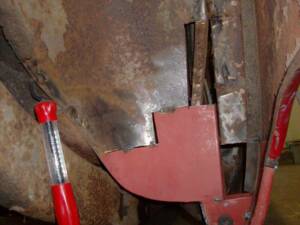
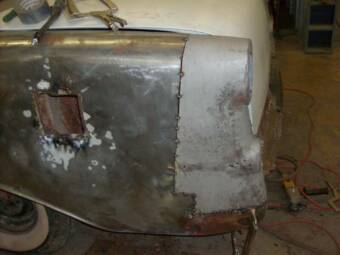
Top left:
The two halves of the fender are welded together
Top right:
This is the two pieces tack welded together
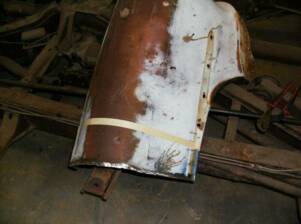
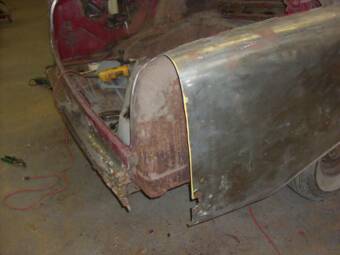
Bottom left:
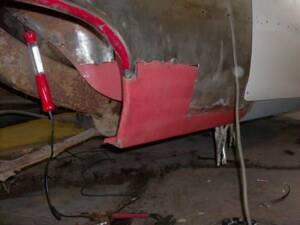
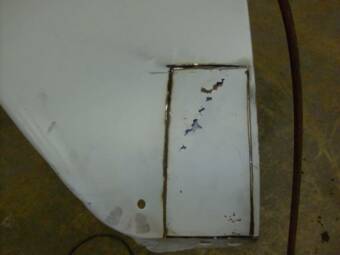
This is the donor piece of a fender we are going to use to replace the modified section.
Bottom right:
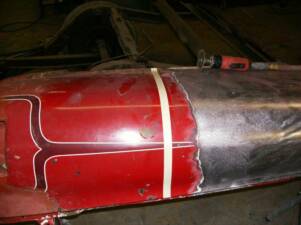
The tape shows where we are going to cut the fender and fit it with the new piece.
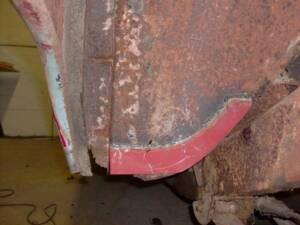
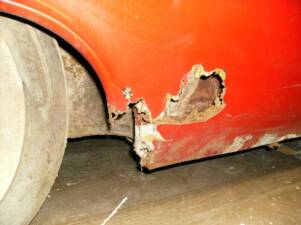
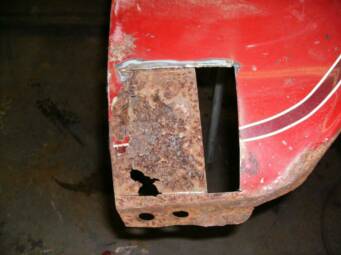
Here is a spot of rust on a one of the front fenders. We cut away all bad metal before replacing with good metal.
Week 3 continued
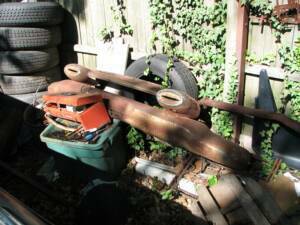
Here we see the taillight sections that will be transplanted back onto the Starfire to replace the previously manipulated rear fenders.
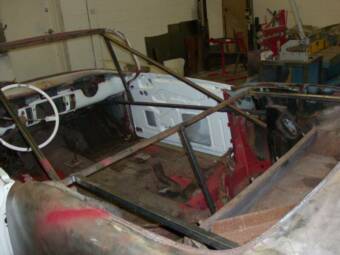
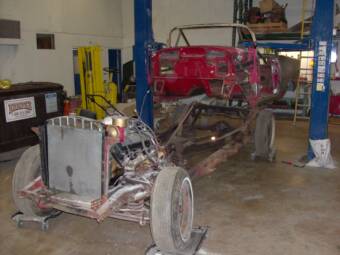
We built a frame out of square tubing to support the convertible frame while we take pieces off. The frame needs the support of the entire body including the doors so it doesn't buckle.
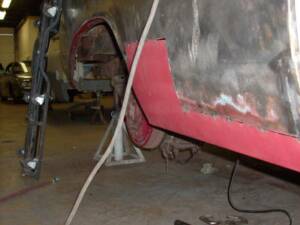
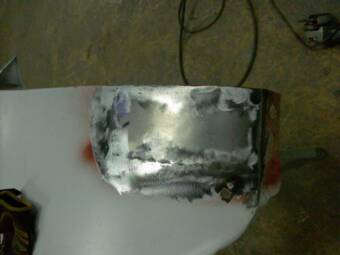
Here is the patched togther fender for this car in primer awaiting some body work to finish the small scar left by our welders.
Week 4
The same section from the picture to the right. Except this picture has no rust!!
Another rotted section; this is getting to be a theme with this car...
Bottom Right:
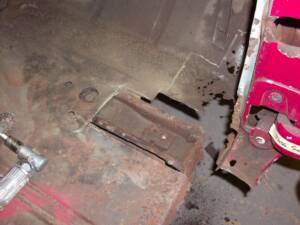
A rusty section of floor is pencilled for elimination
Bottom Left:
The same section is removed
Top Right:
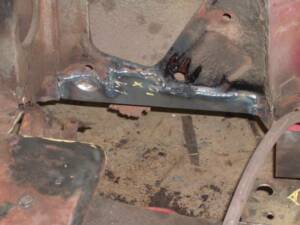
One piece is added to replace rotted metal
Top Left:
The new piece of metal is fitted and welded in place.
Week 4
The taillight sections are ready for replacement.
The taillights are tack welded into place. This car has much work left to be done...everywhere!
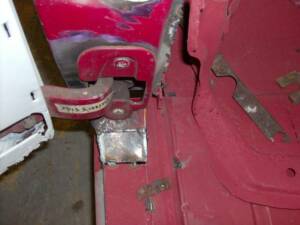
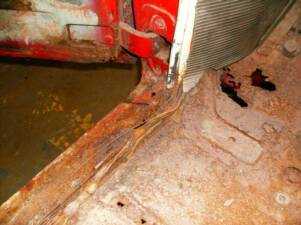
These four pictures are all taken from the driver side door opening.
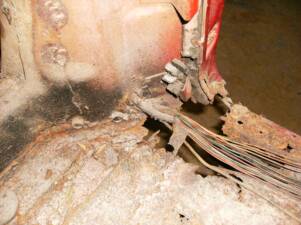
The bottom right shows the area below the hinge is completely rotted away, and to the left the same area repaired. The top two pictures show some other work done to the same opening, all dealing with rotted metal and patch pieces welded in.
Week 5
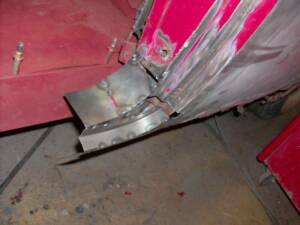
....We replace the bad piece!
(Are you catching a theme with this car yet?)
The lower piece of the fender is rotted so.....
(see left)
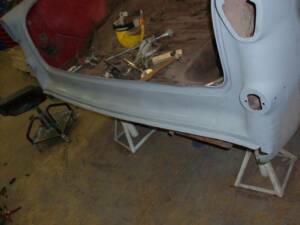
More patch panels are installed, mostly rocker panels and under wheel wells.
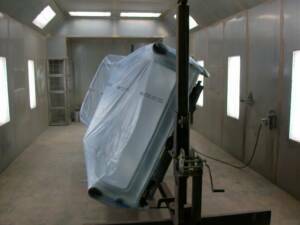
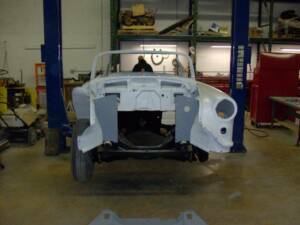
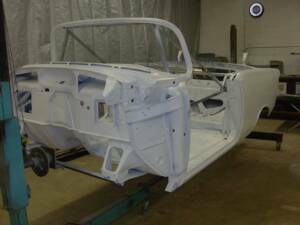
Here is the body being removed for media blasting and chassis restoration
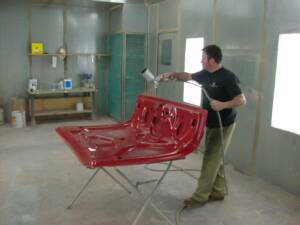
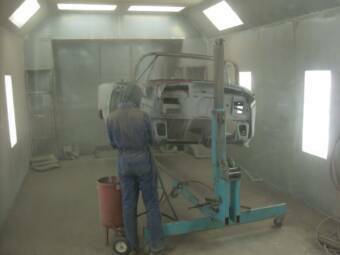
Here is the body getting media blasted. We do this in-house. This allows us to dictate the schedule, and also not warp the panels.
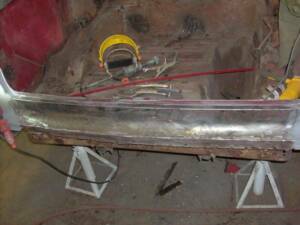
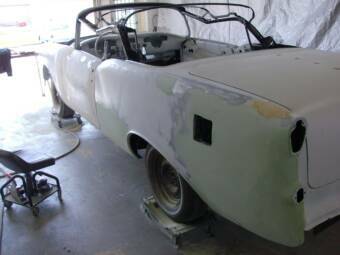
Trunk edge was (you guessed it) rotted too. So we cut away the metal and replaced it with new and with a coat of primer it is ready to sit for awhile to await final body work and paint.
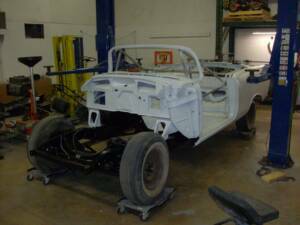
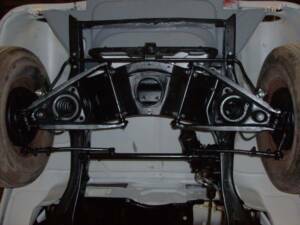
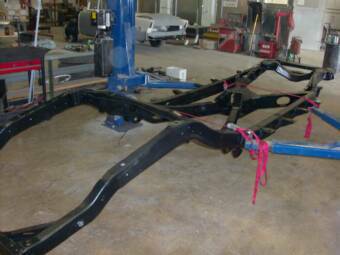
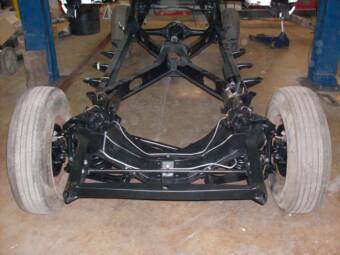
Here is the powdercoated fram ready for re-assembly
The chassis all restored using all brand new hardware
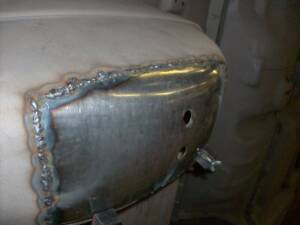
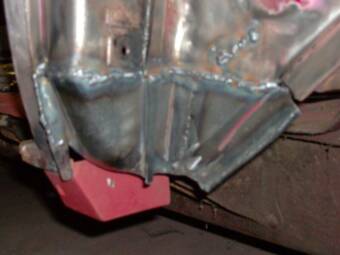
This shows the spare tire carrier being welded in. We make these on our english wheel to assure proper fit. Also showing the body in epoxy sealer ready for body filler. the bottom two are the undercoating being applied.
The bodywork begins! the top is also installed to assure propper fit
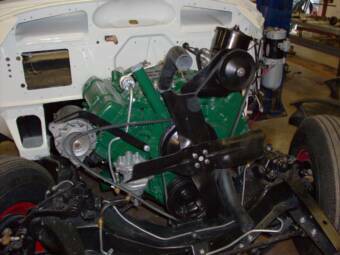
This shows the body being mated to the chassis. All of the panels are then installed to allow the body to be shimmed and torqued down. All the panels must be re-installed with ALL of their fasteners to allow for the body to be torqued down. Not doing it this way makes the bodywork wrong.
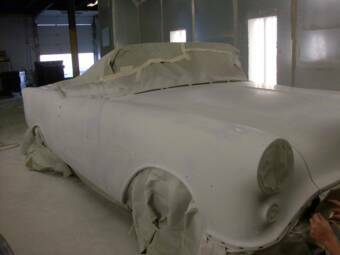
All primered and ready for sealer
Maiden Voyage!!!!!
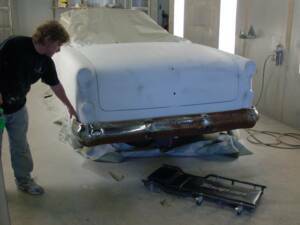
This shows final fit of the bumper, then on to paint!! The top left shows our upholsterer Tom putting in the dash pad.