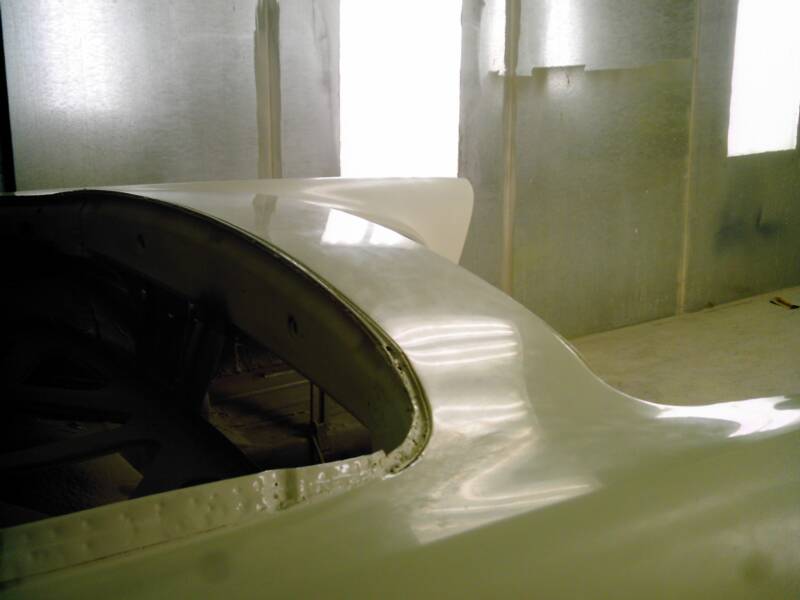
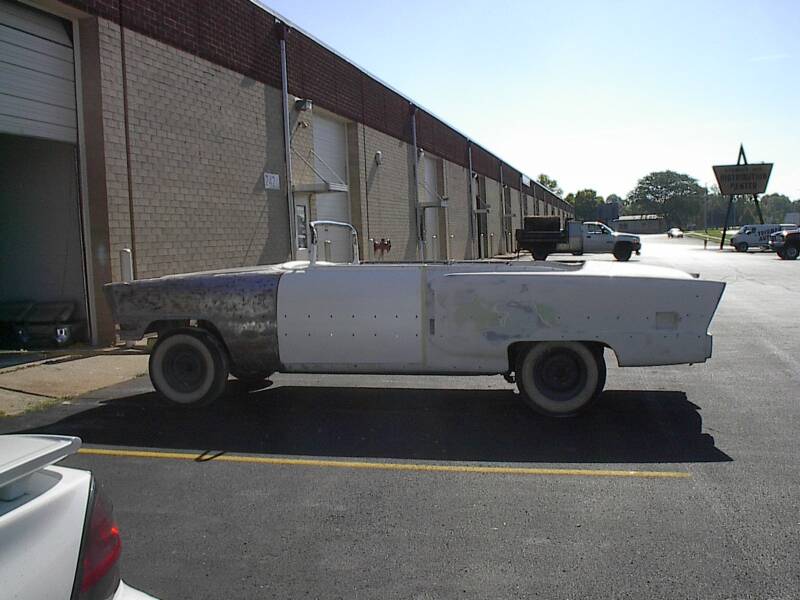
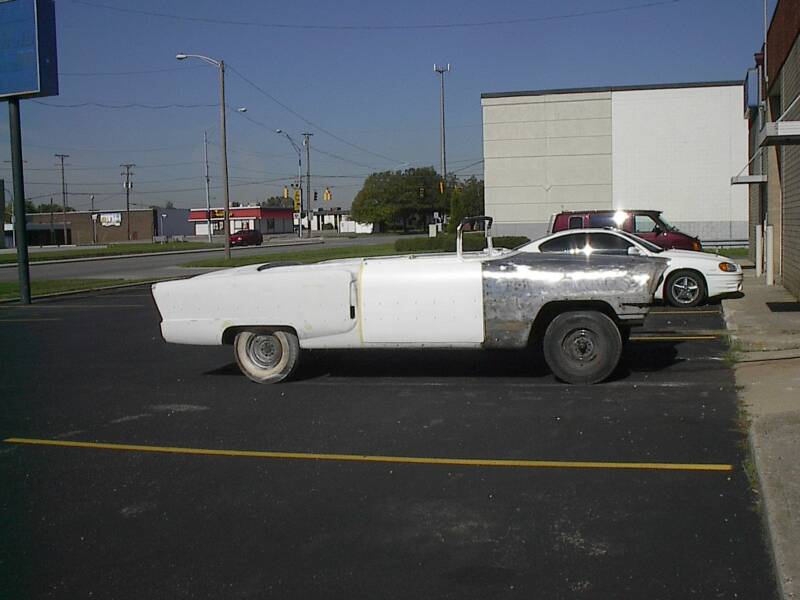
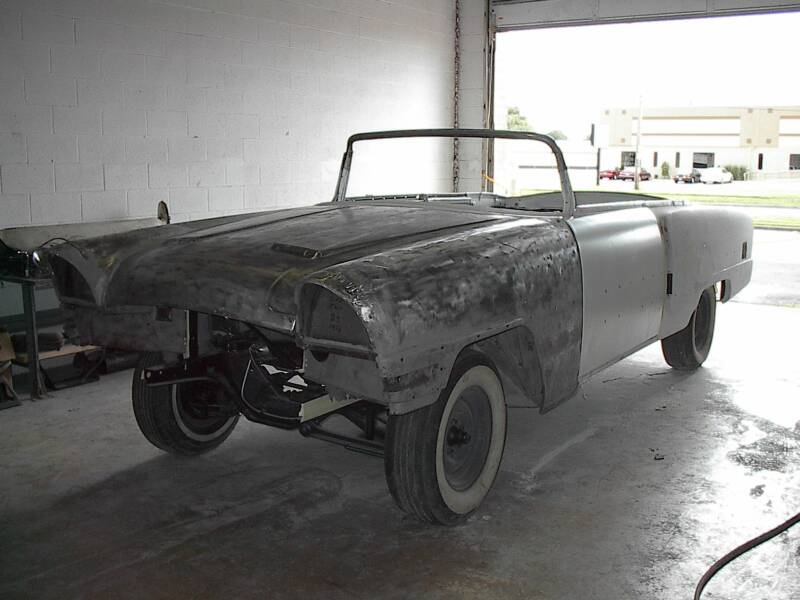
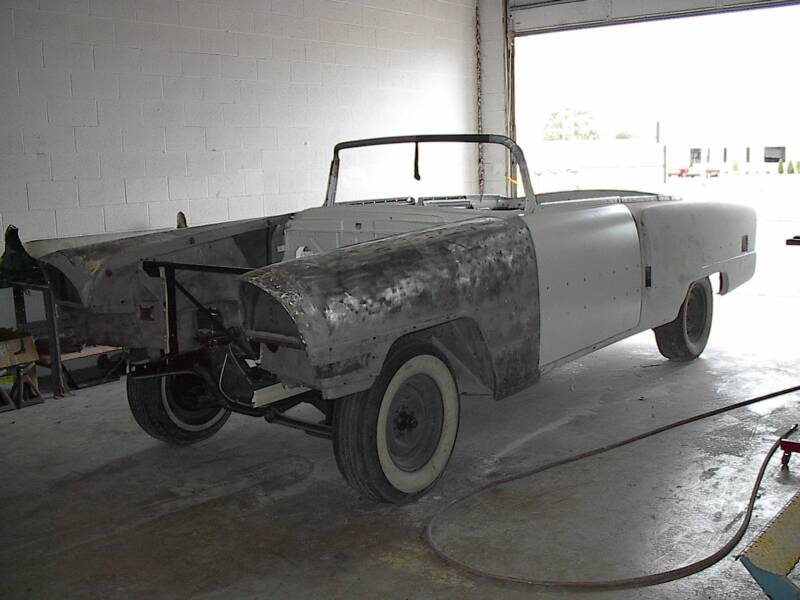
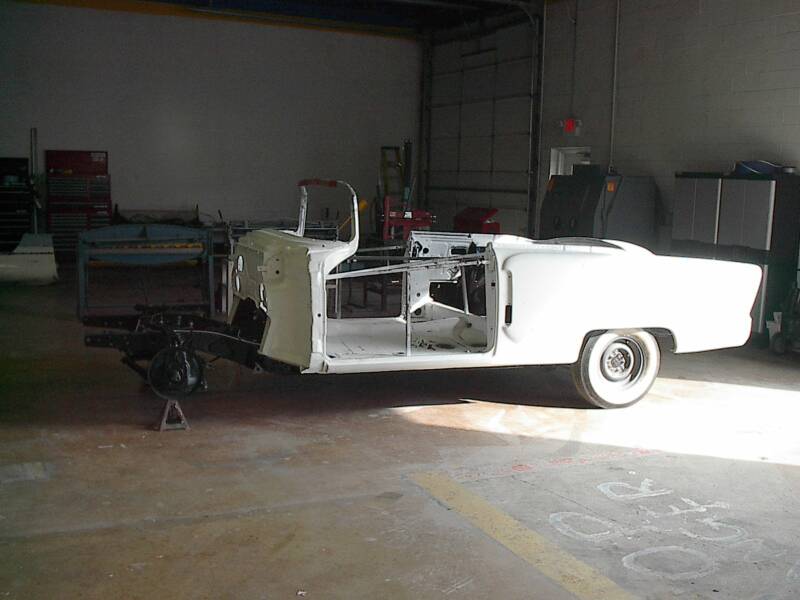
Arriving back from the media blaster, White Cloud catches some rays while a bay is prepared to reassemble the car.
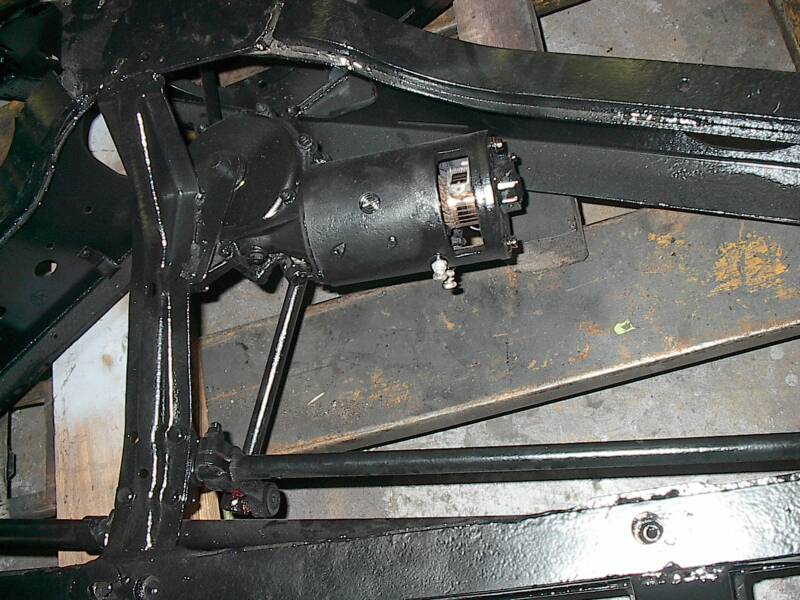
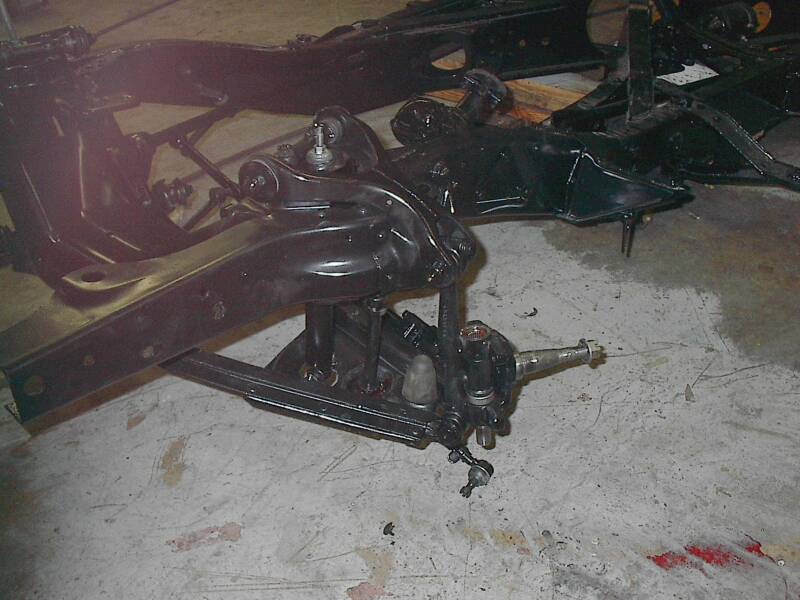
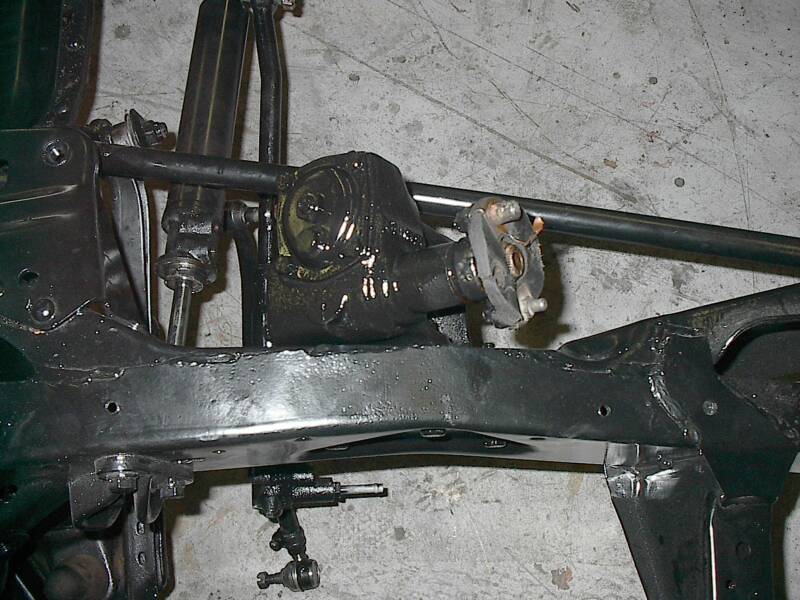
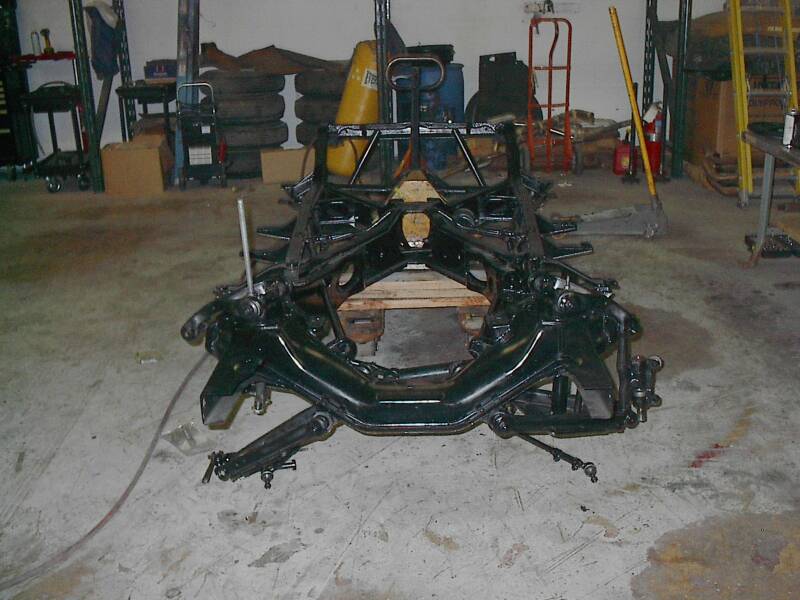
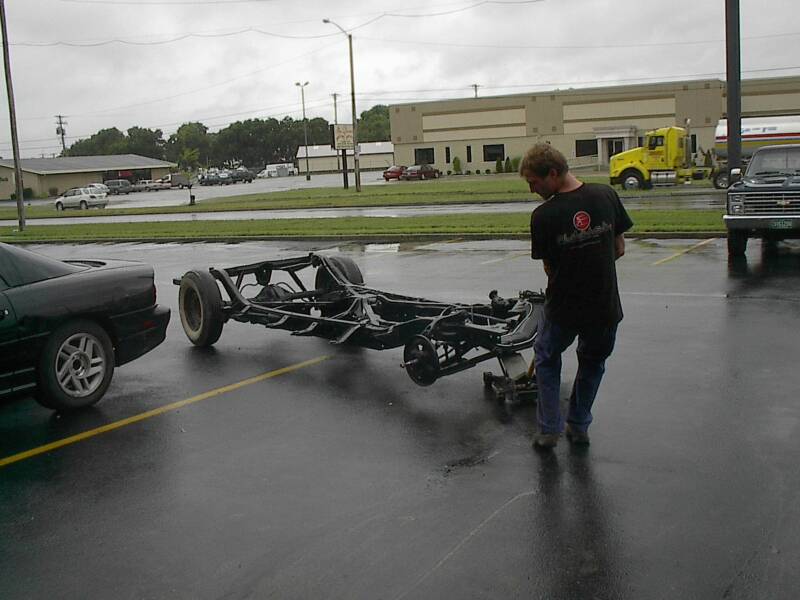
Here is the frame going back together. The tall piece on the passenger side front shock tower is our method of dealing with the high tension of the torsion system as the a-frames are reinstalled
Here is a close shot of the driver side a-frame with front shock installed.
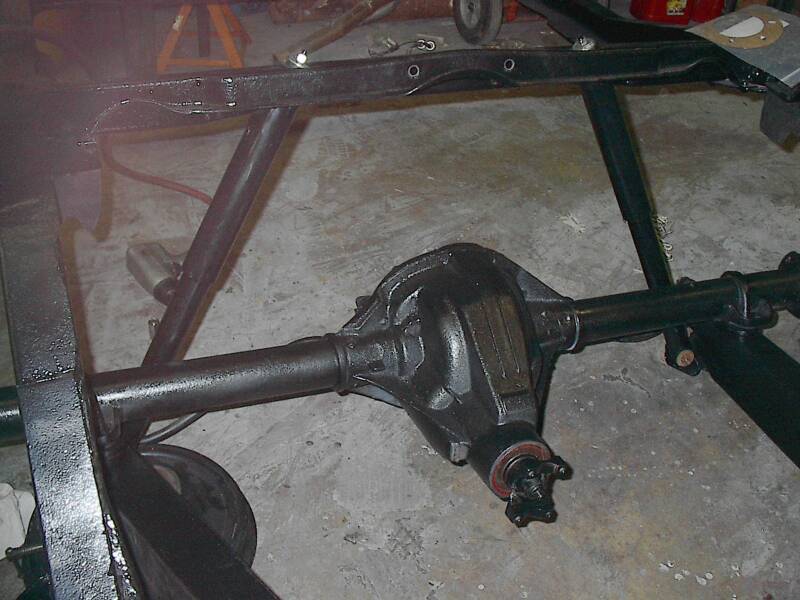
Next, the rear end is installed as well as the rear shocks.
The torsion motor has been installed next the the center of the frame and connected to its arms.
The steering box has also been bolted into place.
Week 7
Continued
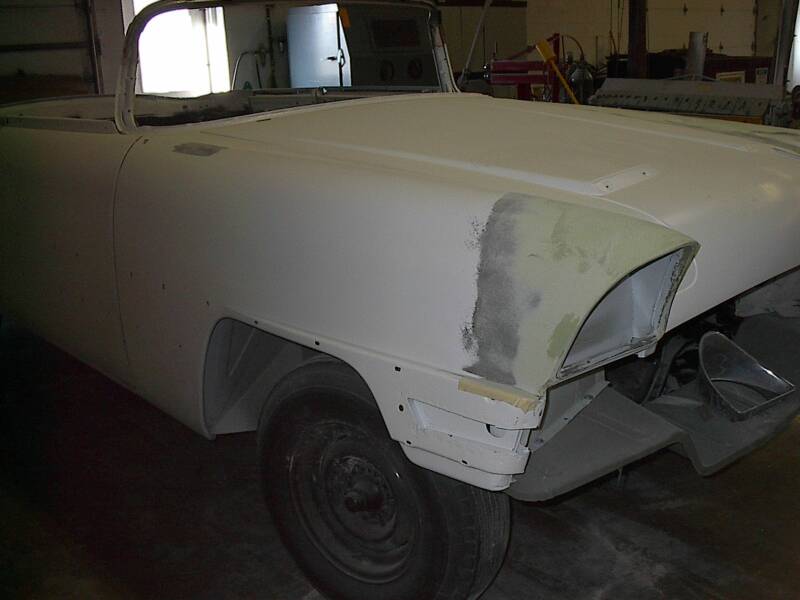
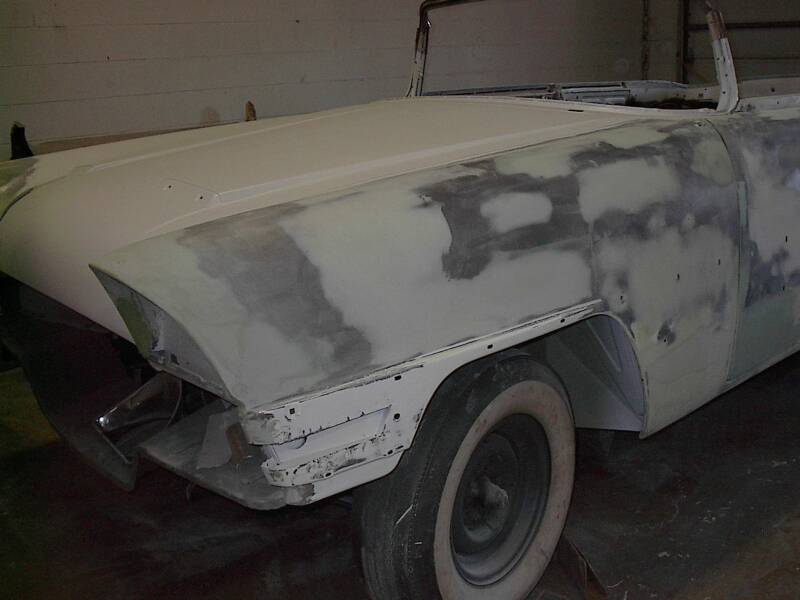
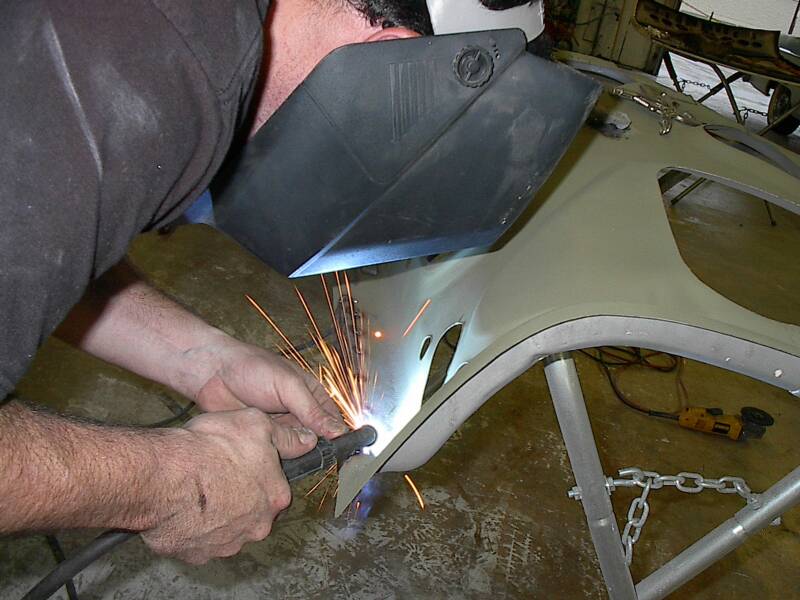
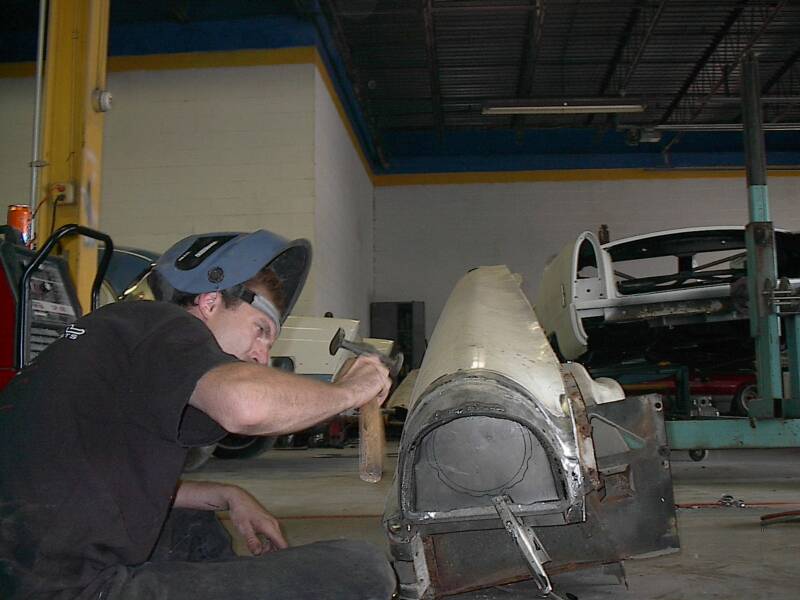
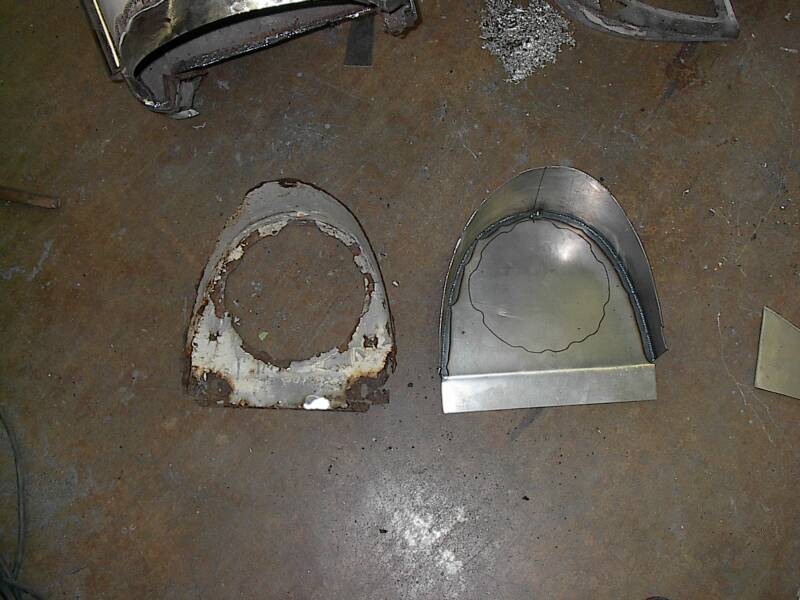
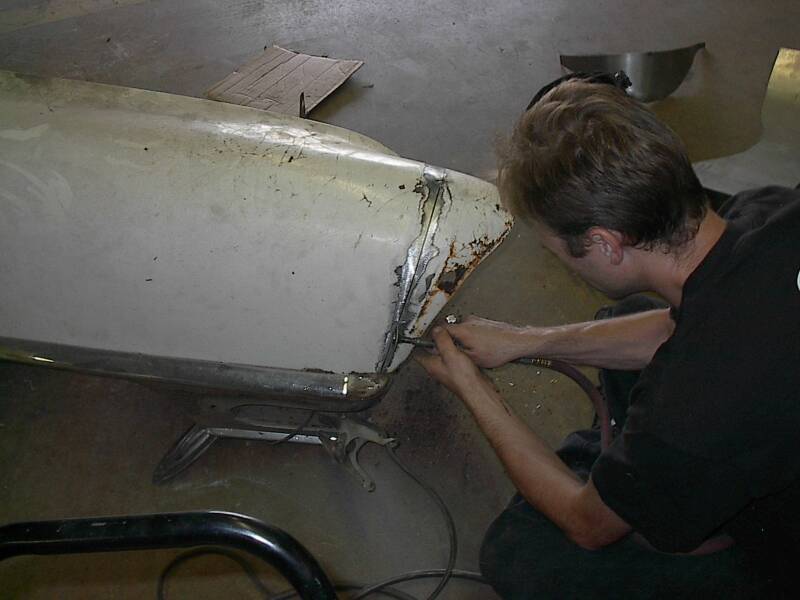
Mitch cuts off the headlight hood to replace it with new metal. Notorious spot on the 56 Packards where it would rust all the way through the fender.
After finishing the rough metal, a temporary coat of primer is put on to prevent rust while the rest of the car is prepared to receive this piece.
Clockwise from the top:
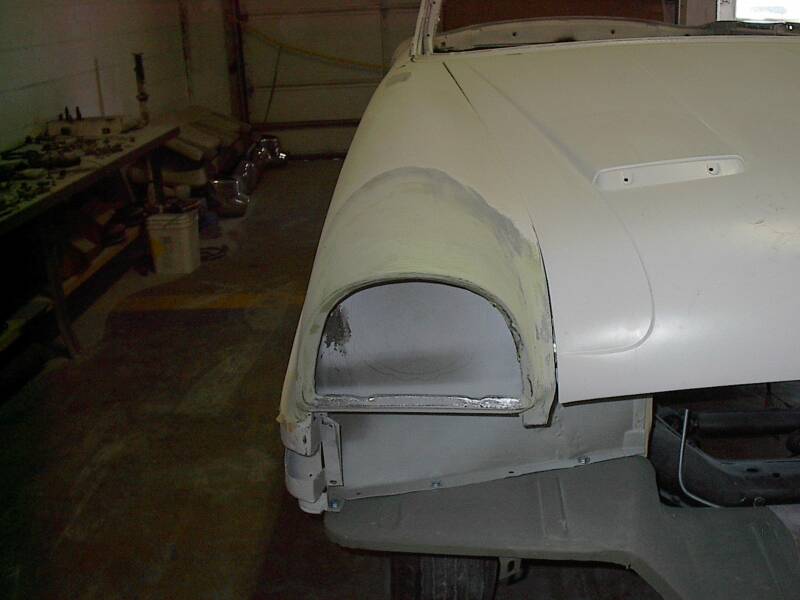
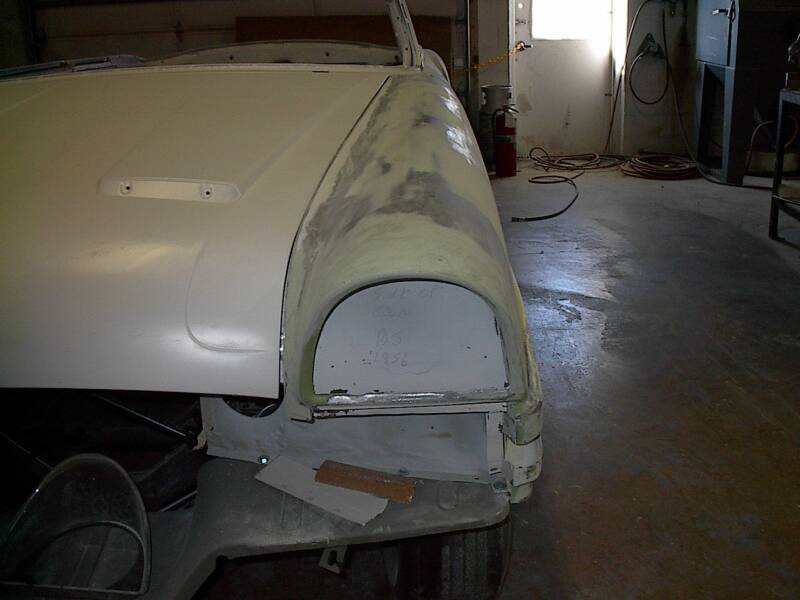
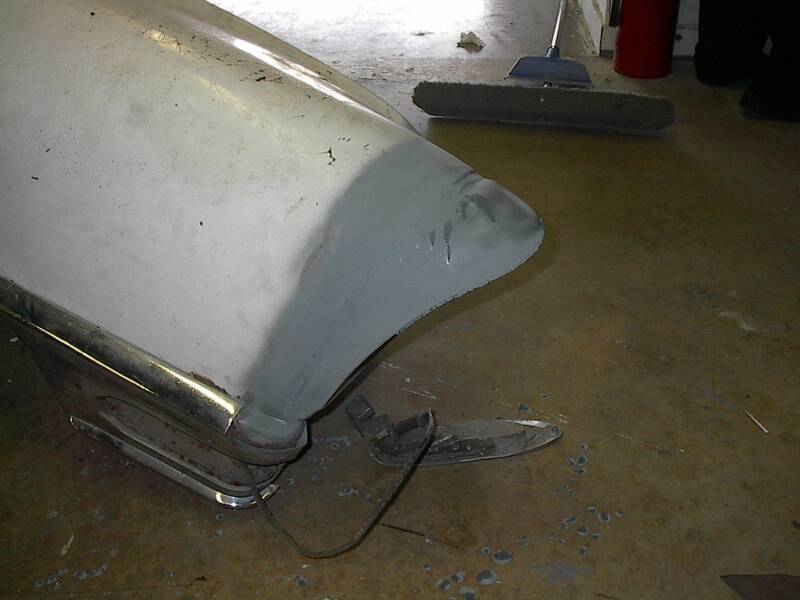
The old and new headlight can.
Here is the new can in place.
The last guys that did this fender, riveted a new piece over the old bad section... over the rust, which eventually ate through the panel again.
Our replacement looks a lot better.
Week 8
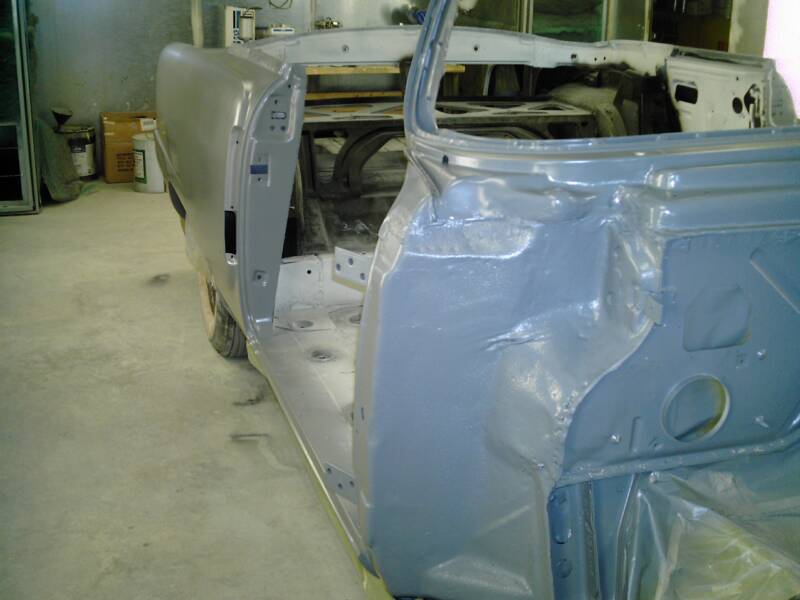
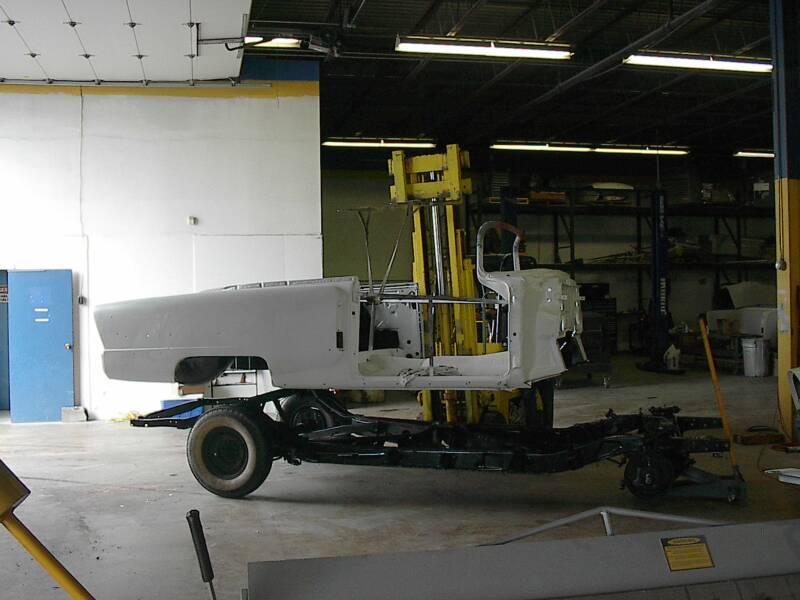
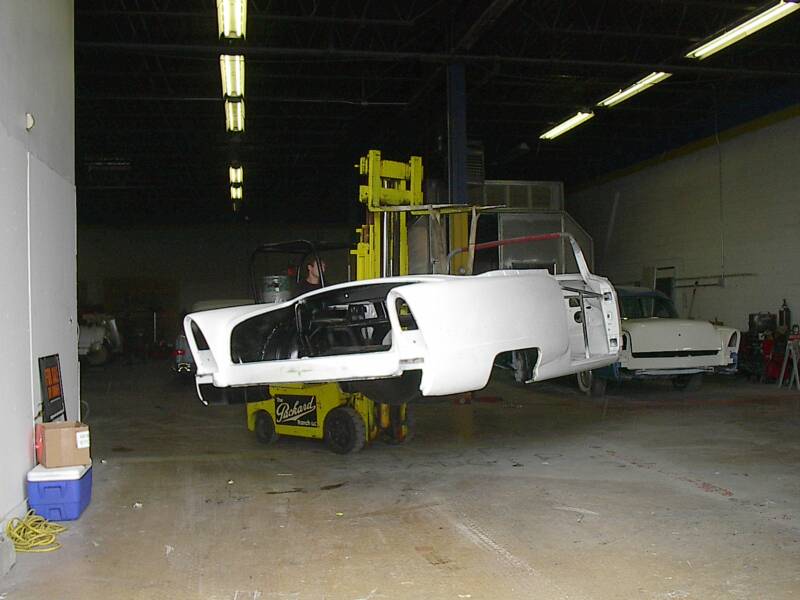
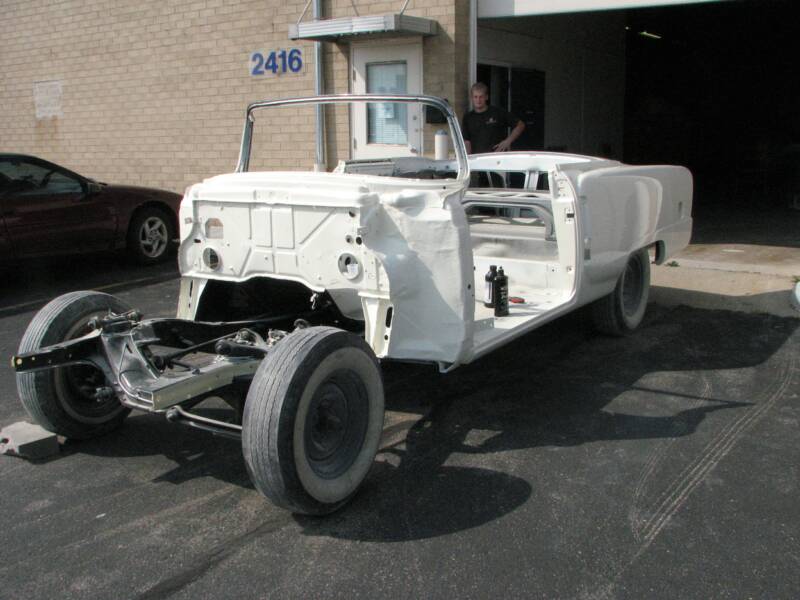
White Cloud floats for the last time. We removed the bolts and welds that hold her to the rotisserie and hang her from the forklift while we roll the chassis underneath.
Mitch is rolling the chassis from the metal fabrication bay into the main shop and underneath White Cloud's body.
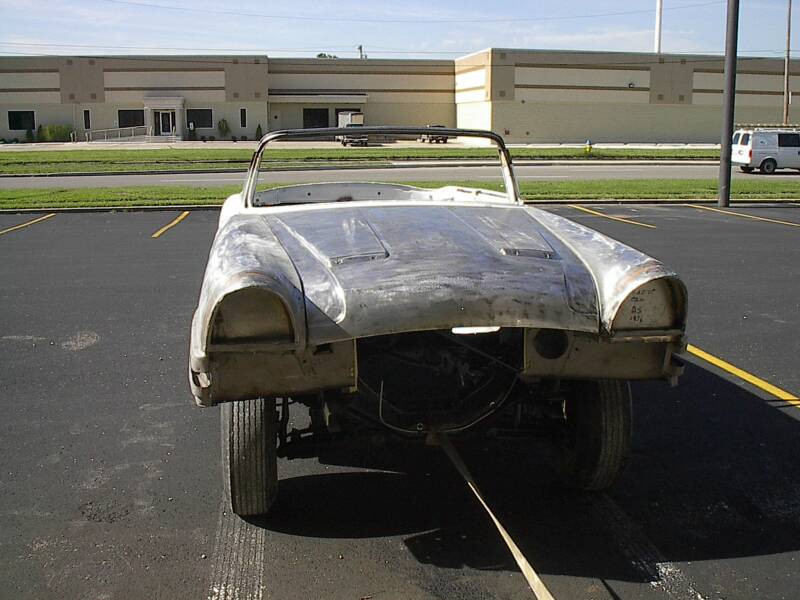
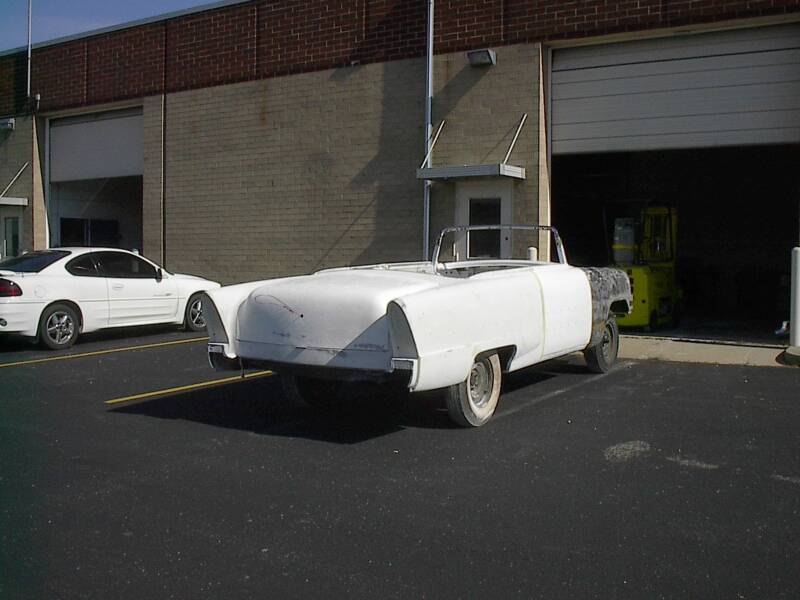
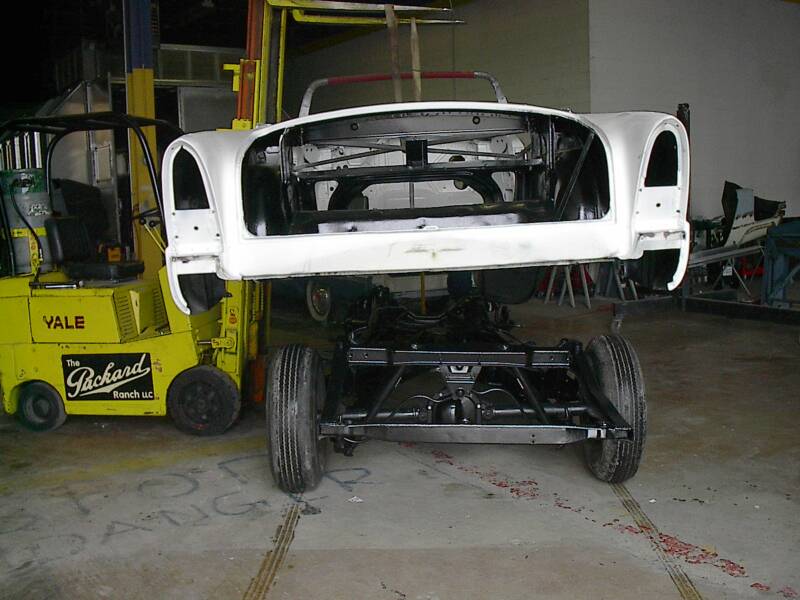
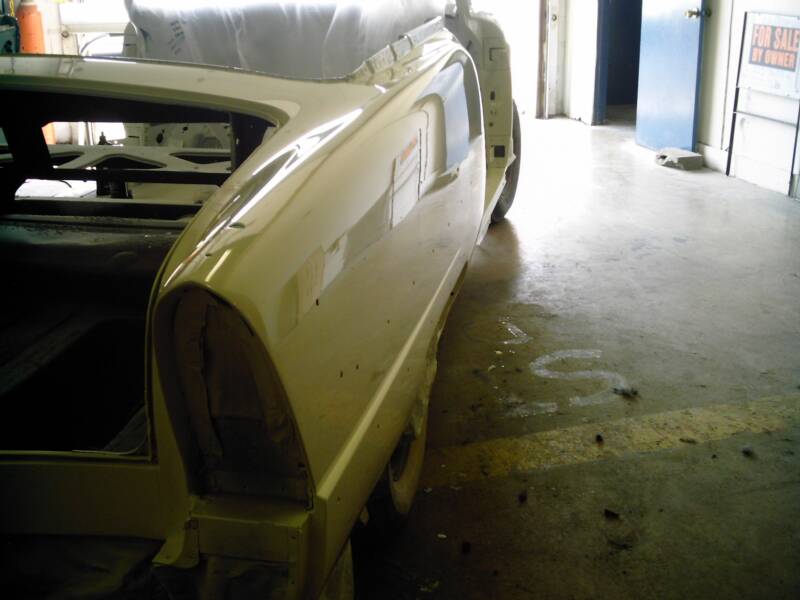
White Cloud comes together for the last time.
Clockwise from the Top Left:
Chassis is positioned under the car.
Further alignment and lowering go carefully.
Front shot of the body in place.
A break in the rain produced this well lit shot from the side.
Week 9
Week 9 Continued
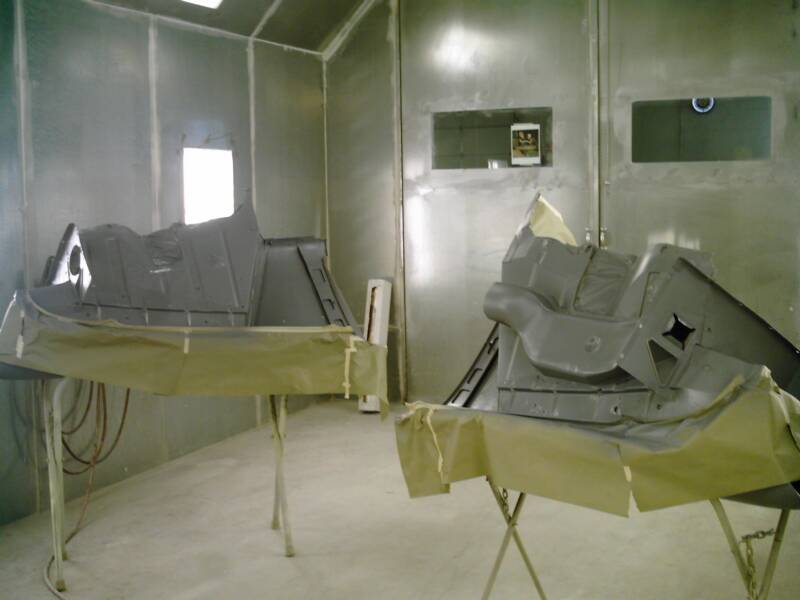
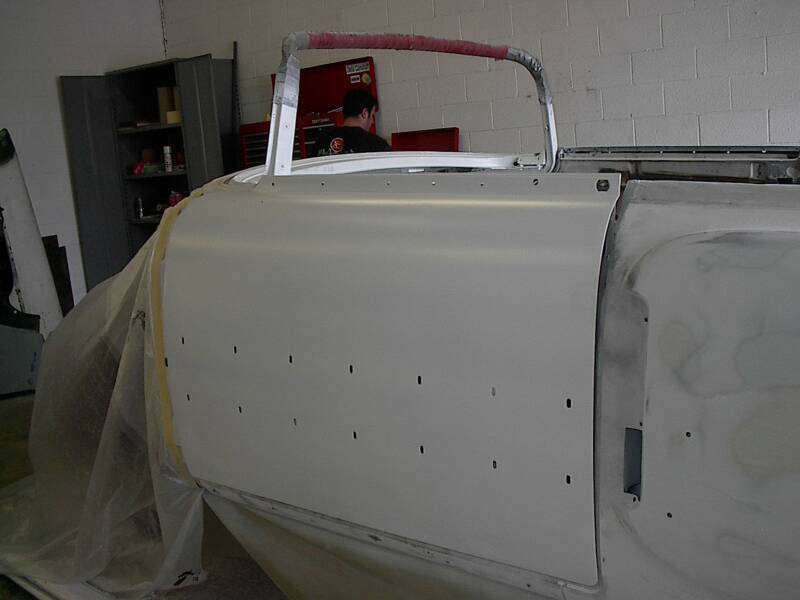
The doors are stripped and cleaned and ready to receive their first coat of final epoxy primer
The doors are then mounted to the car for fit and finish body work. In the same way the trunk is attacked, the doors will be adjusted and blocked so that White Cloud gets beautiful her lines back.
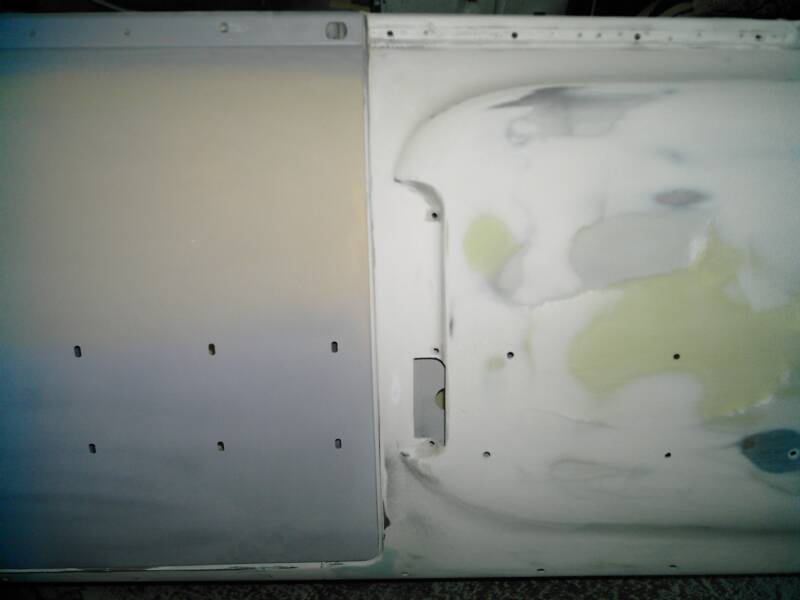
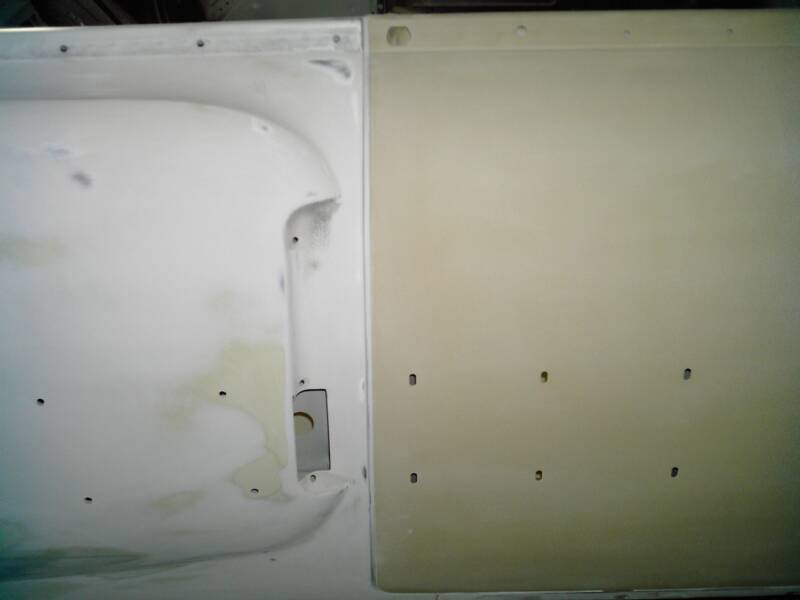
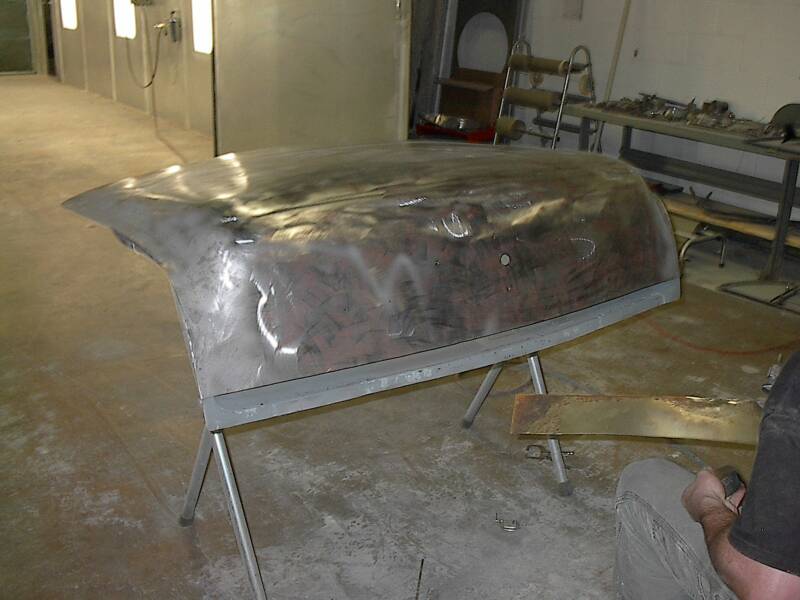
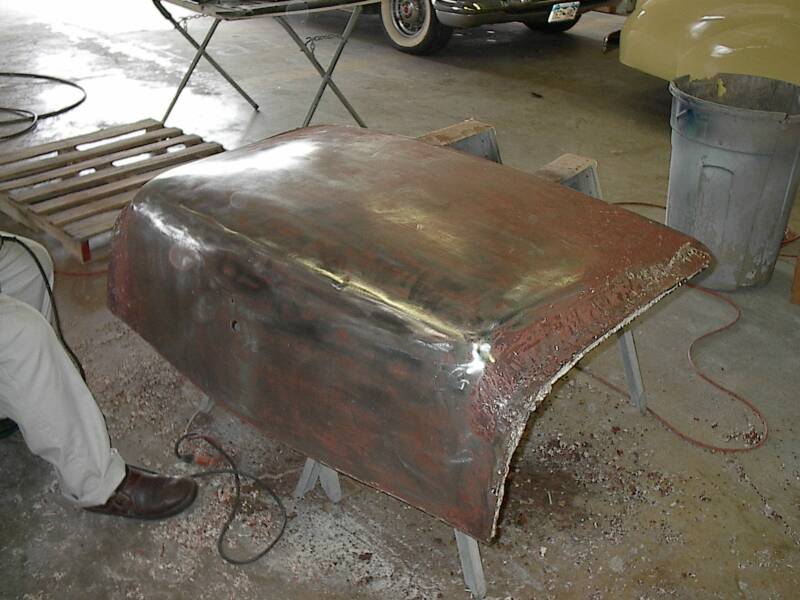
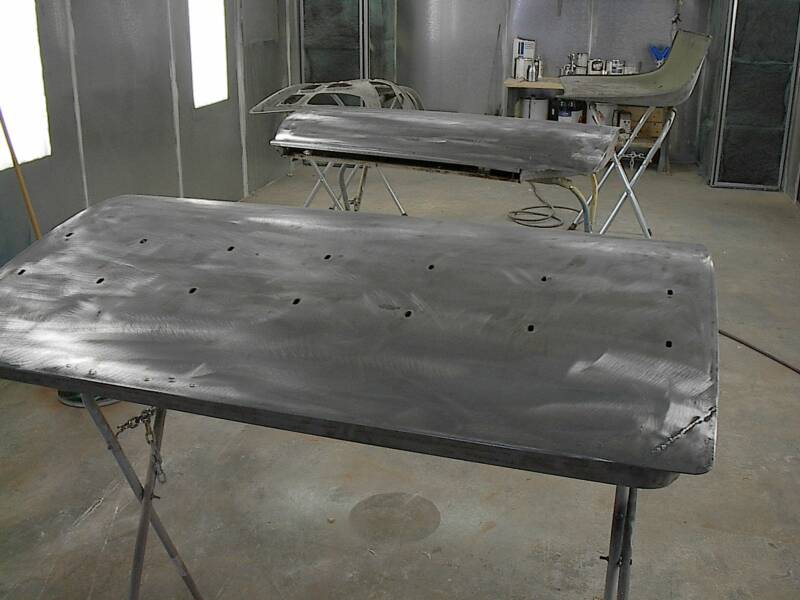
The decklid receives a first class restoration treatment.
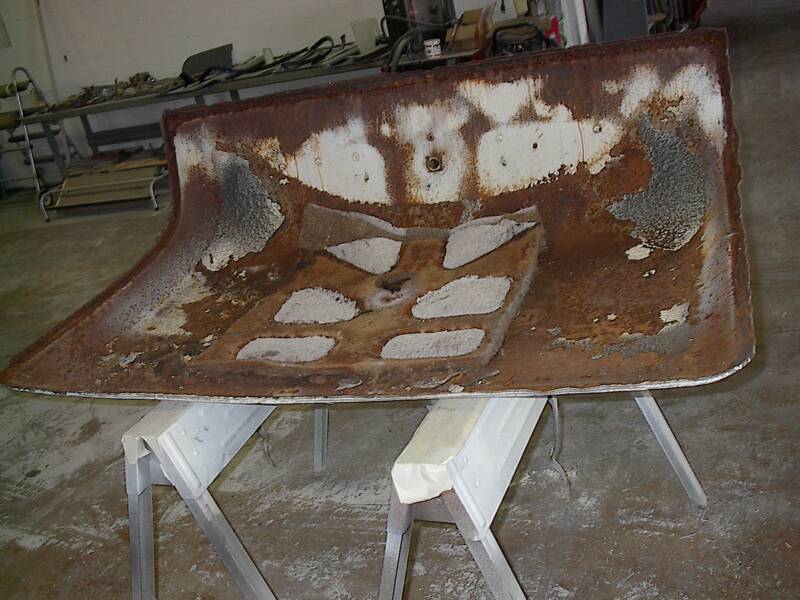
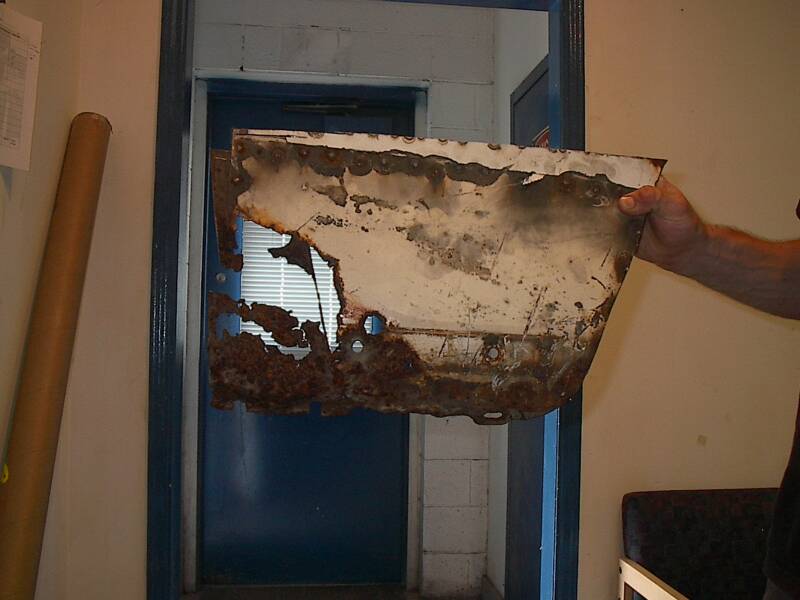
First the skin is split from the internal frame and both parts are stripped cleaned and primed
Next the skin and internal structure are reunited before cutting the rotten parts off the decklid and replacing them with good metal.
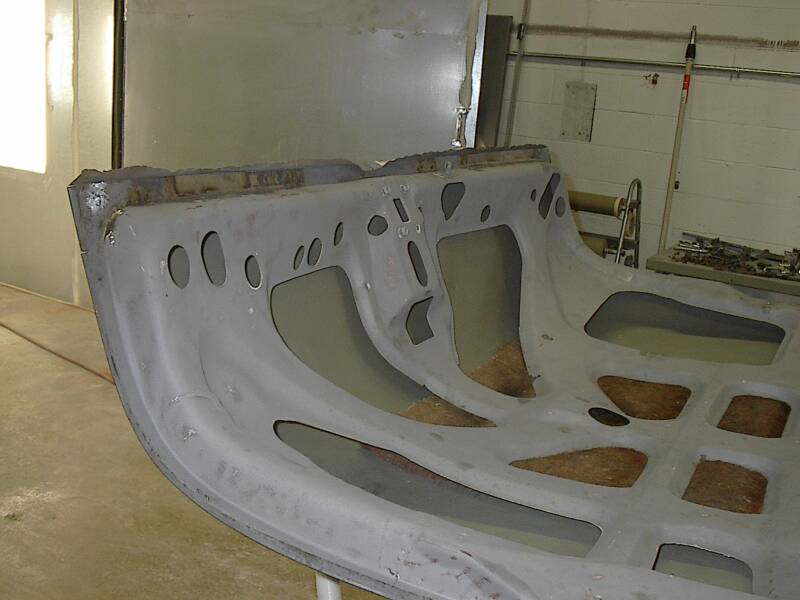
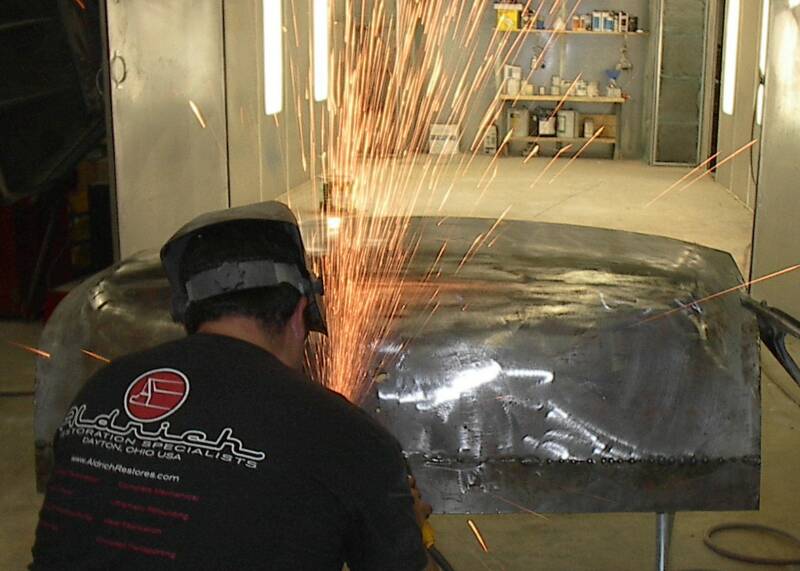
Pat Aldrich gives his expert hand to the welding and grinding of the new deck lid skin piece. The entire lower edge of the trunk was riddled with holes and had to be cut from the car.
After splitting the internal structure away it become obvious that some parts are rotten through and through.
Here Pat welds a new piece onto the edge of the decklid frame and reworks the entire bottom edge.
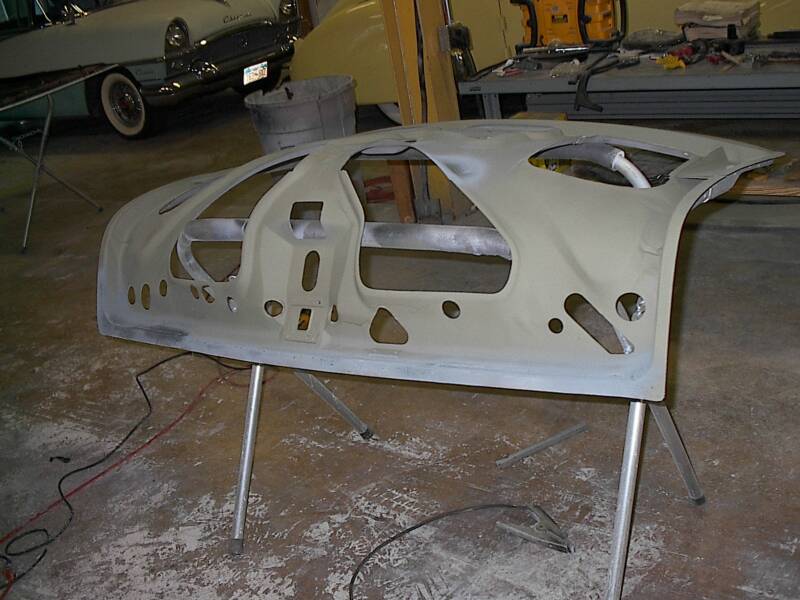
The last two pictures show the same principle also applied to the deck lid skin.
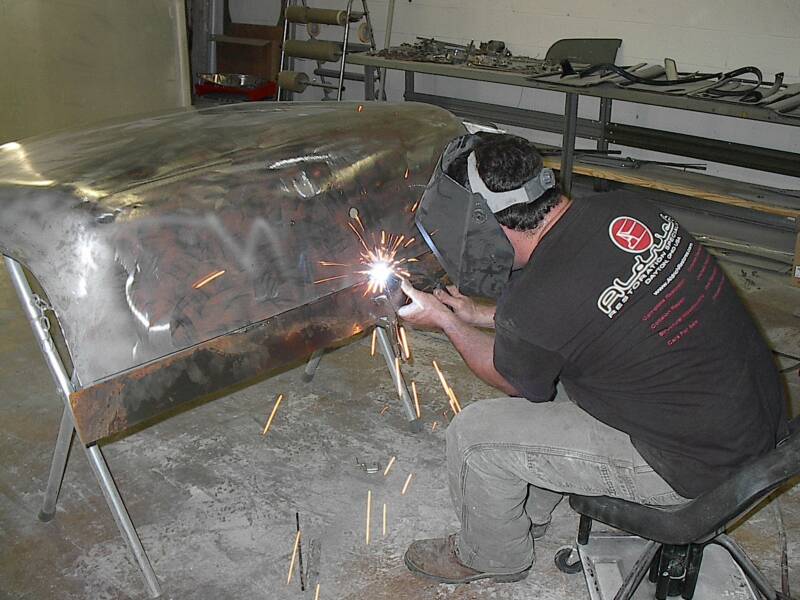
After all is said and done, the deck lid gets a first coat of paint and is mounted back on the car. Pat is blocking the lines of the trunk so that when the car goes to final paint everything lines up.
Week 10
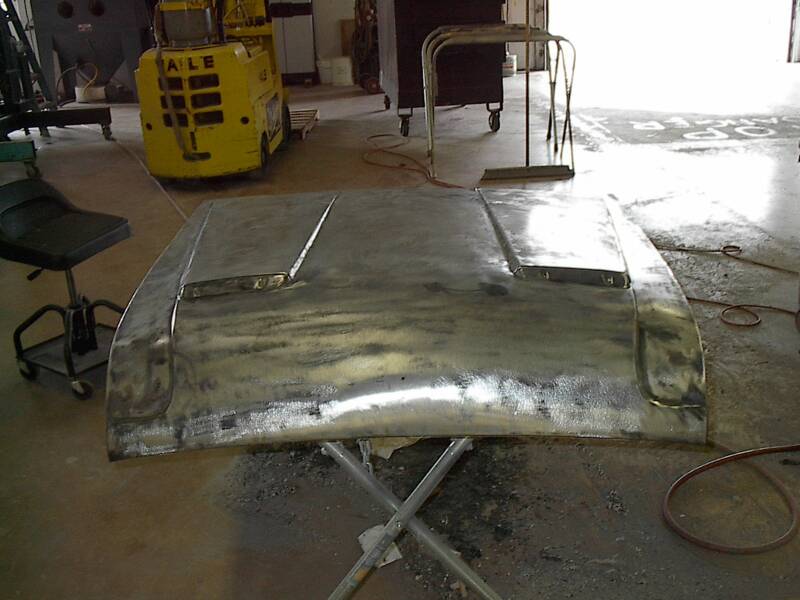
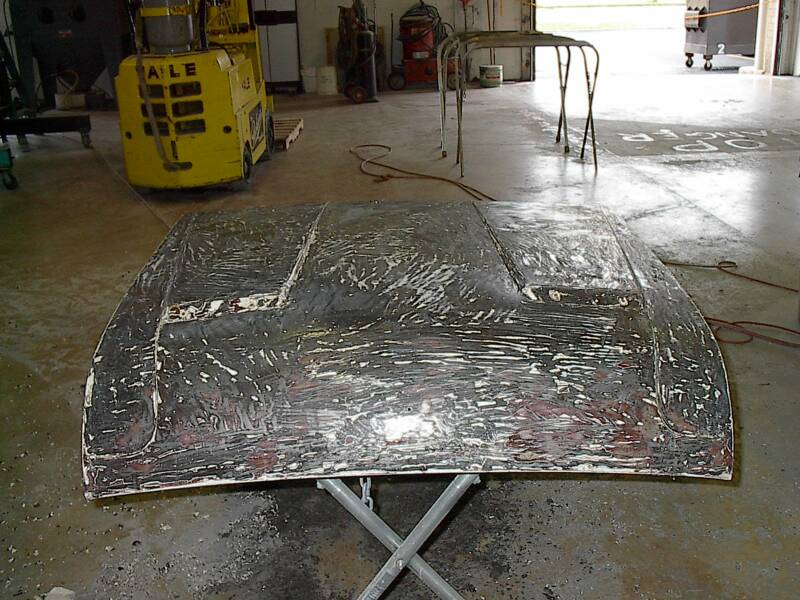
Roc strips the hood first with a paint solvent and then with sand paper to ready to hood for alignment and primer.
Step two: After scraping a majority of the paint off, the sanding takes the hood down to bare metal.
Once the paint is off a few pinhole rust spots are found along the leading edge of the hood. This is remedied with a grinding wheel and a welder. It is then finished with a detail sanding to bring the new metal flush with the rest of the hood.
The second pair of photos gives you a before and after of the hood being slid into place for alignment.
2416 Stanley Ave
Dayton, OH USA 45404
937-222-3633, 937-222-3833
Week 10 continued
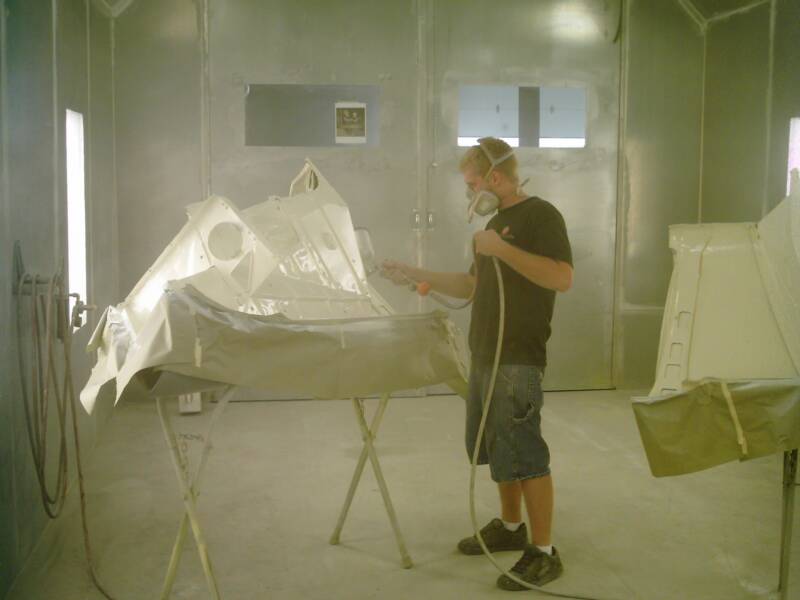
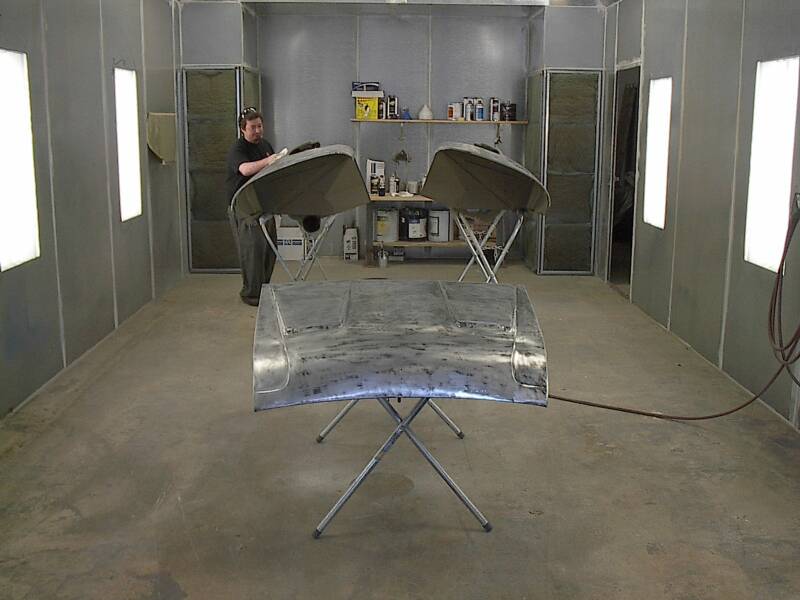
Roc wipes the hood and fenders with a cleaner to take off stripping chemicals and dust from sanding prior to spraying on the epoxy primer.
Here are the hood and fenders after the second coat of primer.
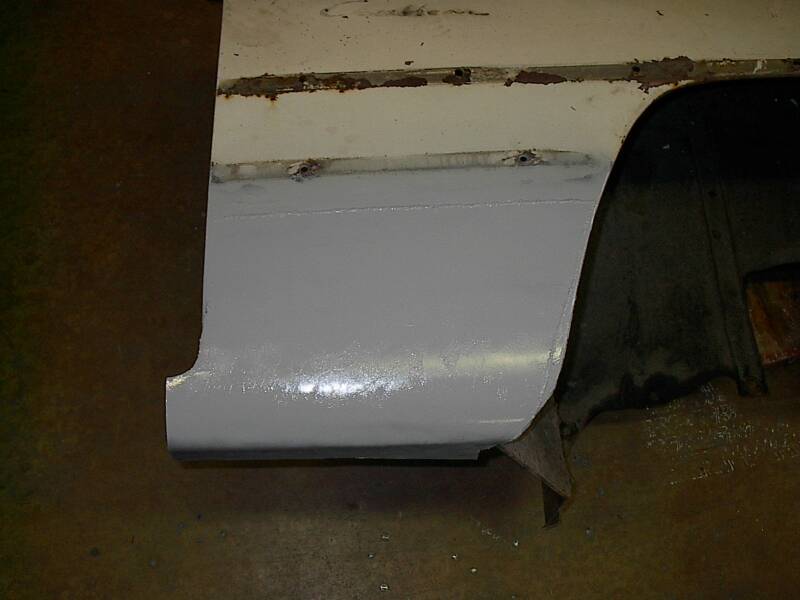
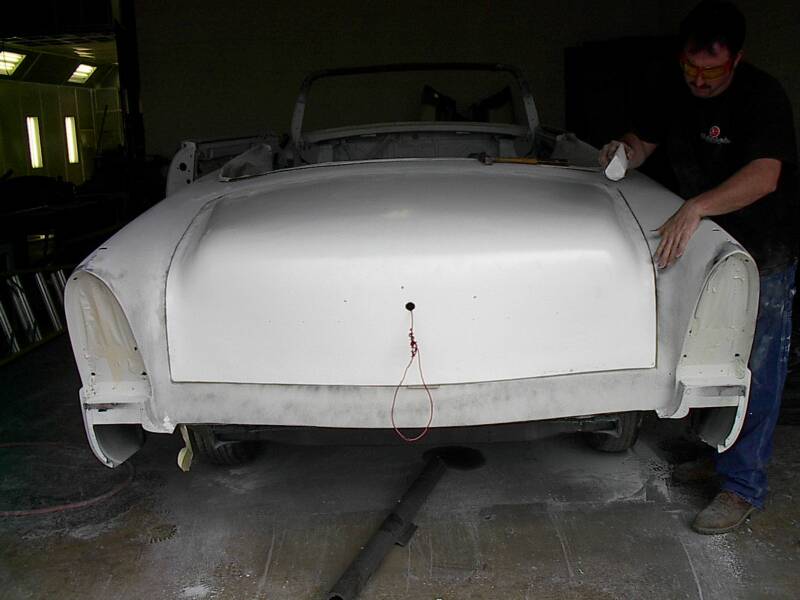
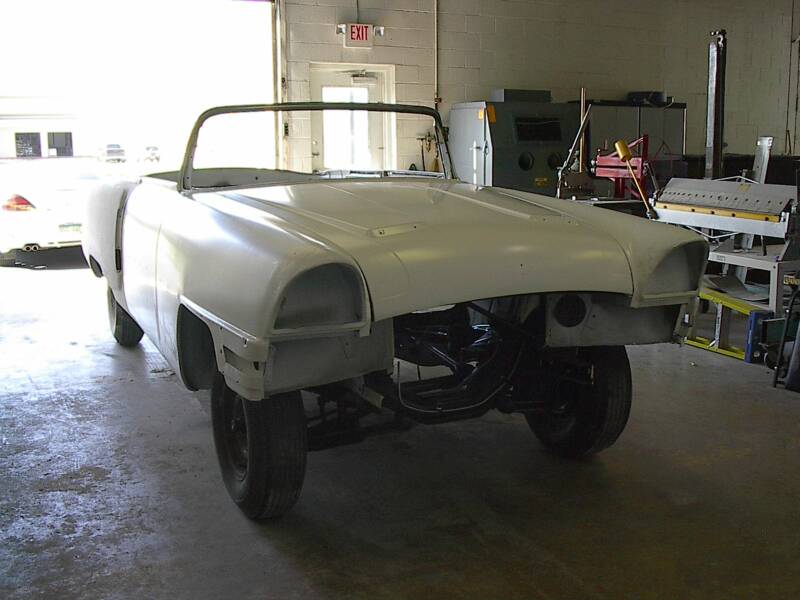
The fenders and hood are dry fit onto the car for final metal work, fitting and alignment before being coated with primer.
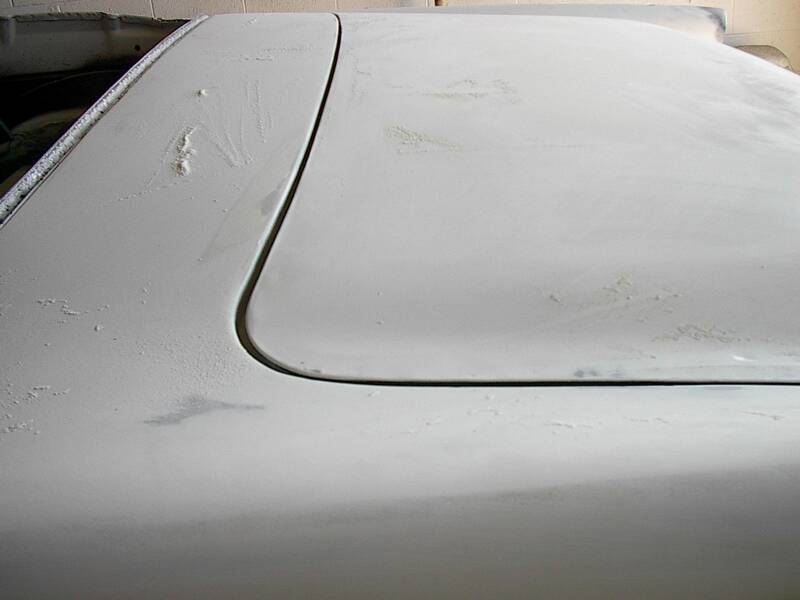
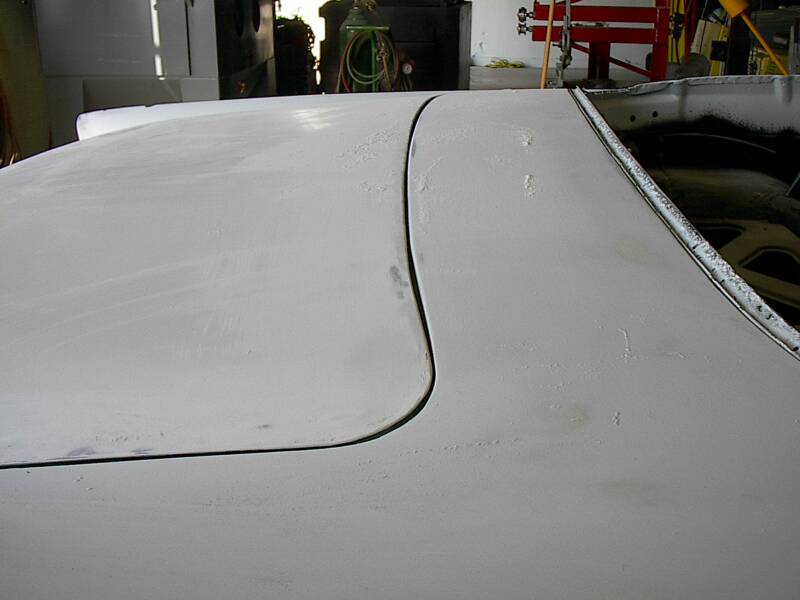
Here are a few angles of White Cloud after initial alignment out in the sun where we can assess her overall lines in natural light.
The doors trunk and fenders all look good and straight.
Week 11
After epoxy primer, the hood and fenders go back on the car. This middle stage mounting is to get Cloud's entire body straight and ready for paint.
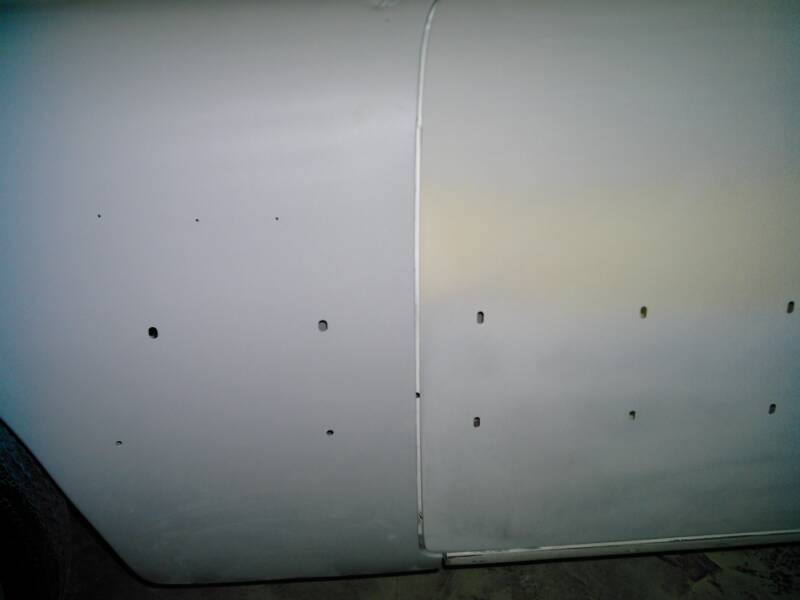
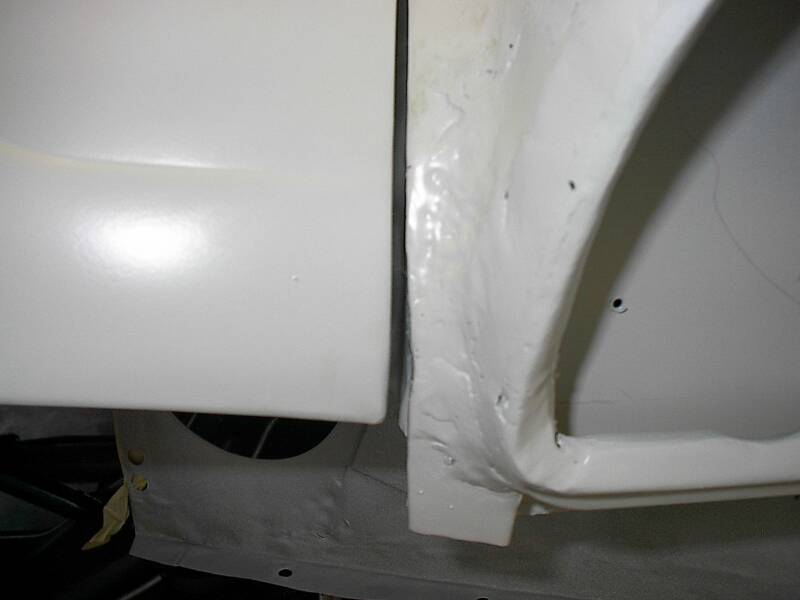
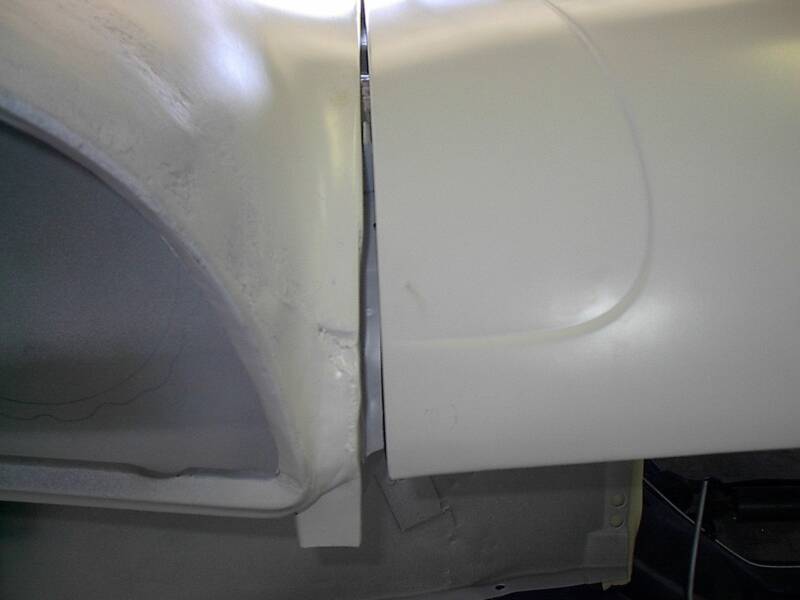
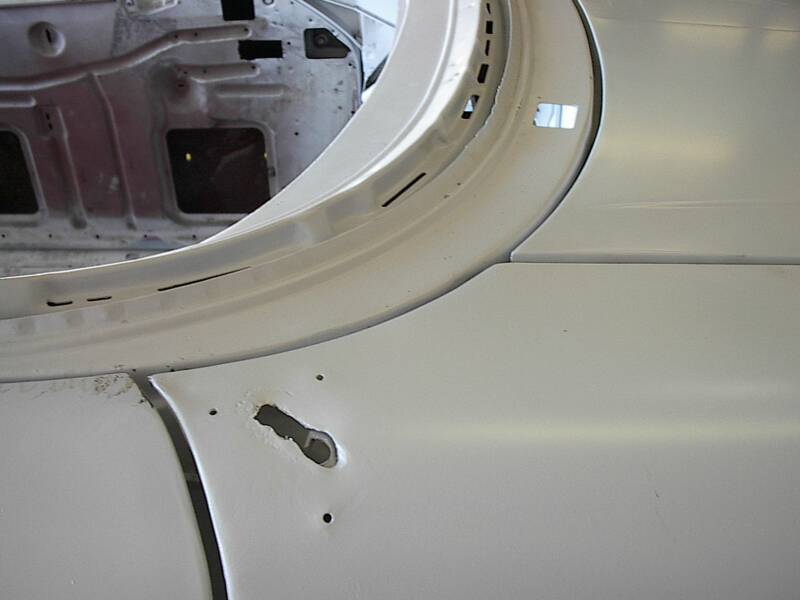
Here is the line where the hood fender and door all come together on the lower edge of the windshield. The rough hole in the fender is where the accessory spotlight comes through.
The front edge of the hood is a good clean original line we can use to make changes to the fender in order to line the two pieces up.
In the top two pics it is clear the passenger side needs more work than the drivers side.
In the bottom two pics, the trunk still needs minor cosmetic adjustment but the lines are really starting to shape up!
Week 12
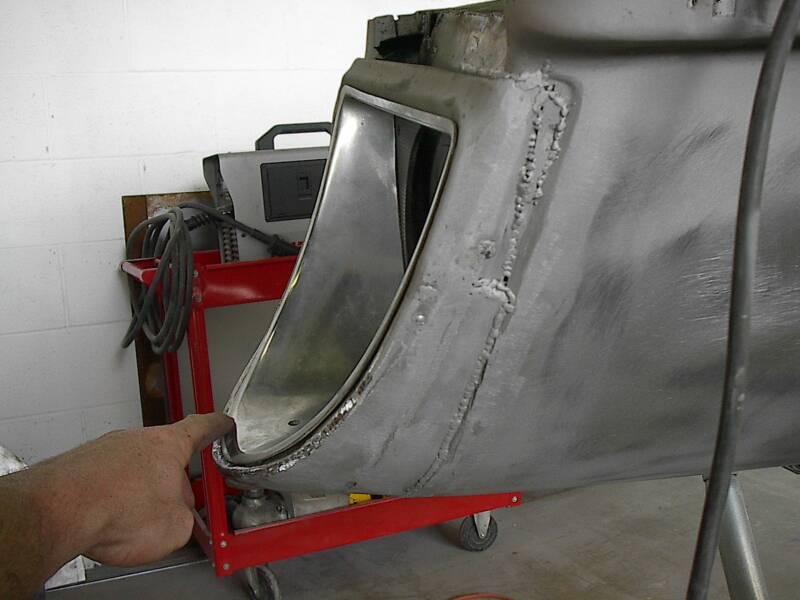
Before epoxy primer, an extensive amount of reconstruction had to take place on the headlight buckets. All the old metal was cut back to a place with no rust.
New metal was added with a care to weld it back in as close to the original position of the bad metal as possible. The fitting of the head light pieces aids with maintaining a proper 1956 forward curve.
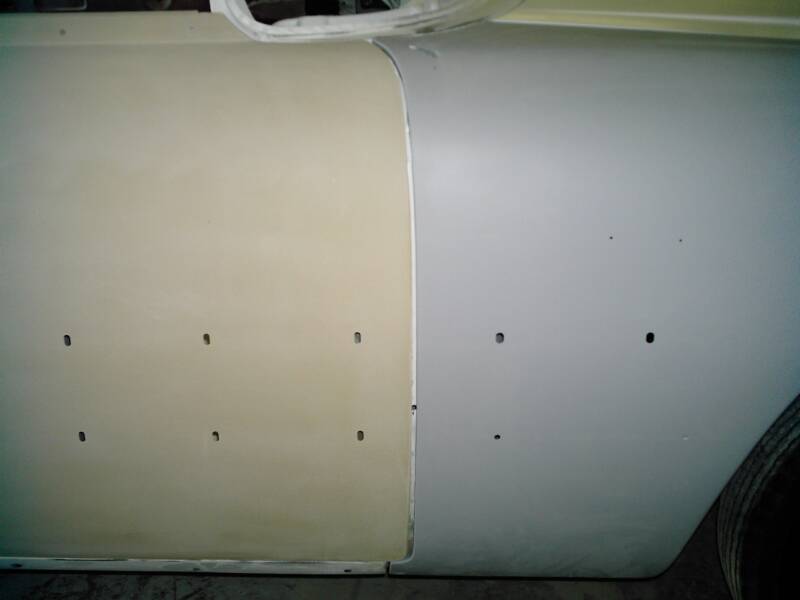
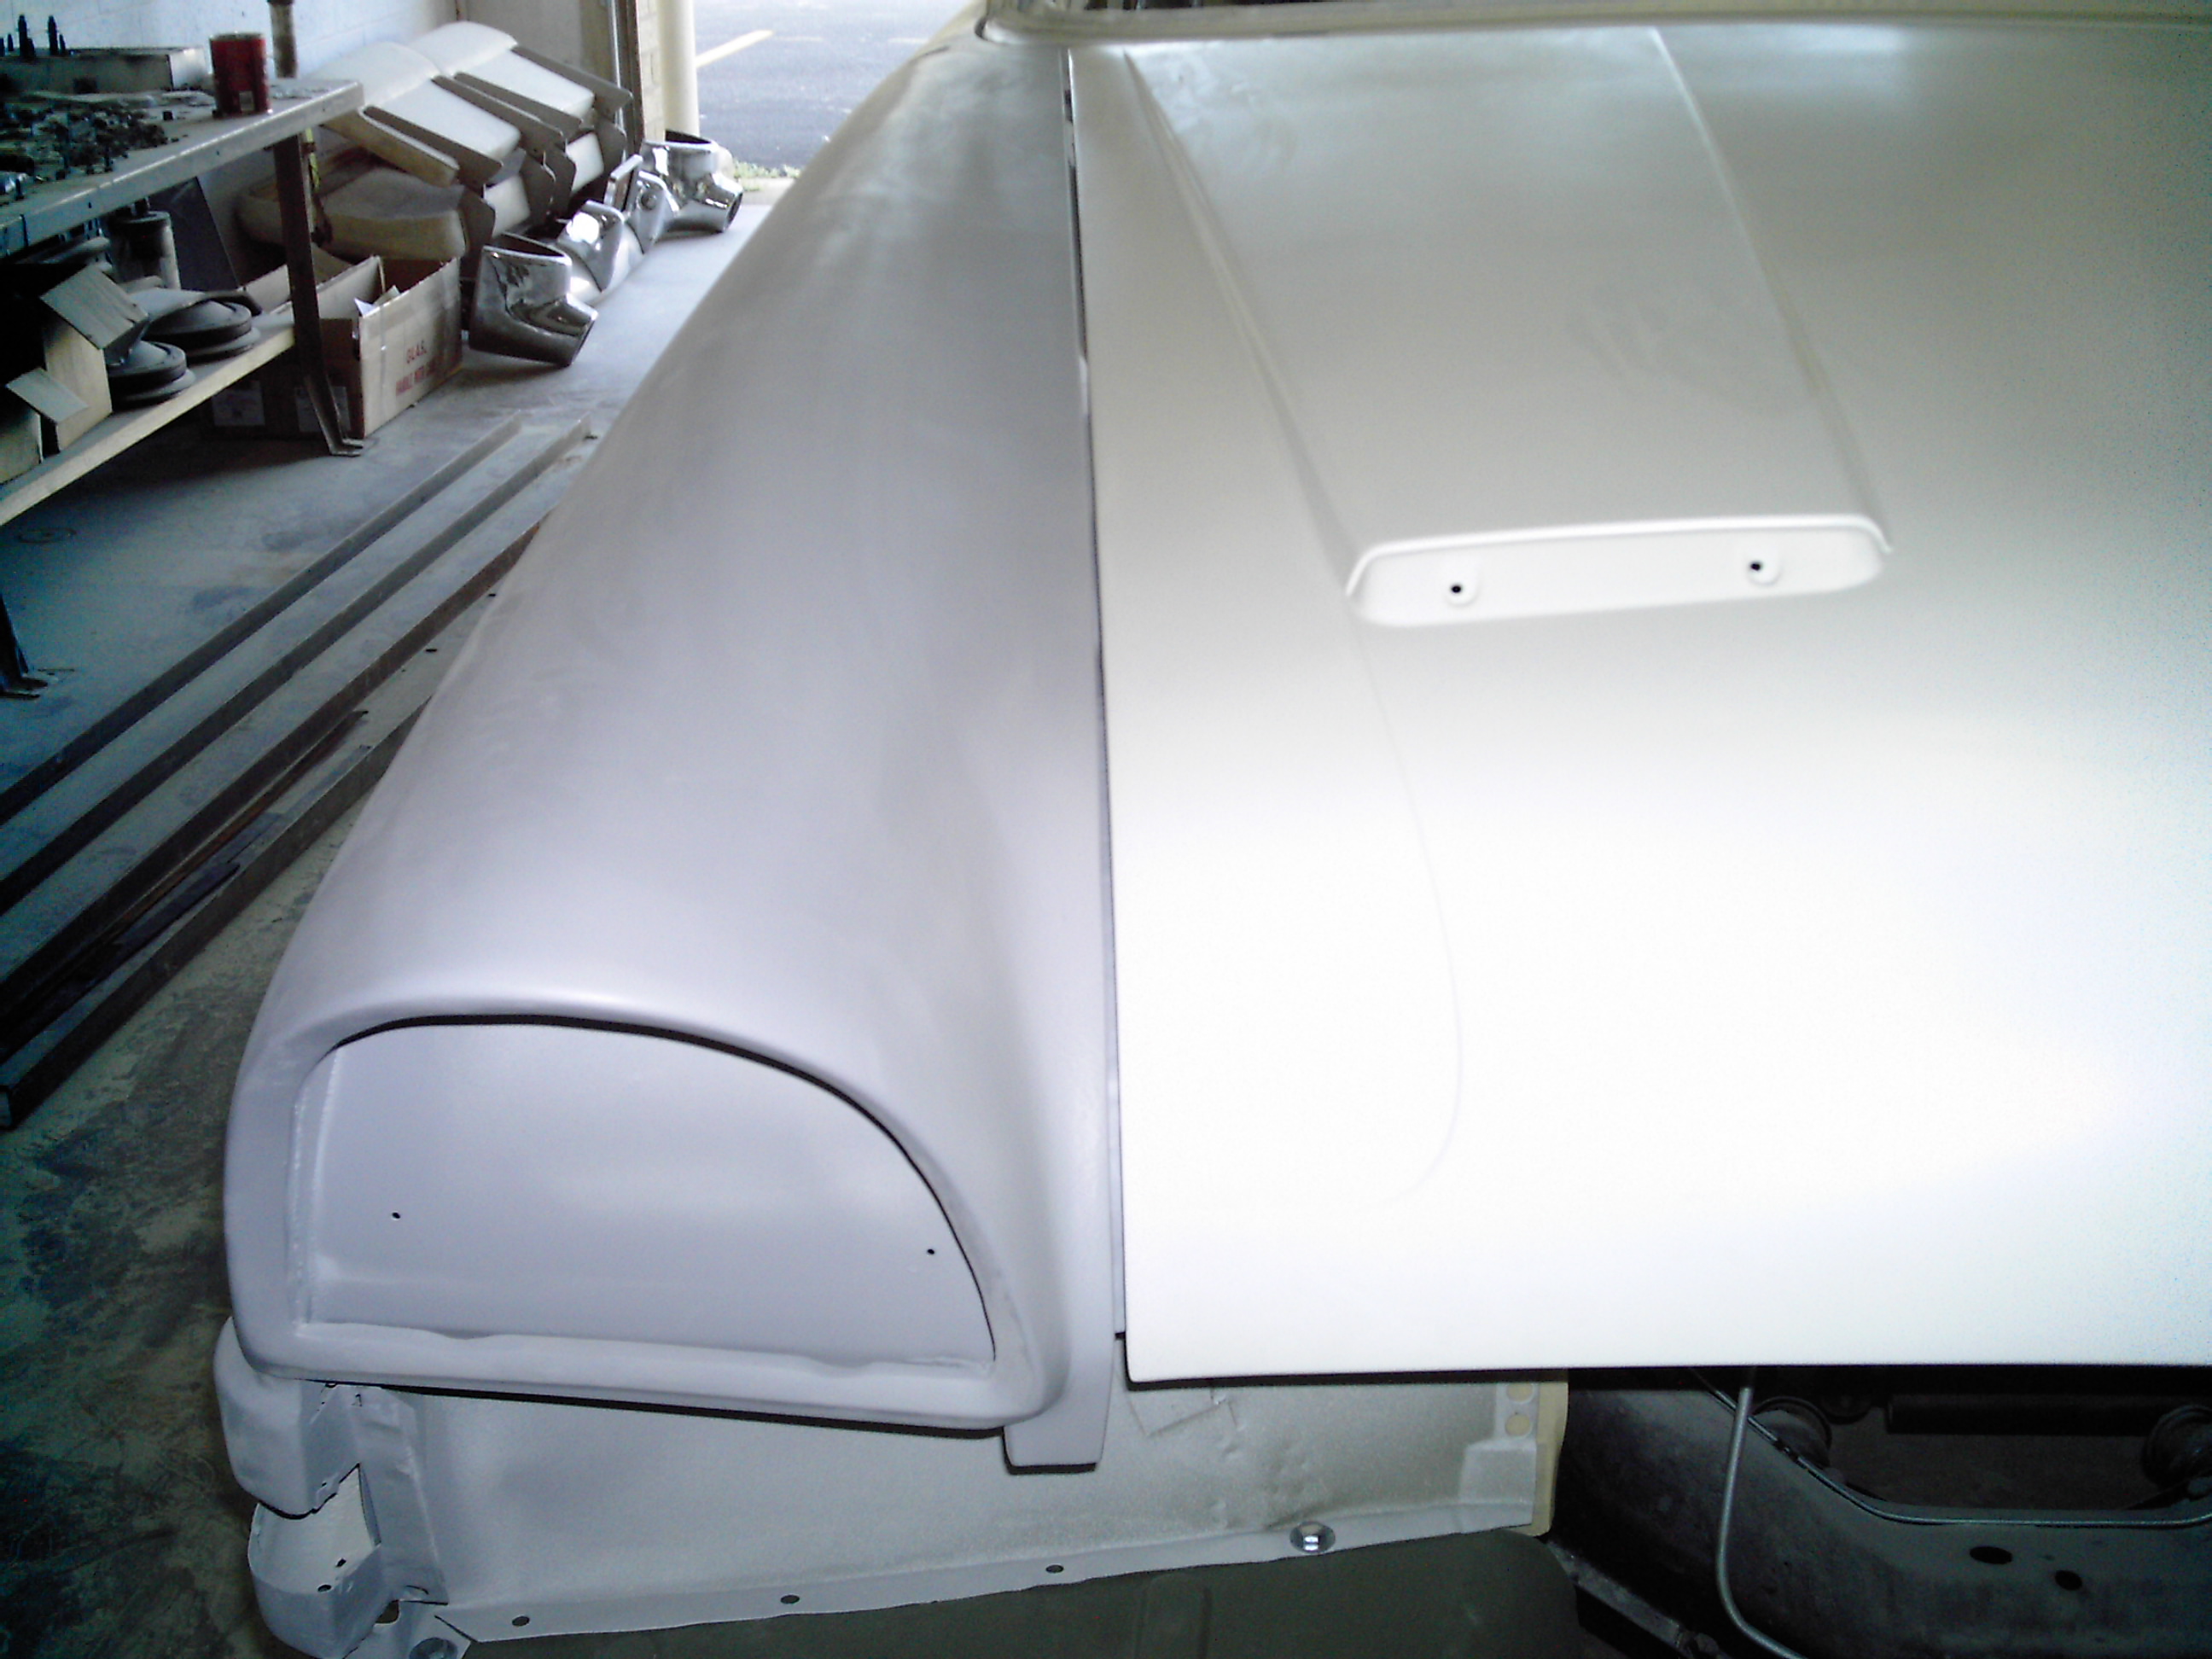
After all that the fenders are given a light coat of feather fill to bring the fenders to a place where they can receive final paint. Both sides of the car receive roughly the same treatment. although the driver's side fender needed more work.
This is the passenger side fender almost ready for paint. Here is the final fitting of the pieces before paint is laid on the car.
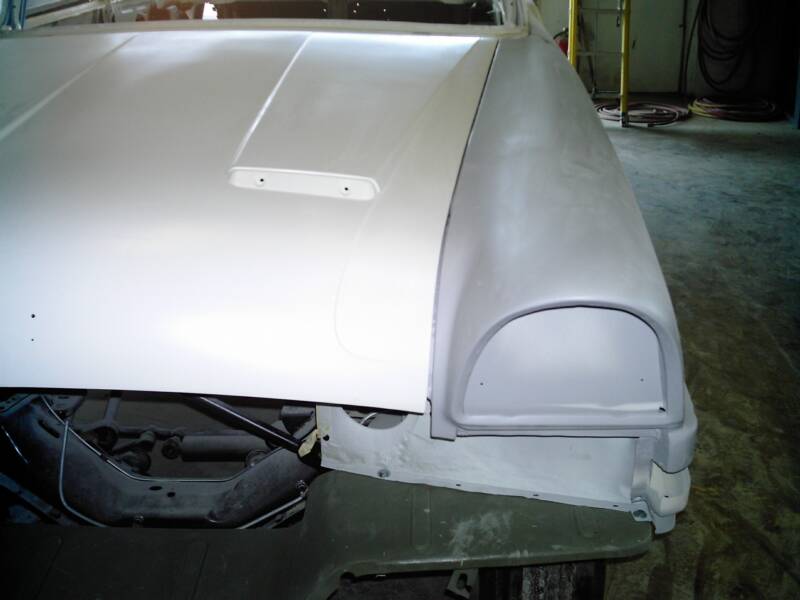
The other side of the car is the same story; almost ready for paint. The gaps in each panel are meticulously measured to make all panels even.
Here shows all the door gaps that we have adjusted so that they all match and are even all the way around. The top shows the passenger side door and the bottom is the drivers side. From here we can readjust the fender to door gaps
Week 14
Week 15
Week 16
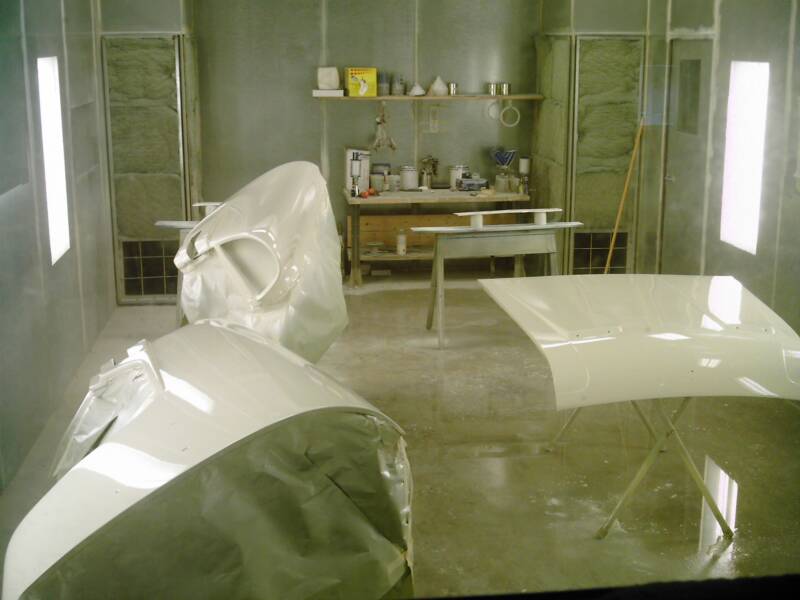
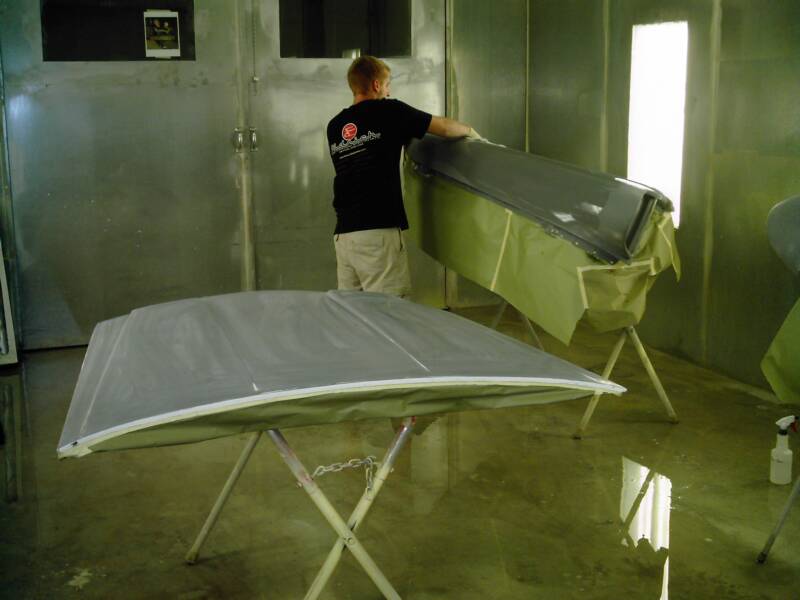
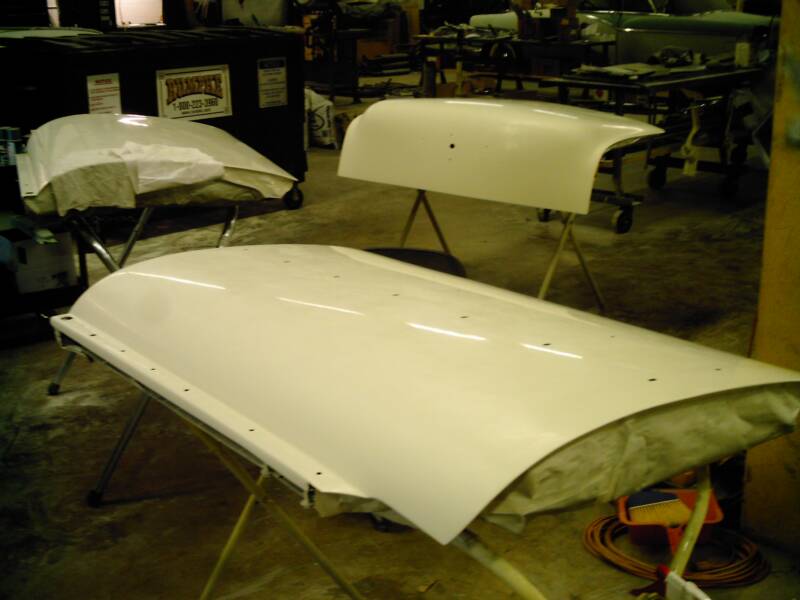
The hood and doors out in the shop prior to wet sanding and final buffing
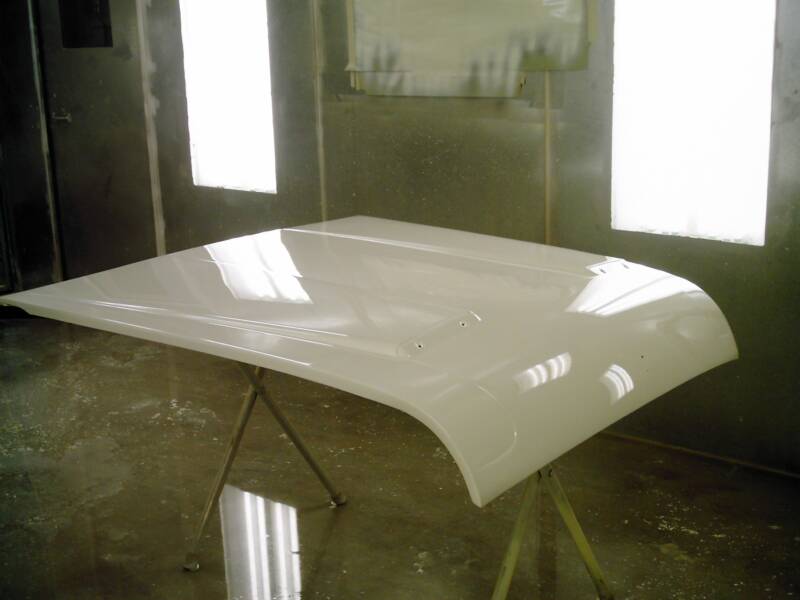
Here is the hood after final paint
Here the fenders are sealed with epoxy primer in the top left. Caleb putting the final color on the insides on the top right. Bottom left he is wet sanding the epoxy with 800 then 1000 grit prior to applying the final color. The bottom right shows the hood and fenders painted.
This is the car final buffed heading outside to be rinsed off. JUST LOOK AT THE SHINE!!!
The top left shows the car being taped off for paint the sides of the cowl are undercoated. The top right shows the car in epoxy sealer, it was then wet sander with 800 and 1000 grit paper prior to final paint. The bottom left shows it painted. And the bottom right shows it wet sanded with 1000 grit to remove orange peel.
Here it is outside. It's BRIGHT!
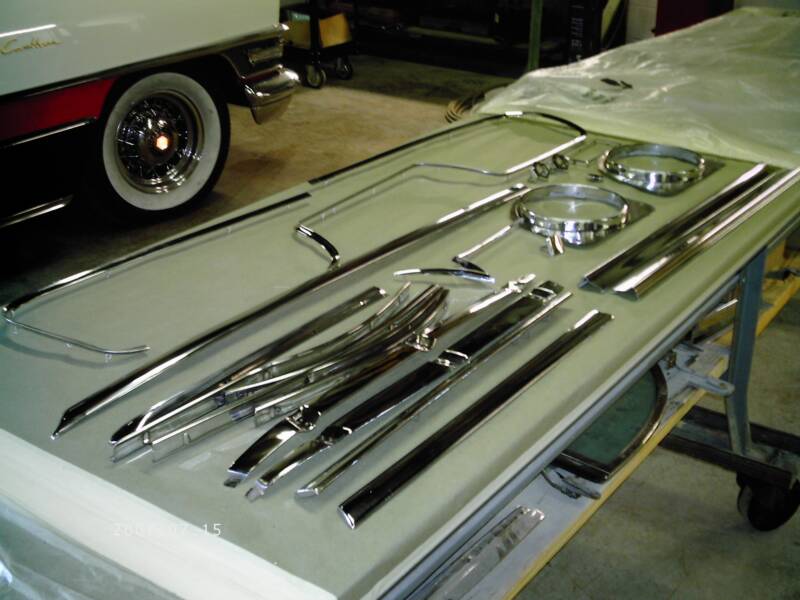
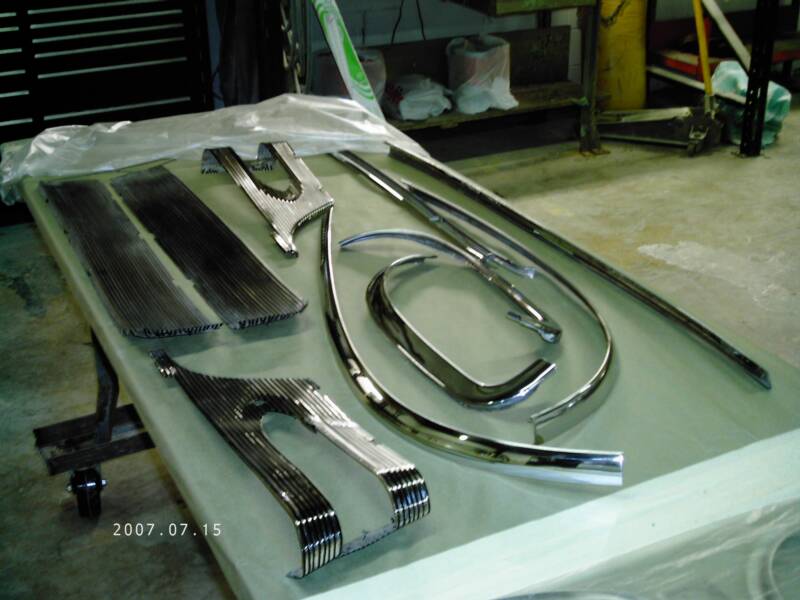
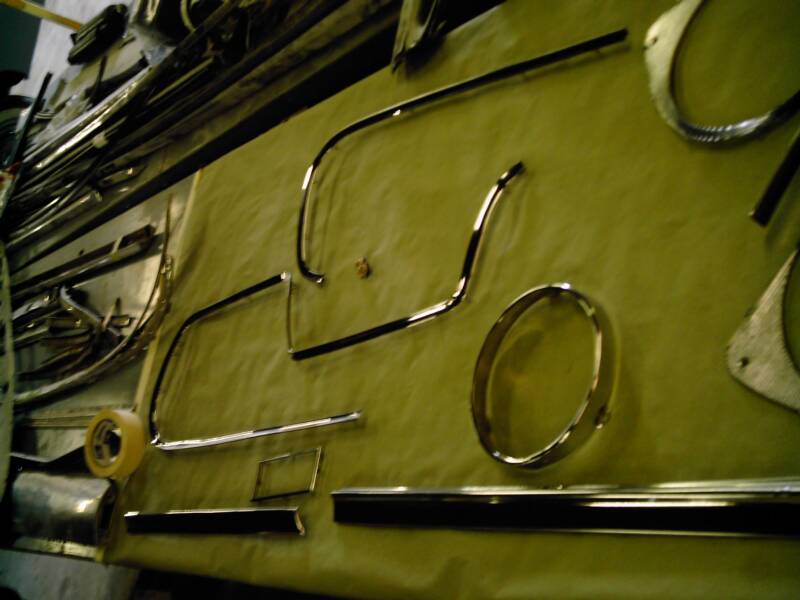
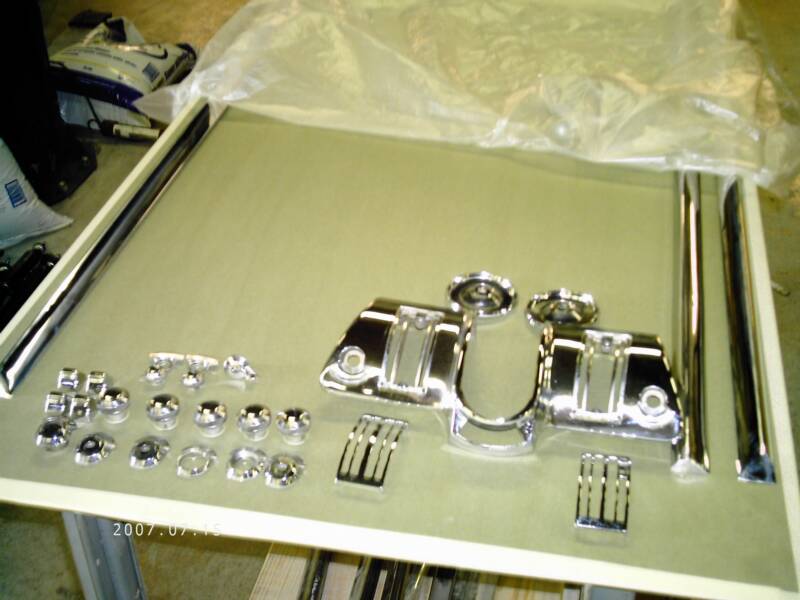
More chrome and stainless after polishing
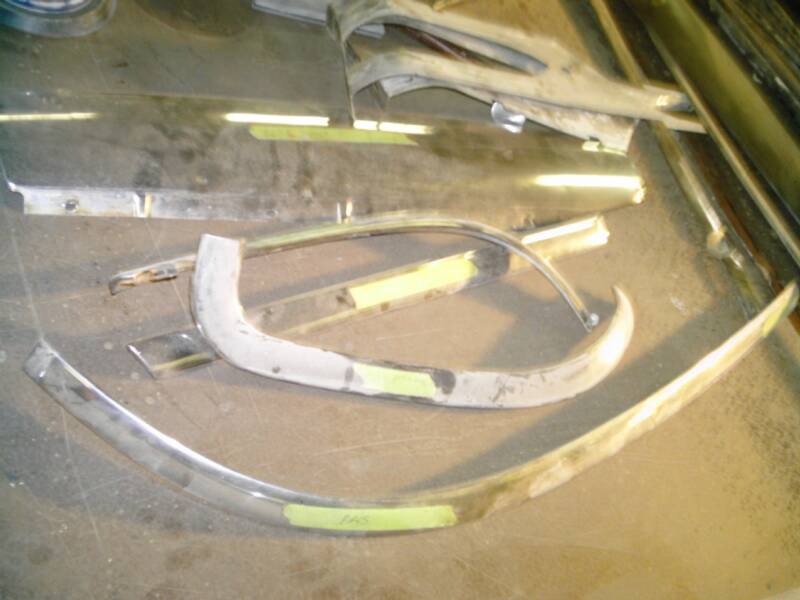
We straighten and polish our trim inhouse. It allows us to keep better quality and also time it accordingly. The top pictures show before and the bottom shows after.