
Week 3
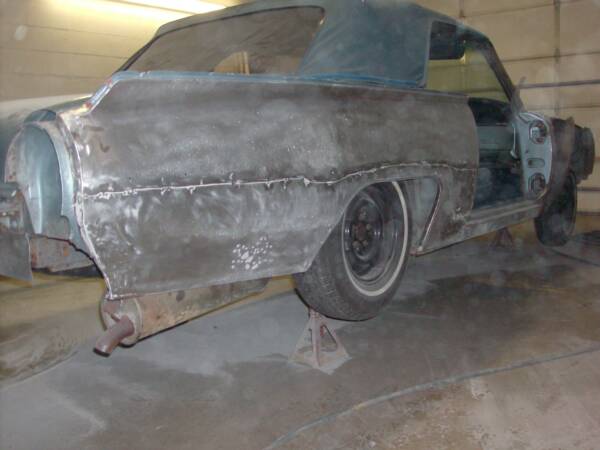
Here shows the nice gap between the door on the drivers side.
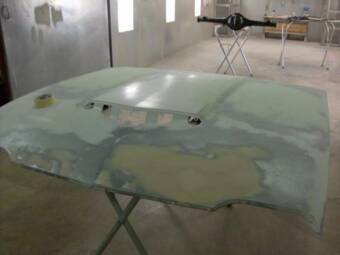
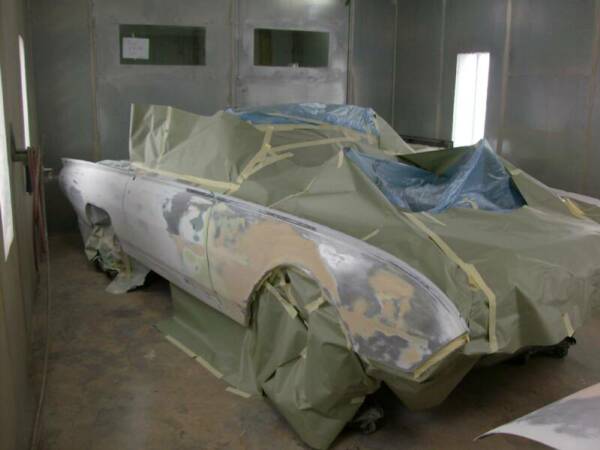
The trunk and the hood await a coat of epoxy in front of the paint booth.
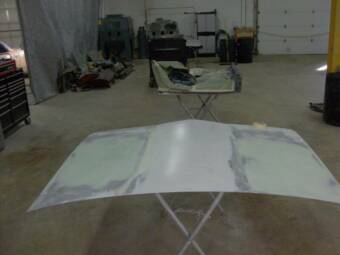
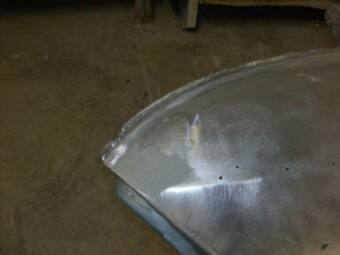
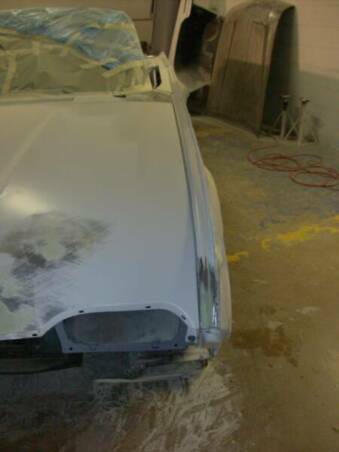
Here is the hood after all major body work is completed and its almost ready for epoxy.
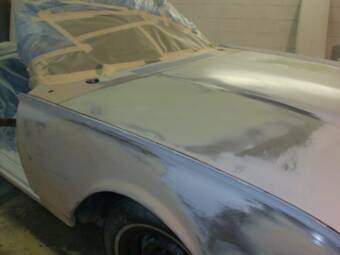
Here shows the two sides of the front fenders in primer and undergoing some initial line up work. If you notice the union between the hood and fender and how even and straight they are; that is what we strive for here.
Top left:
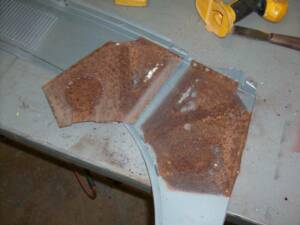
Here shows a rotted piece of the door before we took it apart
Top right:
The bad piece is cut away to reveal...
Bottom Left:
This nasty looking rust pocket
Bottom Right:
The new piece of metal installed
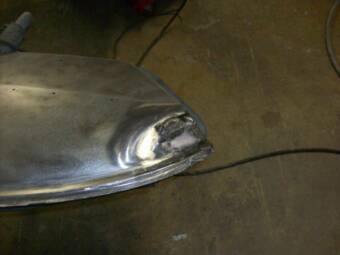
The hood midstream of body work.
Week 4
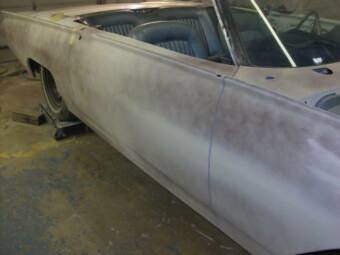
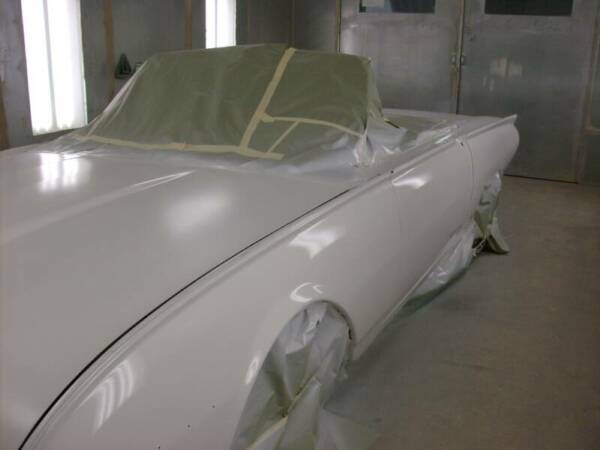
Here is the car after the guide coat has been sanded off, leaving a car ready for final epoxy before paint.
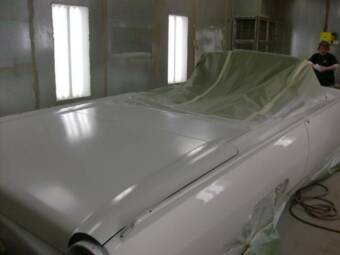
Another view of the trunk, very flat, level and even; magnifico!
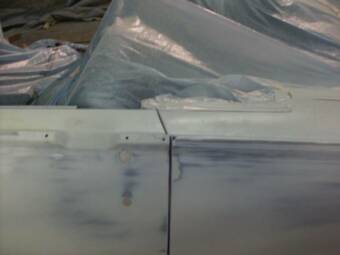
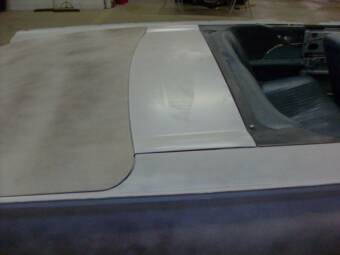
Side view of the car, the lines are straight and its a nice looking sight. The guide coat can be seen here as well.
The trunk is placed back on the car for final alignment before the body work is completed. As you can see, the trunk has the same guide coat mentioned before and that will be sanded off to complete the body work faze.
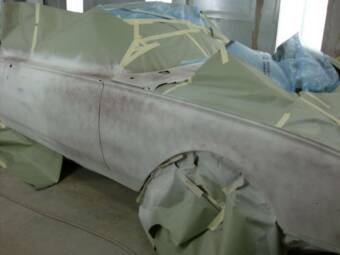
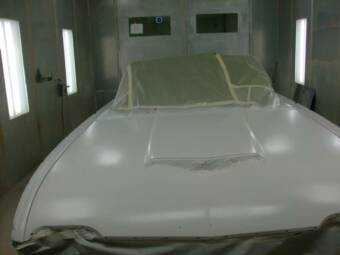
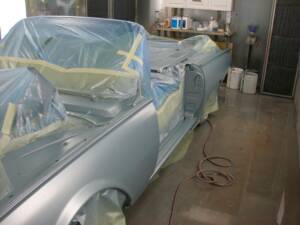
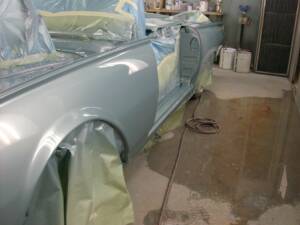
The Thunderbird is now wheeled into position in the paint booth for epoxy primer. This car we thought was going to be a quick turnaround, but as we started work on the car, more and more rot became evident.
The car receives a guide coat before final epoxy for perfection of the body work.

Week 1
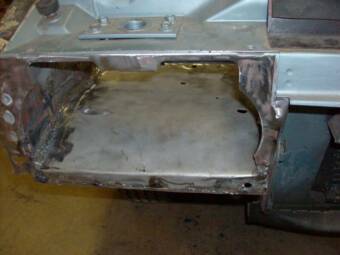
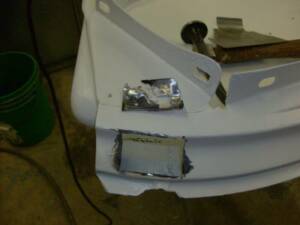
Here is the same headlight area after we removed the rusty areas and replaced it with new metal.
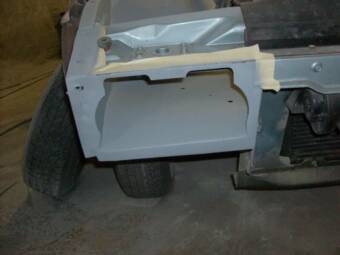
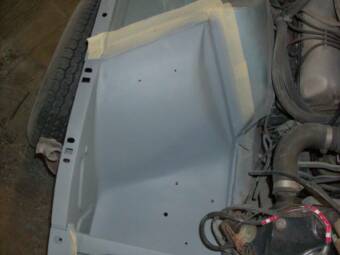
Here is the headlight area when all repairs are finished and a coat of primer is applied. It looks much better now, no more cancer!
After a coat of primer to prevent rust, this previously rusted out section of the car is beautiful once again.
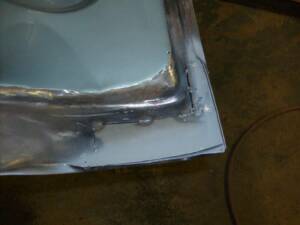
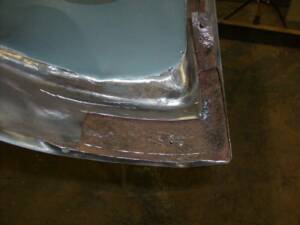
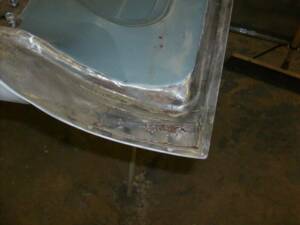
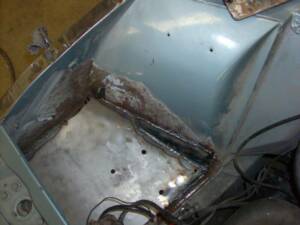
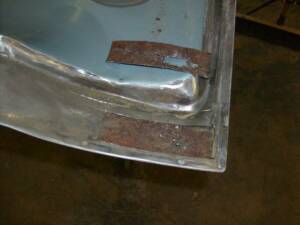
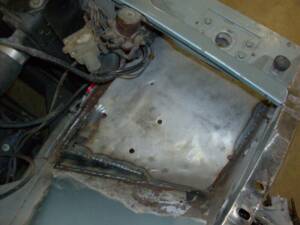
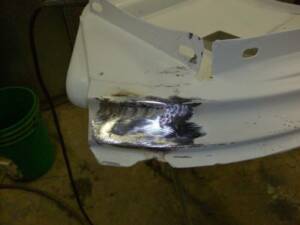
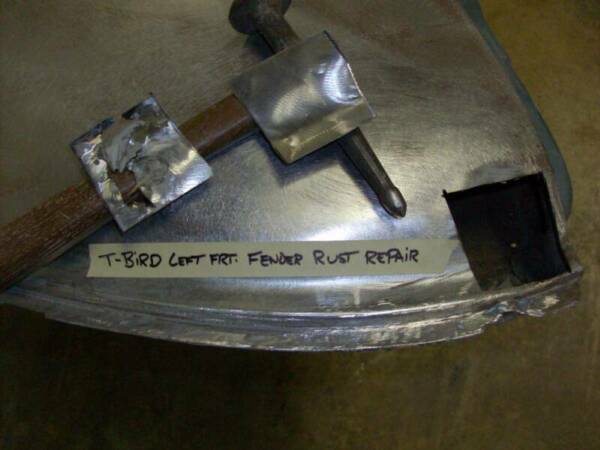
Here we have more rust that has been found on the T-bird and the repairs made by us to correct this problem. We cut out the rotted parts and replace with well fitting metal panels that are welded in for a perfect fit.
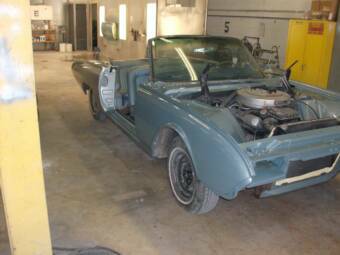
The first thing we notice is the nasty scar-like weld that dissects the car from the doors back on both sides. Sometime in the past this metal was replaced probably because it was rusted out. When we are finished, there will be no evidence of this weld even existed.
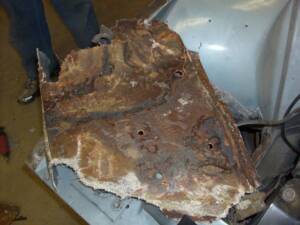
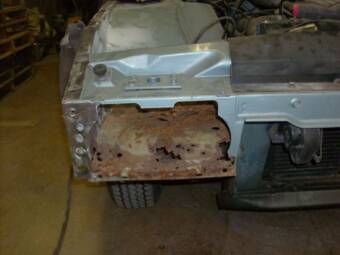
Here is the passenger side head light area that showed significant rust.
Week 2
After our repair it looks much better!
Another rotted section on the door before we removed the suspect area, the black marker shows what will be removed.
The same section after the new piece of metal is welded into place. Light body filler will erase any evidence of this repair.
Top left:
Here shows a rotted piece of the door
Top right:
After the repair is finished
Bottom Left:
This piece looks good enough... right?
Bottom Right:
Until you peel open the two pieces of metal!
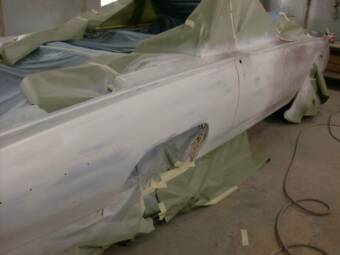
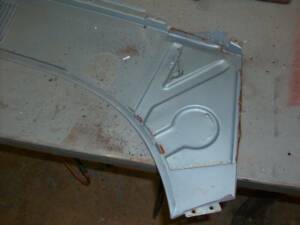
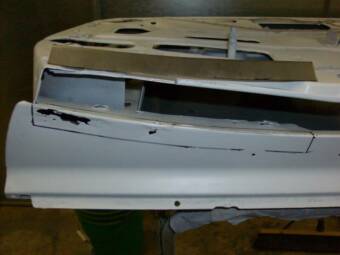
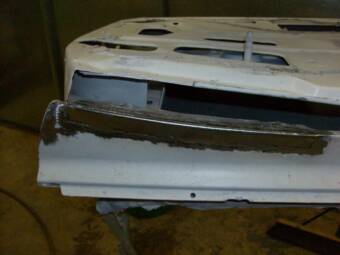
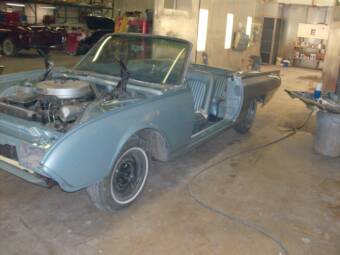
The front fenders showed damage and rust under the old paint.
Week 5
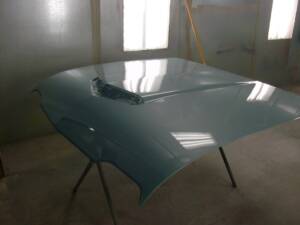
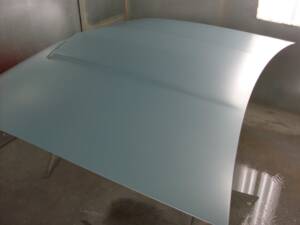
The hood after final epoxy is applied. Smooth.....
The trunk with a new coat of epoxy. Its just itching for paint!!
Here is the final epoxy on the car and this is the last step before final paint gets laid down on the car.
Another shot of the new paint on this marvelous 1962 Thunderbird.
Top left:
The glow of a new paint job...nothing like it.
Top right:
A shot down the driver side now shiny with clear!
Bottom Left:
The classic line of the Thunderbird hood gets her color put on.
Bottom Right:
All of the body parts get shot with clear after the color goes on.
Rolled the Thunderbird out of the booth today to let that paint dry evenly and smooth.
"Wait til you see it on the road"
Events