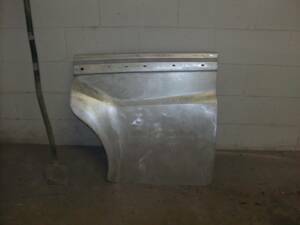
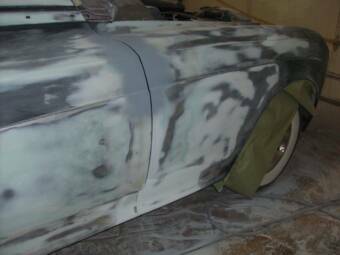
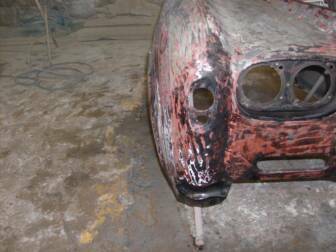
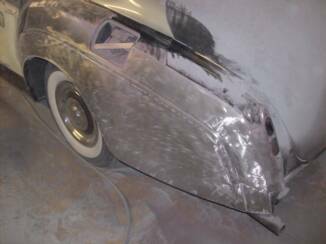
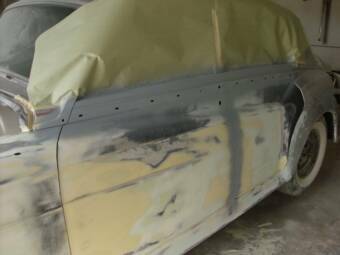
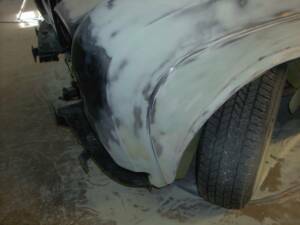
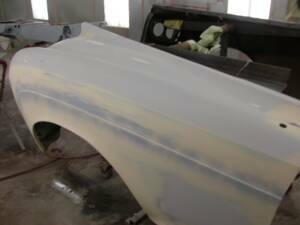
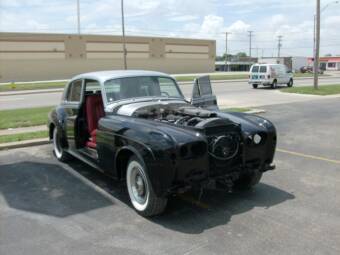
The front clip is removed and the quarters receive the same process of stripping and sanding and sealing.
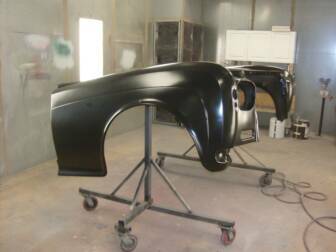
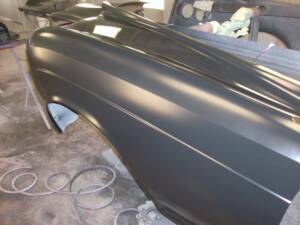
Here is the fender after it has been sealed.
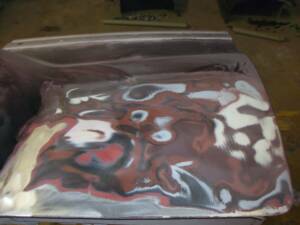
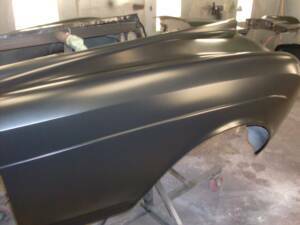
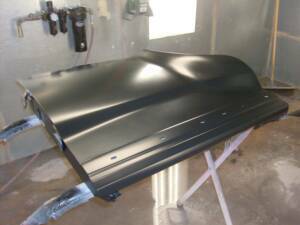
Top Left:
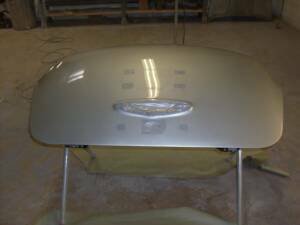
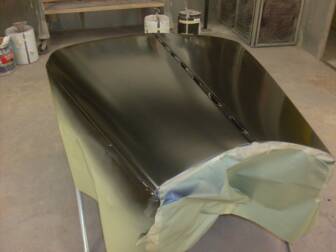
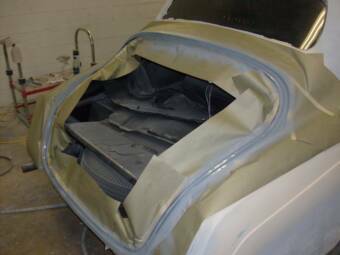
The deck lid is removed from the rolls.
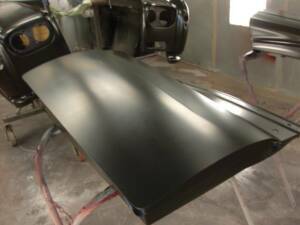
Top Right:
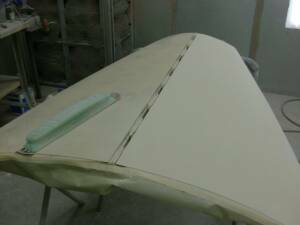
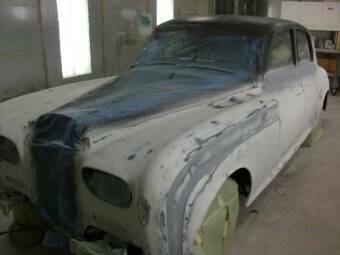
The deck lid is stripped and prepped to be sealed
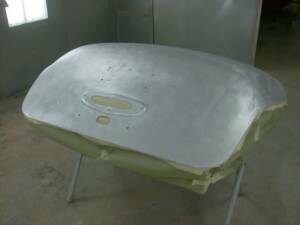
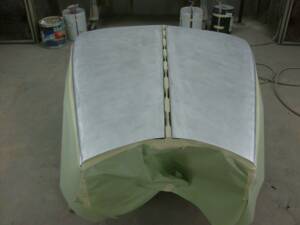
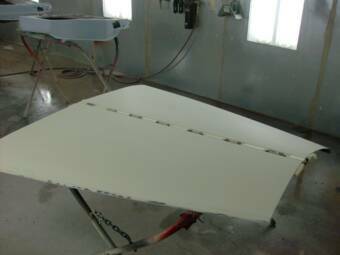
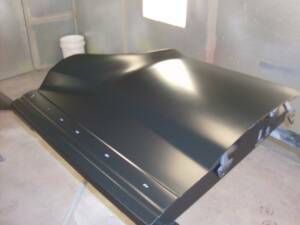
Bottom Left:
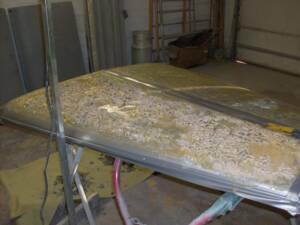
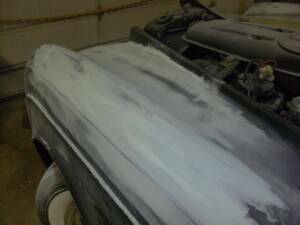
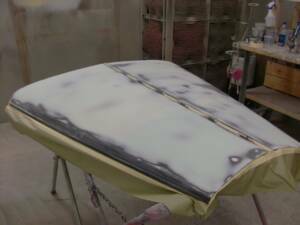
The hood is stripped and cleaned.
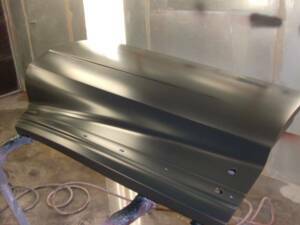
Bottom Right:
The hood before sealer.
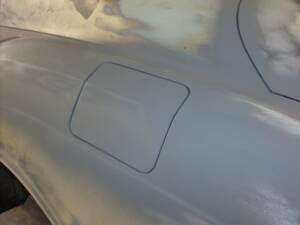
When the front fender was stripped there was a small area of damage shown above.
The damage is patched as it is discovered and the job moves on to bigger things
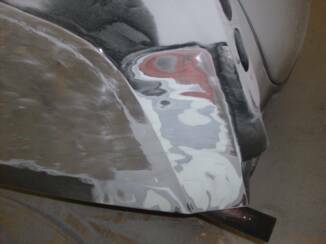
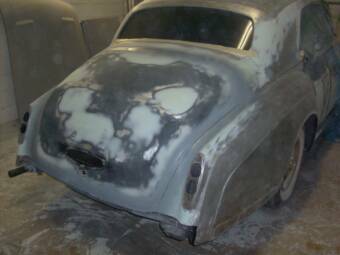
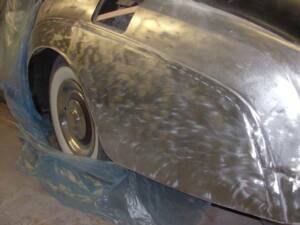
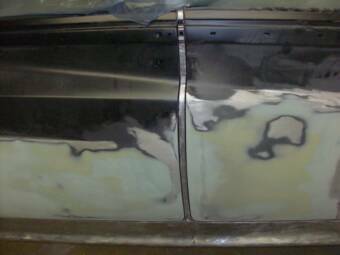
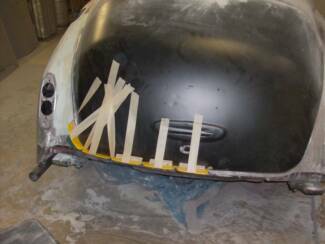
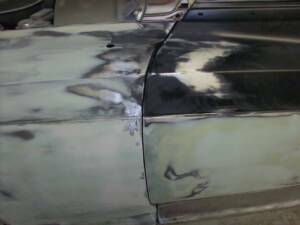
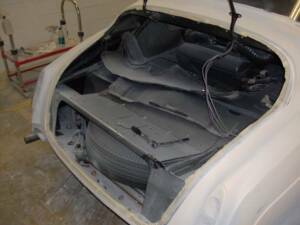
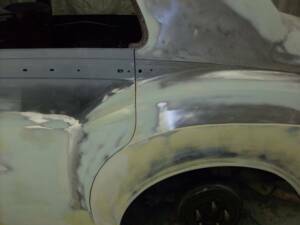
When the paint was taken off the rear quarter on the driver's side there were some issues with the metal work.
Bottom Left:
An inch of bondo must be covering something...
Bottom Right:
an old repair needs some attention.
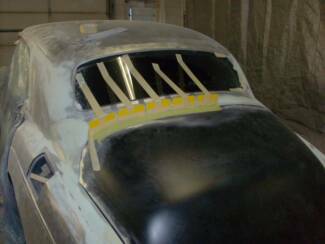
Top left:
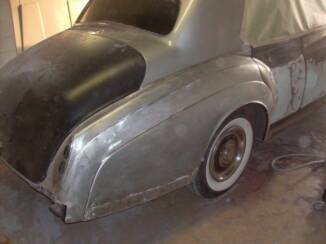
A wide view of how the right rear looks.
Top Right:
A wide view of how the left looks in comparison.
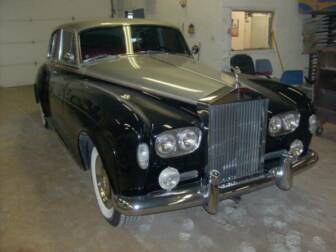
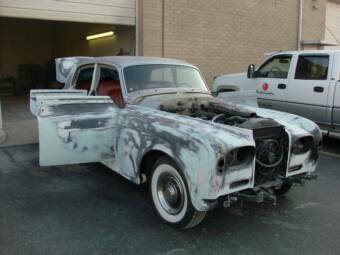
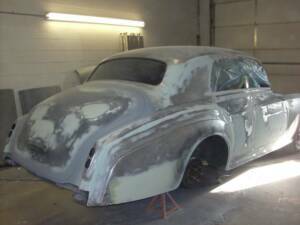
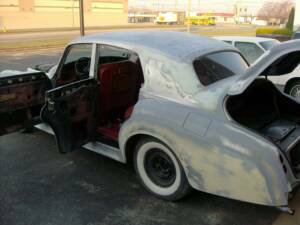
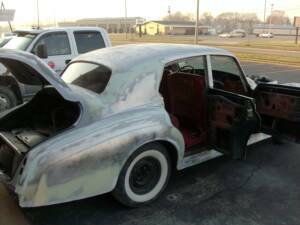
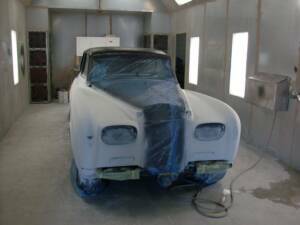
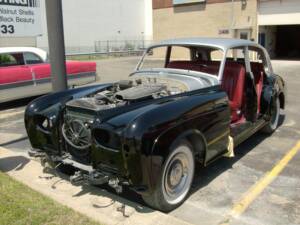
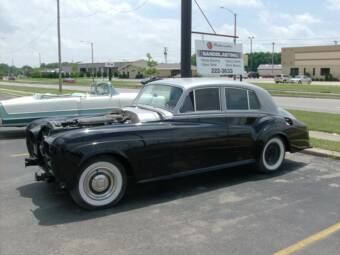
Joe Schramm's 1965 Rolls Royce has come to us for a new paint
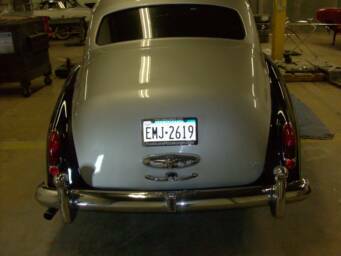
A shot of the back of the Rolls.
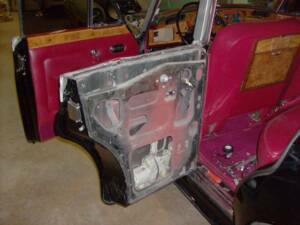
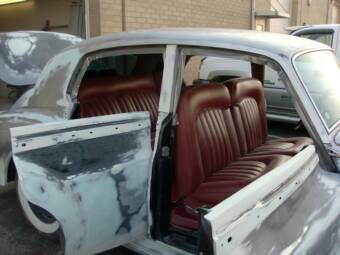
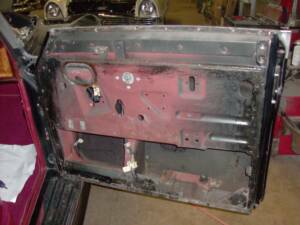
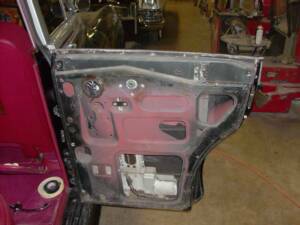
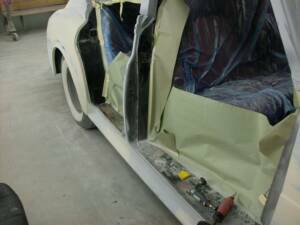
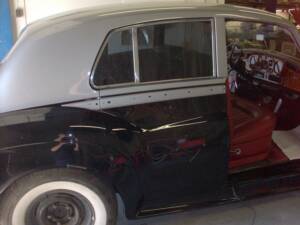
Top left the door is then stripped and sanded down. Top right is a shot of the door right before it is sealed completely free of paint and filler.
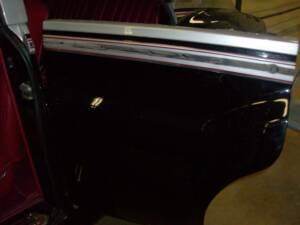
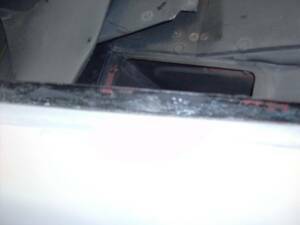
Bottom right is a shot of the aging red and silver stripe.
Bottom left is a shot of the interior removed from the left rear door.
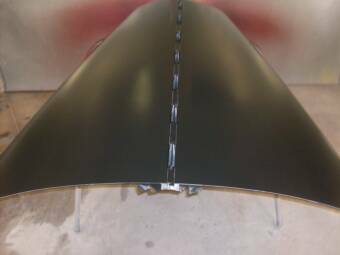
The hood in sealer
The deck lid in sealer
Week 1
Week3
Week 2
Week 4
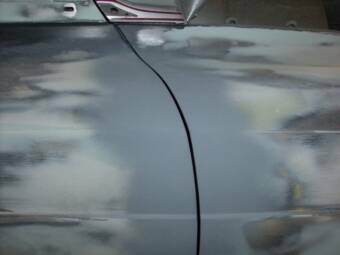
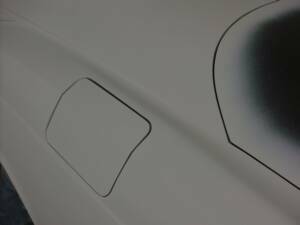
A close up reveals how clean the line is now.
Top Right: shows filler adjustments to the line of the deck lid
Top Left: The marriage of the deck lid to the body is done in stages all the way around.
Bottom Right:
Lower edge shaping up
Bottom Left: left edge shaping. The trick is to have the line exactly the same all the way around the trunk lid.
Here is a shot of the deck lid line after application of this process
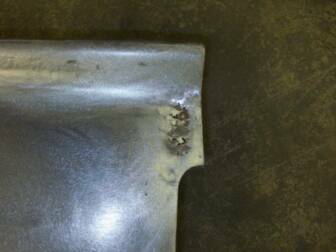
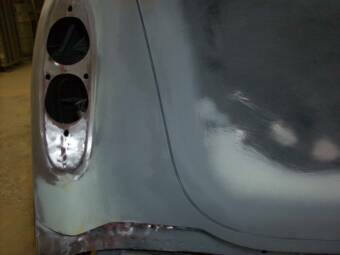
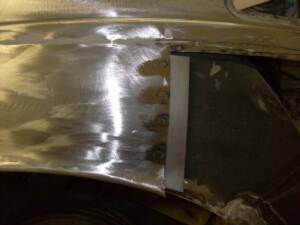
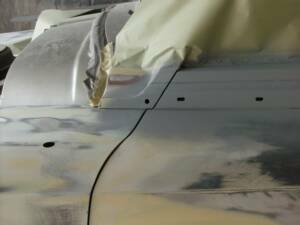
On the front of that same rear quarter panel, at the front edge of the wheel well the metal needed to be reworked then welded as above shows.
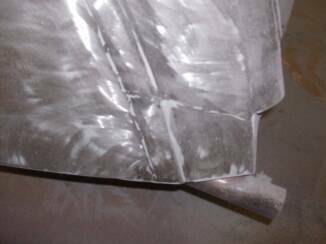
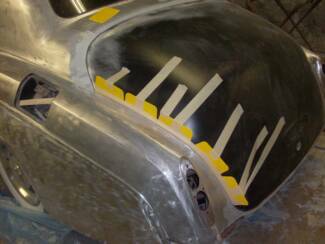
In this next phase we address the metal work on that drive side rear quarter.
Bottom Left:
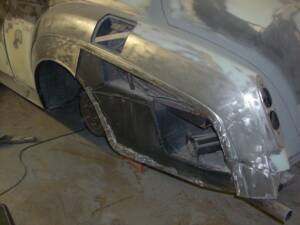
Looking at the panel we are removing.
Bottom right: The panel has been removed and work is done to fix the support for this panel .
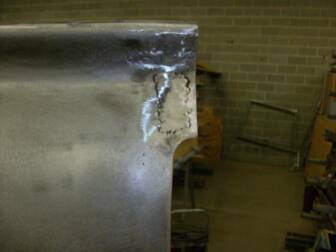
Top Left:
A backing strip is fixed to the car
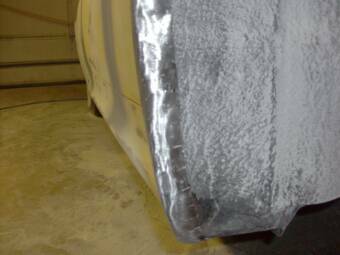
Top Right:
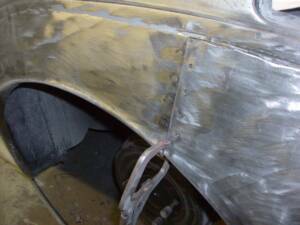
the panel is welded and the welds are ground flush.
After welding the weld is ground flush.
Week 5
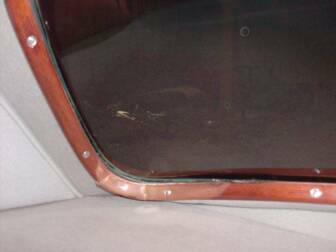
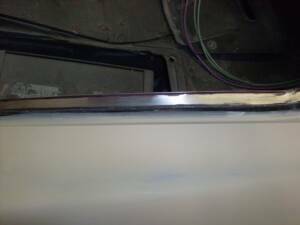
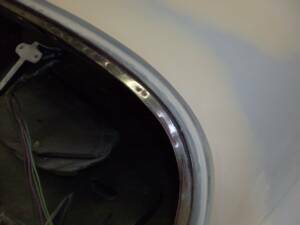
The rear window and door top trim goes on the car including new old stock emblems for the rear corner.
Here is a view of the other side rear window trim and rear corner Packard Crest badge.
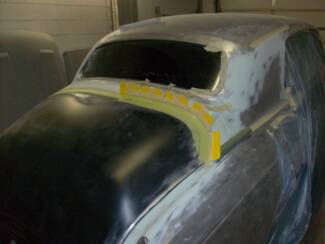
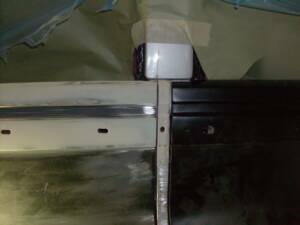
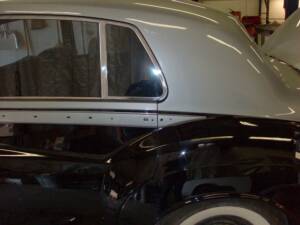
Each edge of the car all the way around is feather filled and sanded so that lines line up. Example shown in the lower two pics where the doors meet the B pillar . The three elements, meeting together like this need to be looked at for straightness from all angles to ensure that everything lines up visually.
Here is the B pillar on the drive side after stripping. The doors and the pillar get feather fill and then sanded so that the lines are perfect.
This shot shows the original Packard engine compartment but with a new hood liner.
Every line of the car is done similarly. here the front of the driver's door is sanded and shaped to get the fender/door line even all the way down as shown in the top two pics. The front fenders now get treated to sanding and shaping so the beautiful lines of the Rolls become apparent.
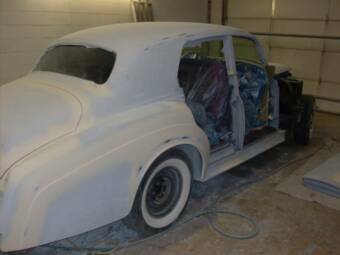
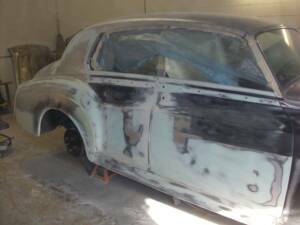
The Rolls is really starting to take on a uniform set of lines and while there are still things to be done before it is right, it is beginning to look like a complete car again.
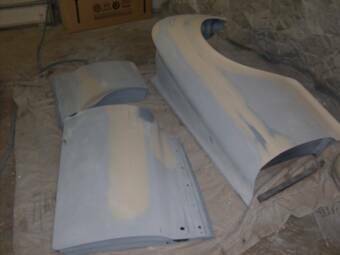
The doors and fenders are painted off the car to insure complete coverage of the primer coat.
The door jams are stripped and shaped and then given an initial sealer as shown in the top two pics.
The hood is also sanded and shaped as shown in the bottom two pics.
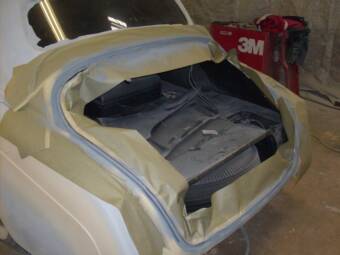
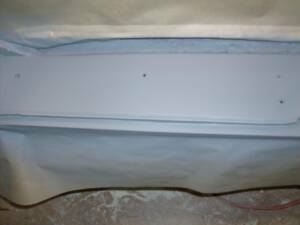
After being stripped down, the rail around the trunk is given a sealer coat.
Another view of the sealer coat on the trunk rail.
Here the rail around the trunk opening is taken down to bare metal, taped off and prepped for a sealer coat. Each detail is given the same standard of utmost care.
The interior of the Rolls looks as it did when it arrived because we carefully seal off these parts before working on the outside.
A shot of the Rolls during cleaning.
Now that all the lines are straight the car is taken outside for a dust off. With any restoration it is vital to rid the car of dust to ensure a clean paint. Here you can see all of the old masking is removed and the exterior and interior are given a thorough cleaning.
The rear wood trim will be removed and receive new varnish
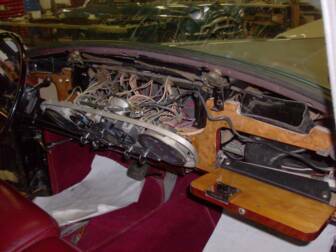
The dash is carefully taken apart and then the remaining part is cover to protect it from the process the outside of the car is about to receive.
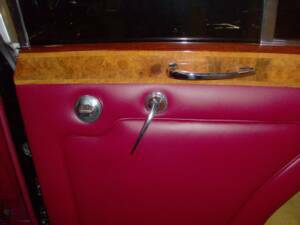
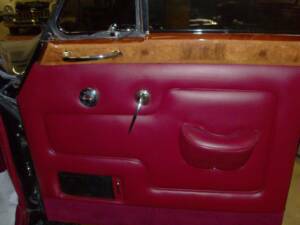
Top Right: the right front door has its interior removed
Top Left: the right rear door has its interior removed.
Bottom Right: the right front door before removing the trim and upholstery.
Bottom left:
the right rear door with its trim and upholstery.
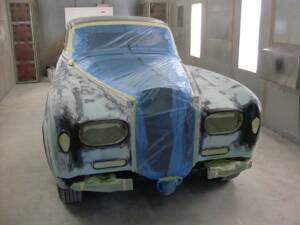
After the guide coat goes on the car is sanded again to ensure perfection when the final color is applied.
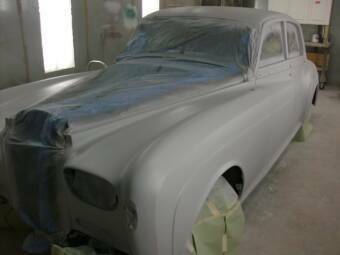
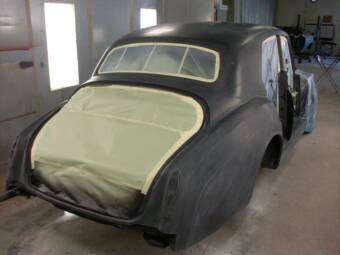
After sanding, a primer sealer goes on the whole car before taking it back apart to paint the final base coat color.
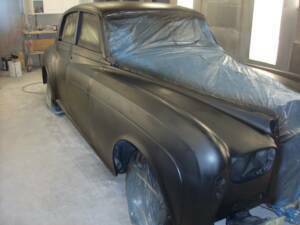
The hood is prepped to receive its final base black.
Here is a view of the hood after getting shot with final base black.
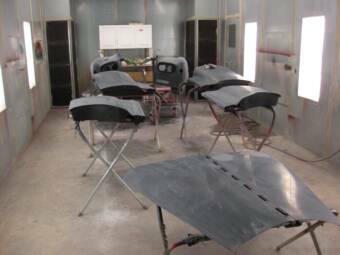
After final primer sealer and a light sanding, the fenders are removed from the Rolls and put on stands in order to get final base black.
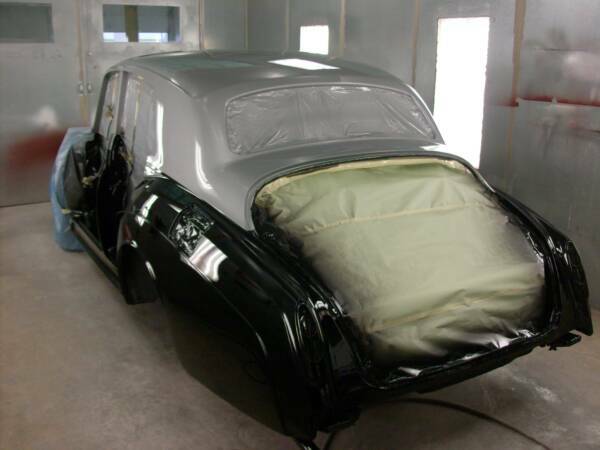
The Paint booth is prepped. The Rolls is clean. Next the Rolls gets masked off (lower left) for a black undercoat (lower right) and a white guide coat(top left) to smooth out the sides of the car.(top right)
Every piece gets wet sanded to a silky smooth finish.
All the parts are removed from the paint booth and the same thing is done to the entire car. Here is a shot of the car in the process of wet sanding.
The doors get final base black.
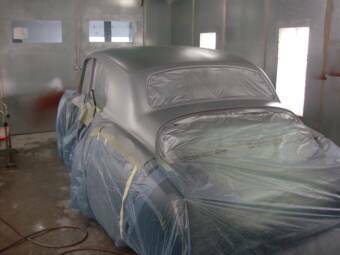
The Rolls Royce's black is taped off and the top silver coat is sprayed on
The Rolls after being shot with its two tone final color, is shot with clear coats to be buffed to a perfect mirror shine.
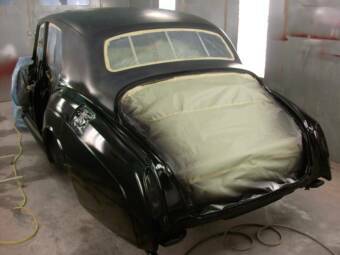
The Rolls Royce factory formula matched black lower portion of the car is sprayed.
Here is the Rolls Royce sitting out in the sun getting some detail work done
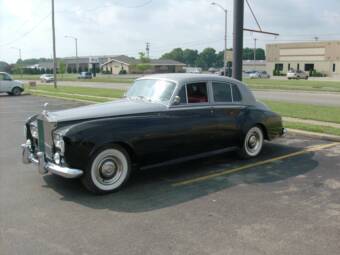
Once the doors are hung the classic shape of the Rolls lines come back together.
Final paint after first buff, the shine begins to emerge.
The Rolls is very nearly complete. Just a few touch up items and a few odds and ends and this beauty will head back to its owner.
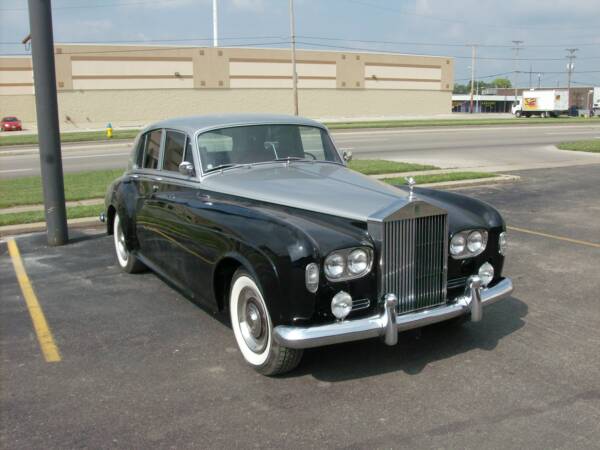
Classic Silver Cloud in regal silver and black
The complete car sits a the base of the Aldrich Sign on Stanley Avenue, the envy of all who pass by