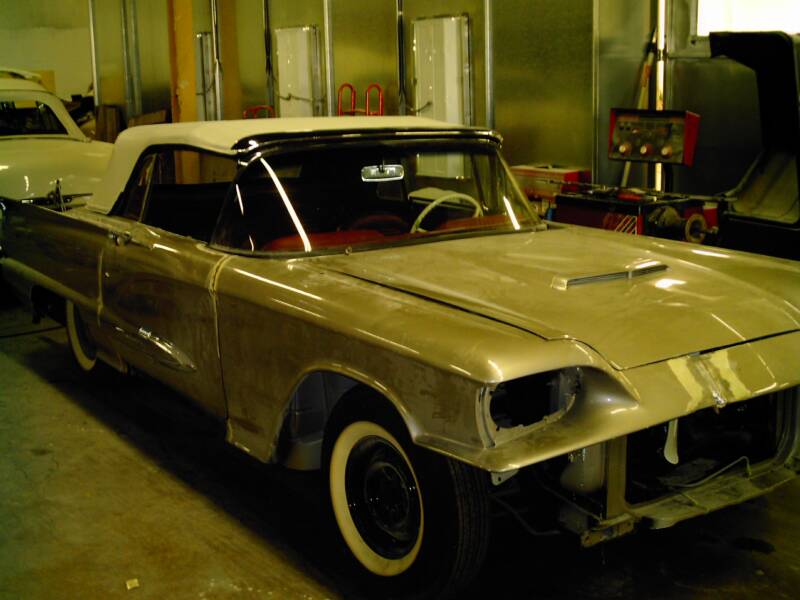
When the TBird arrived in our shop it had come from an 8 year restoration in a "body shop". Complications rose out of doing body work with the car disassembled. After paint, refit became impossible.
Clockwise from top Left:
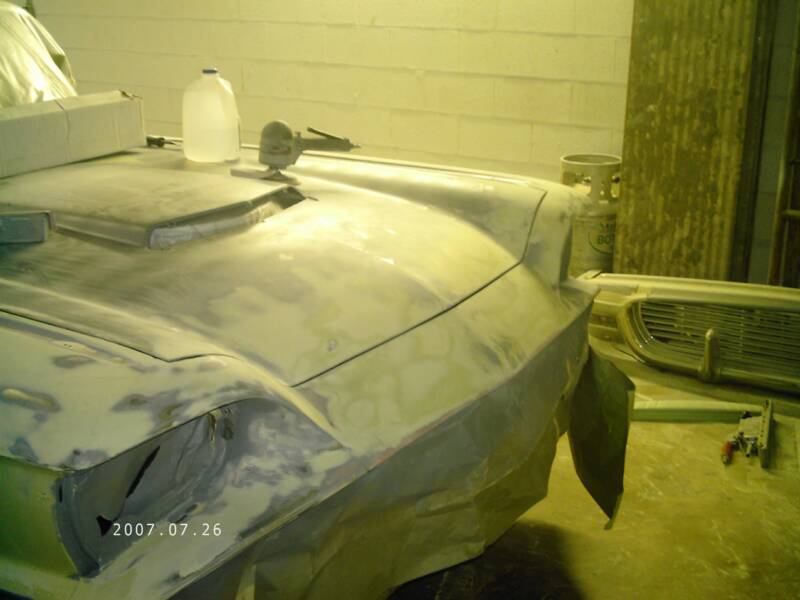
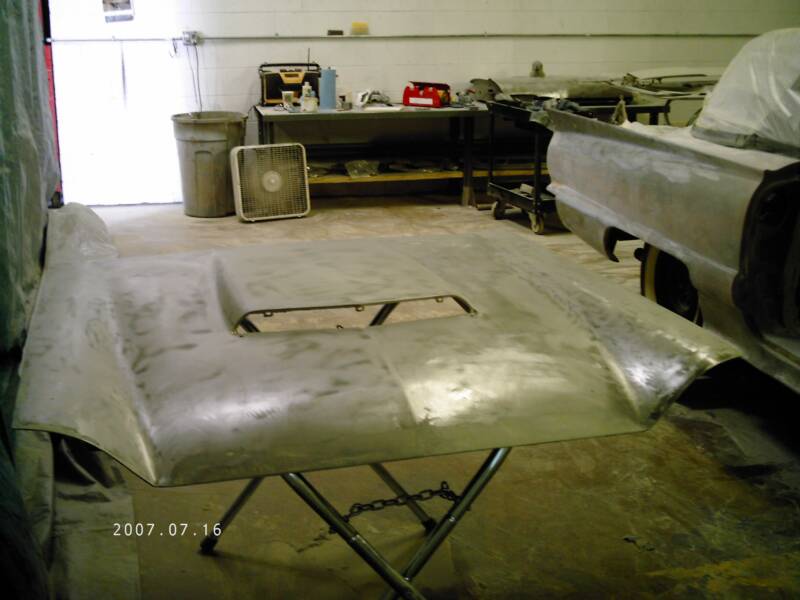
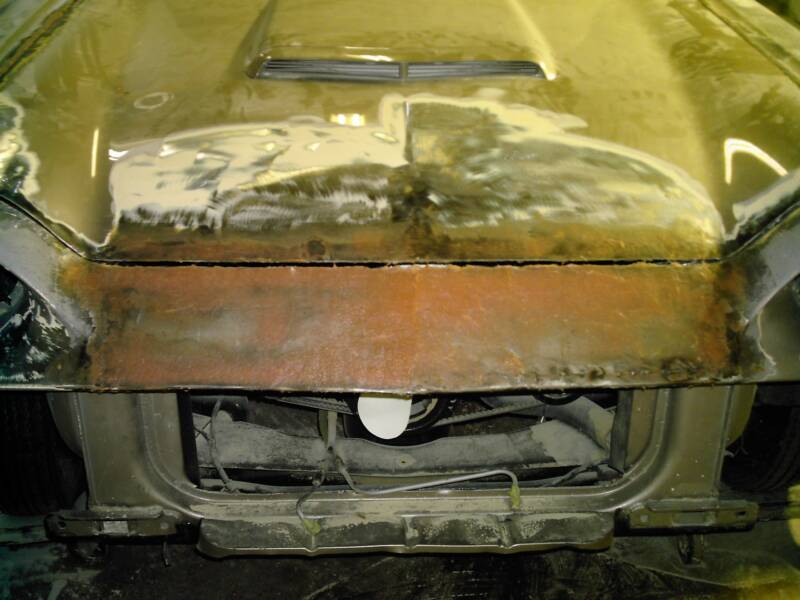
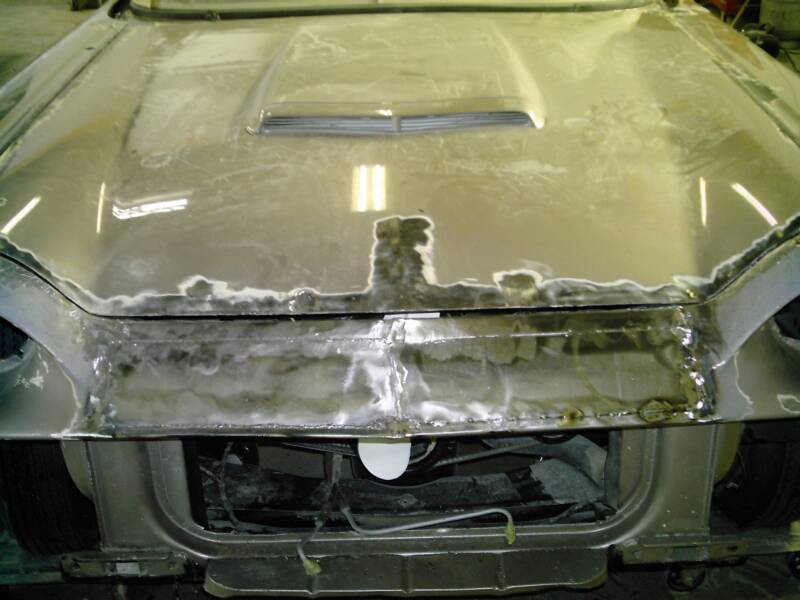
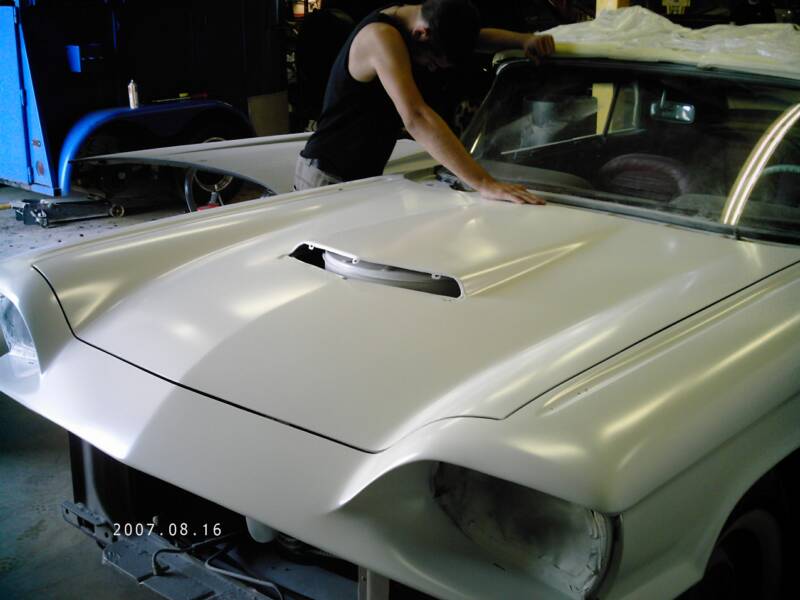
After welding the nose, a light glass filler is applied. and more fitting is done between the nose and the hood.
Here the hood gets some minor sanding and fitting to match it to the nose.
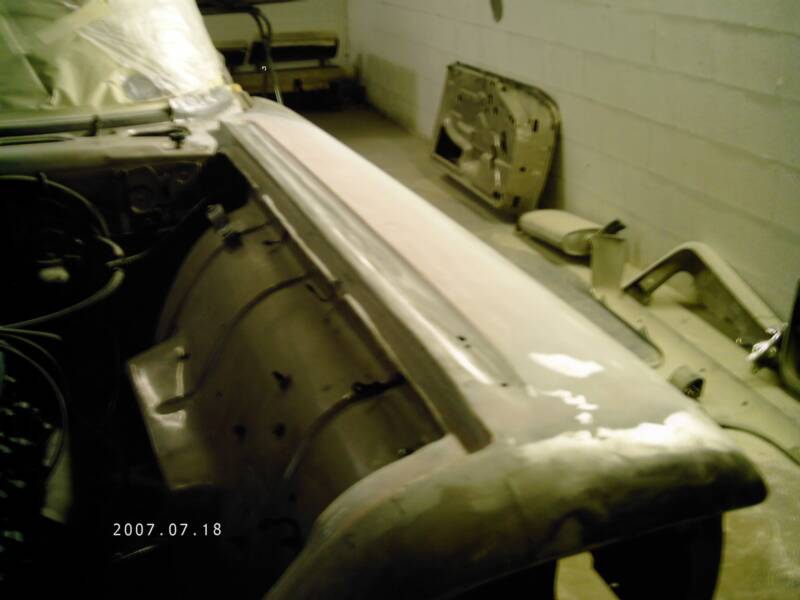
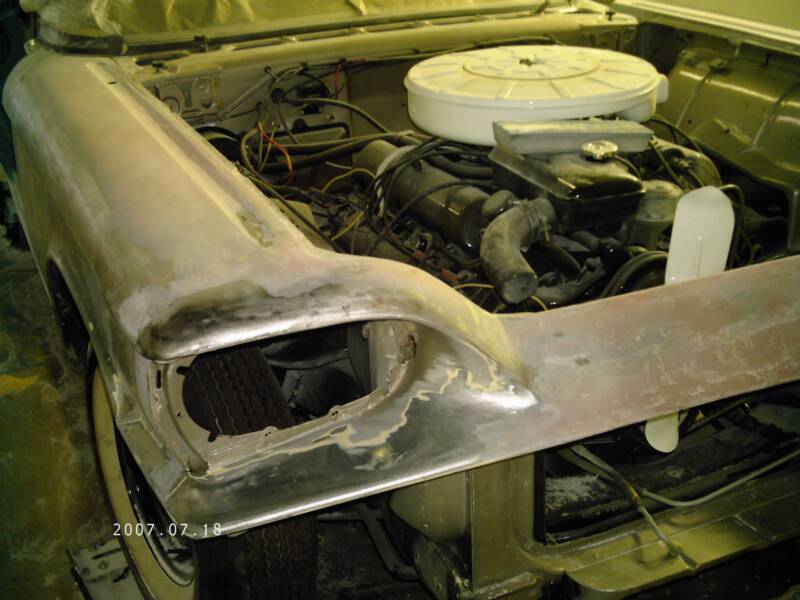
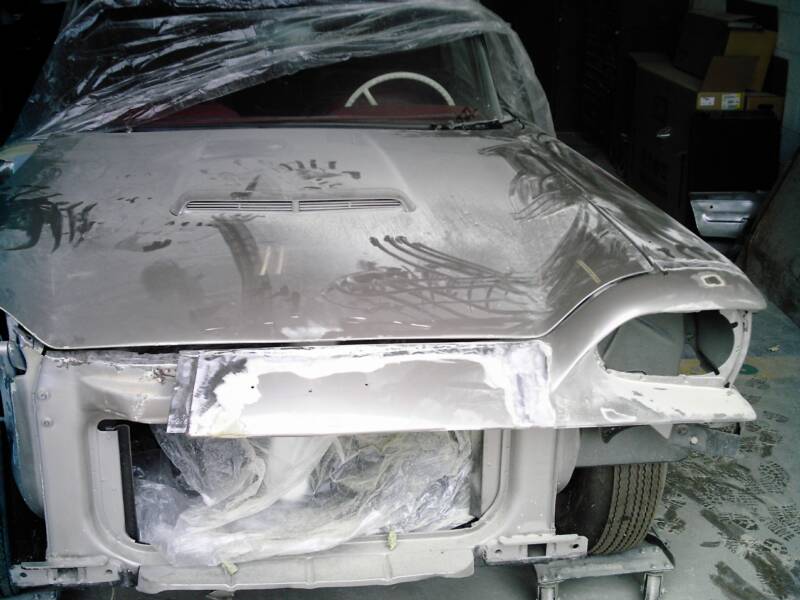
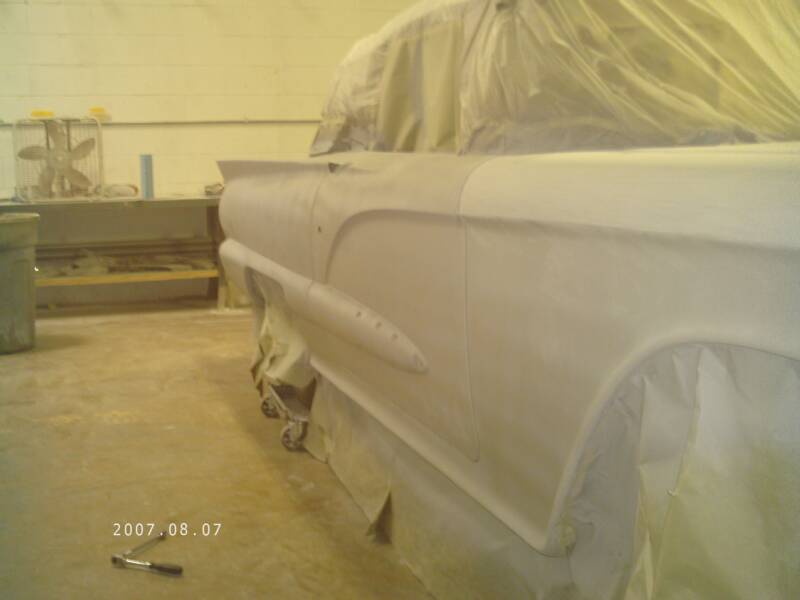
The right fender rail, headlight bucket and the hood lip are smoothed and sanded in preparation for primer.
The left side gets some of the same.
Here the front metal on the nose is replaced with new metal.
Clockwise from top left:
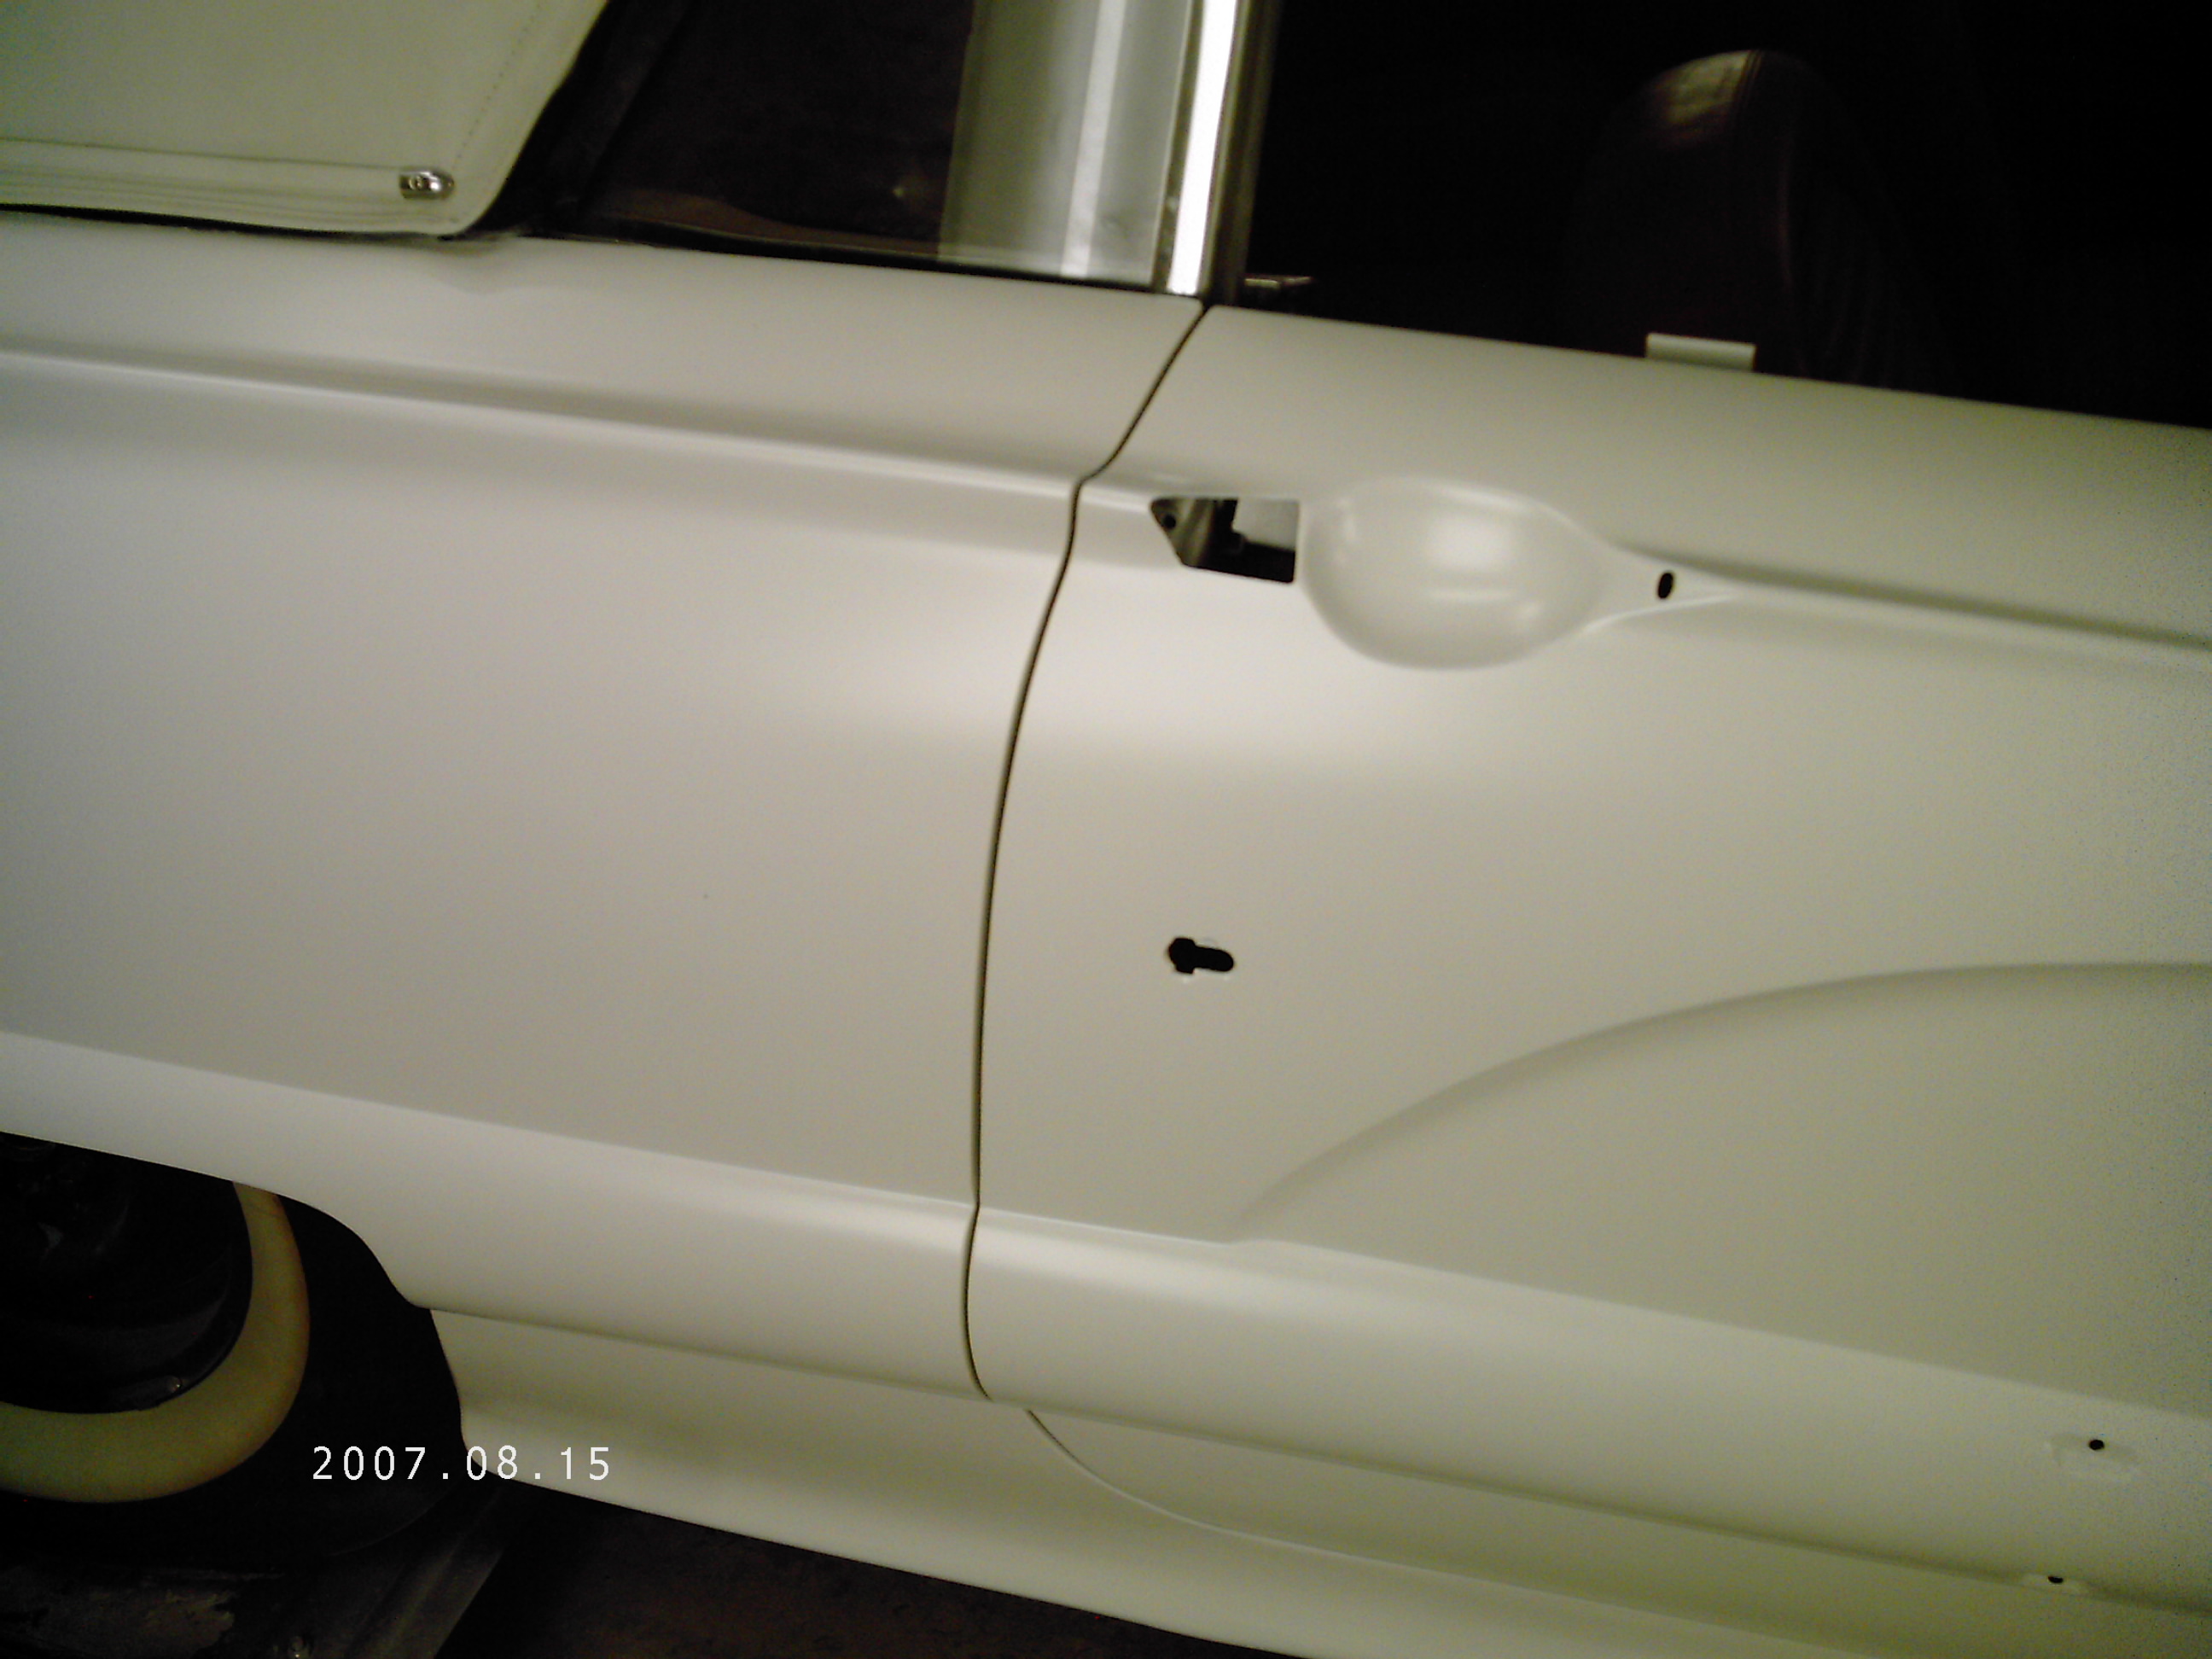
To correct the problems this Tbird had, we matched the right side the left (driver's) side of the car. Once done we buttoned the split down the passenger side.
A shot before the adjustment were made looking towards the front
A shot of just how far the door was out of alignment
A shot of the passenger door jam before corrective measures were taken.
Clockwise from top left:
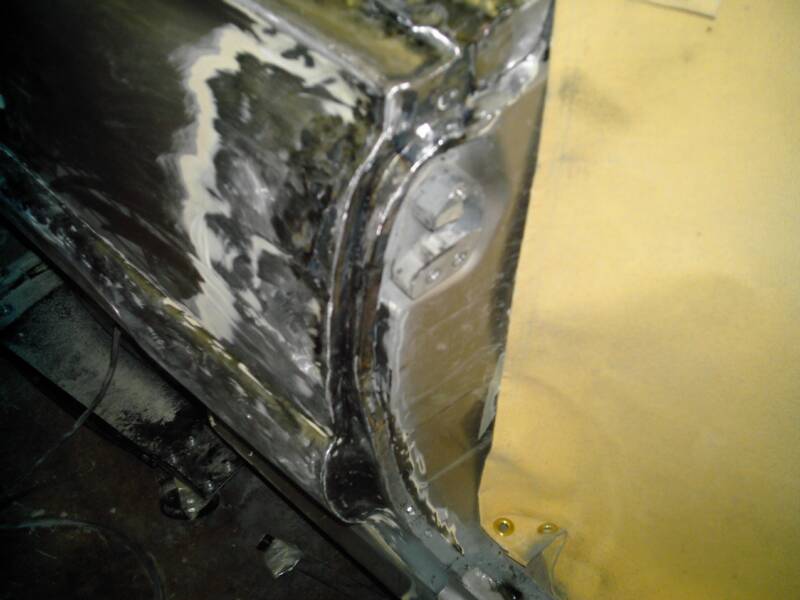
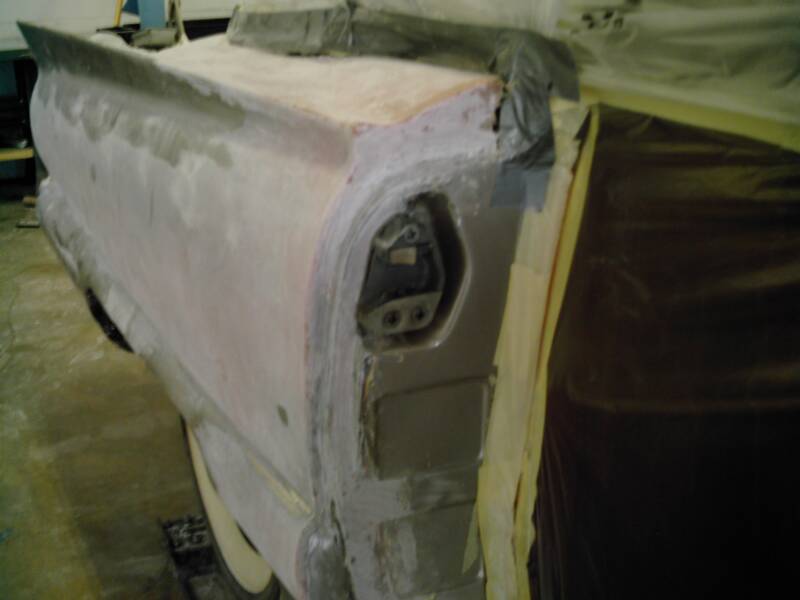
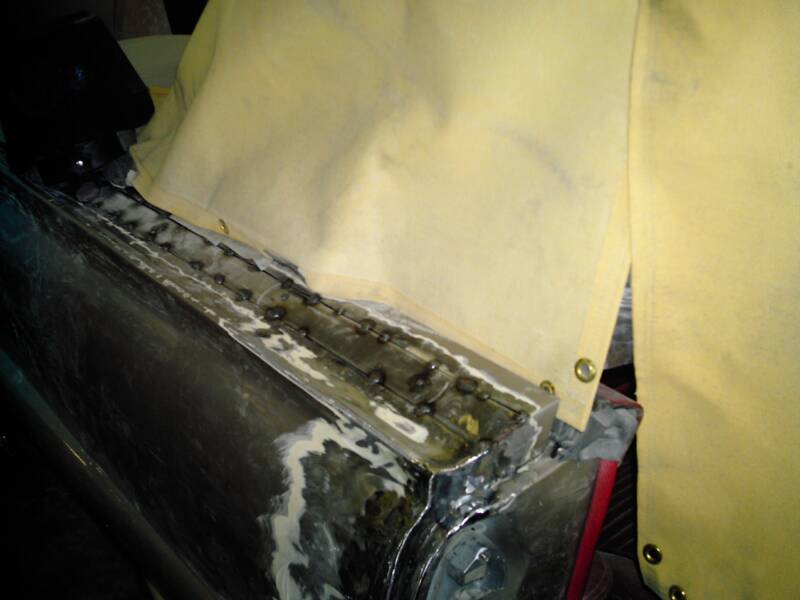
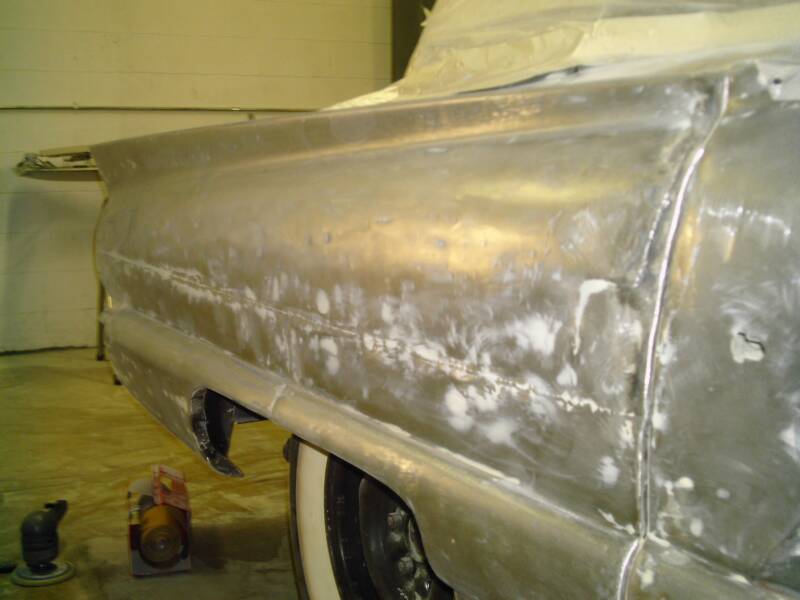
After welding the rear quarter back together, a glass overcoat strengthens the lines sharp appearance.
Here you can see all the glass filler is ready for sanding down
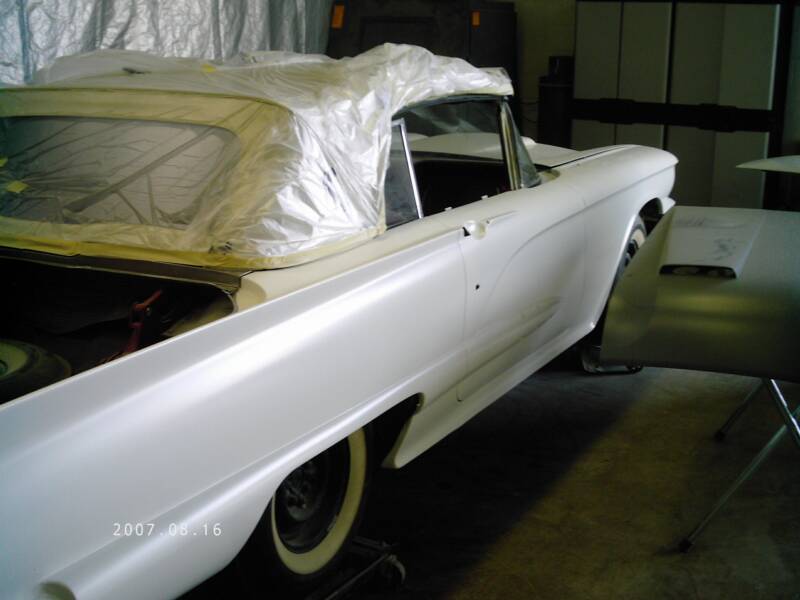
With the door open you can really see difference from the the way the jam looked in week 3.
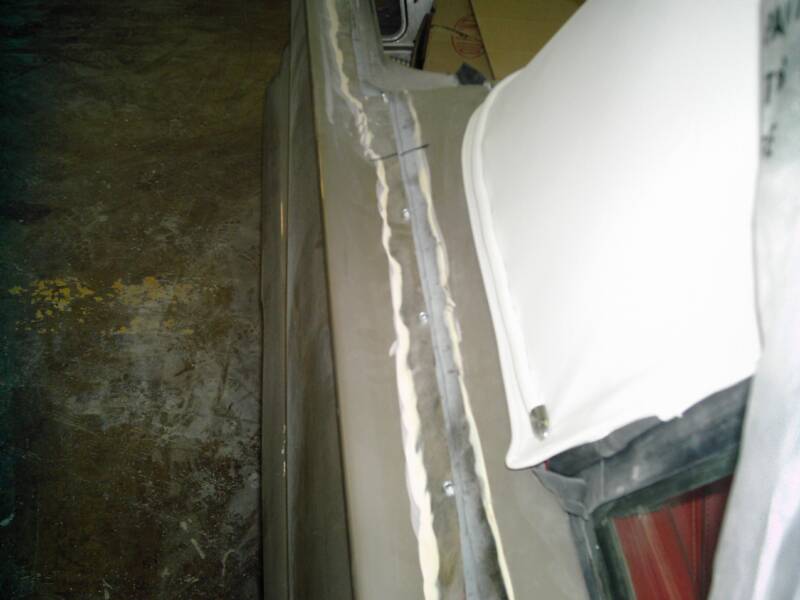
A side shot of the door and panel all lined up and so smooth.
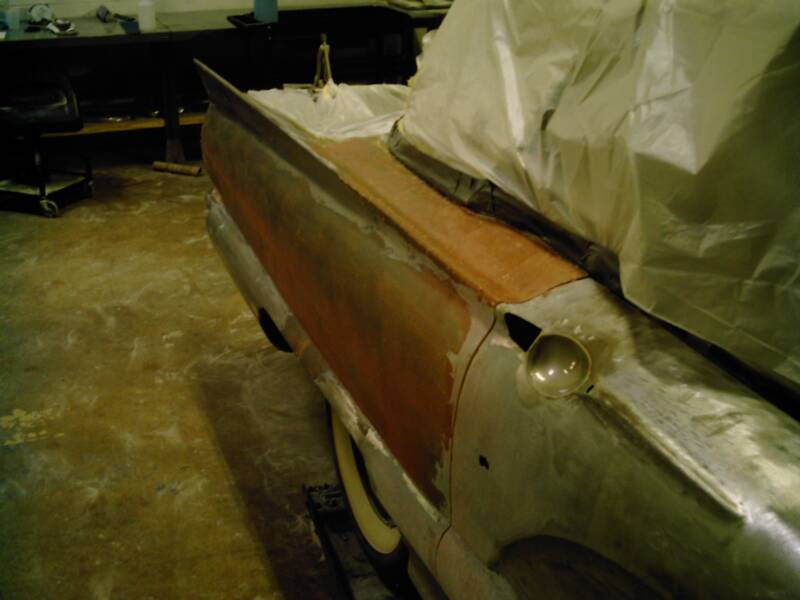
Stripping the paint revealed a long heavy weld on the passenger rear quarter which was ground down and smoothed with filler
After the welding is finished, a little glass filler lines everything up perfectly so that the entire car comes out of the paint booth perfectly straight.
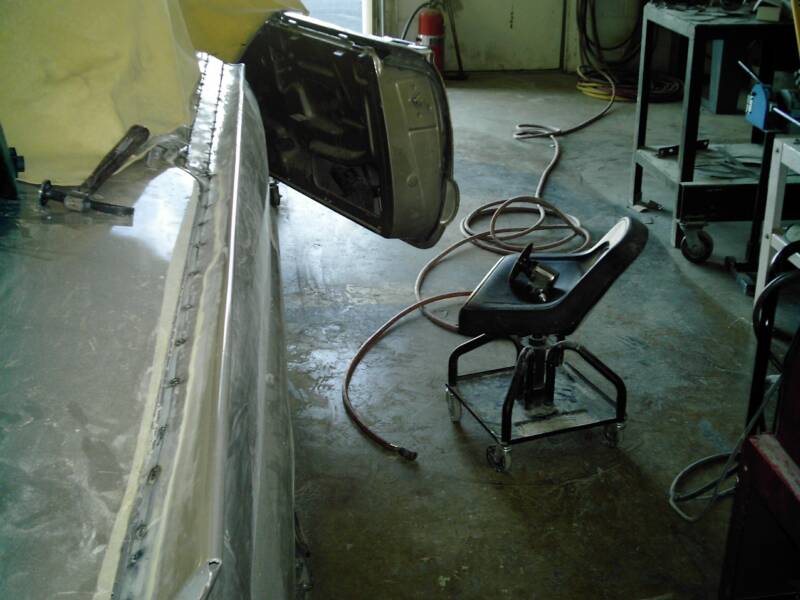
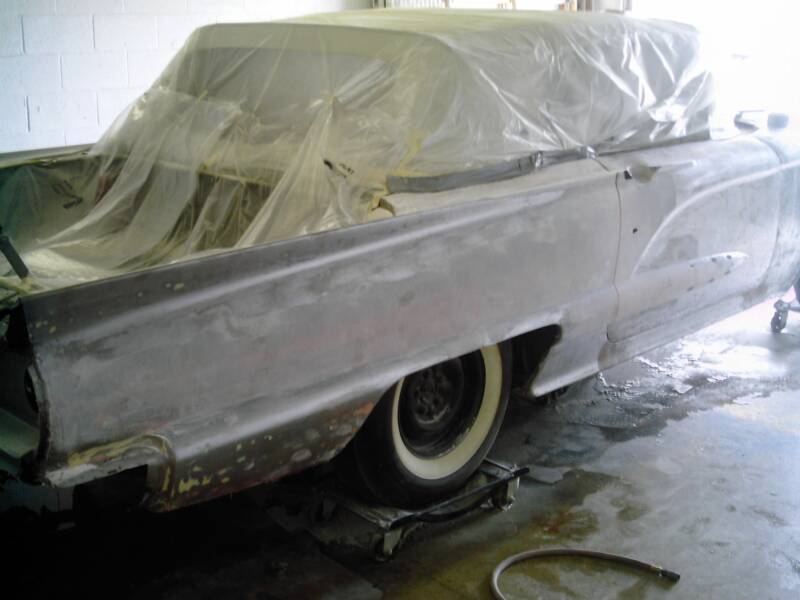
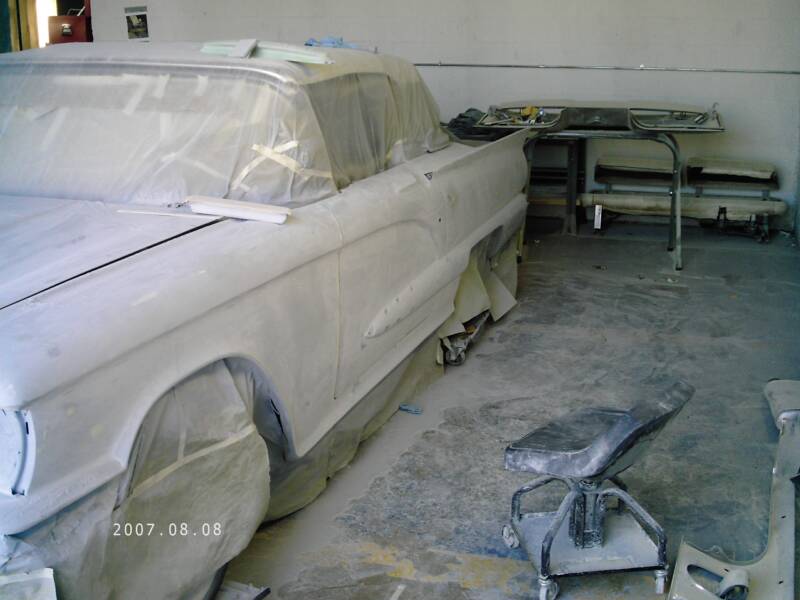
All the paint is stripped from the driver side of the TBird because a lot of welding and straightening will occur on this side.
Here she is getting her first coat of primer!
Clockwise from top left.
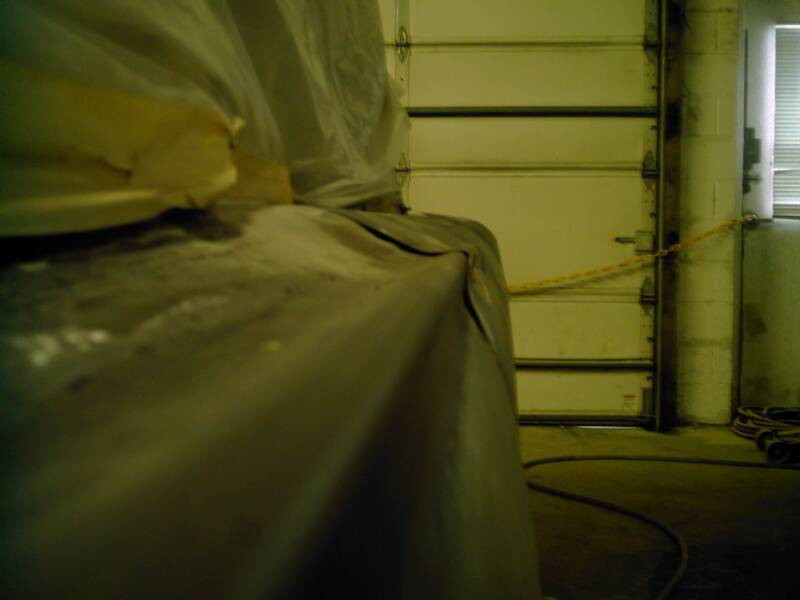
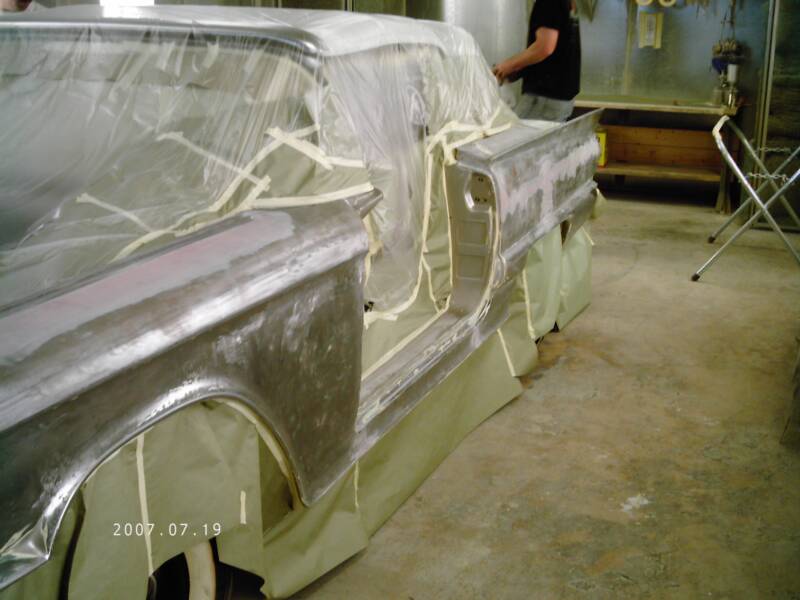
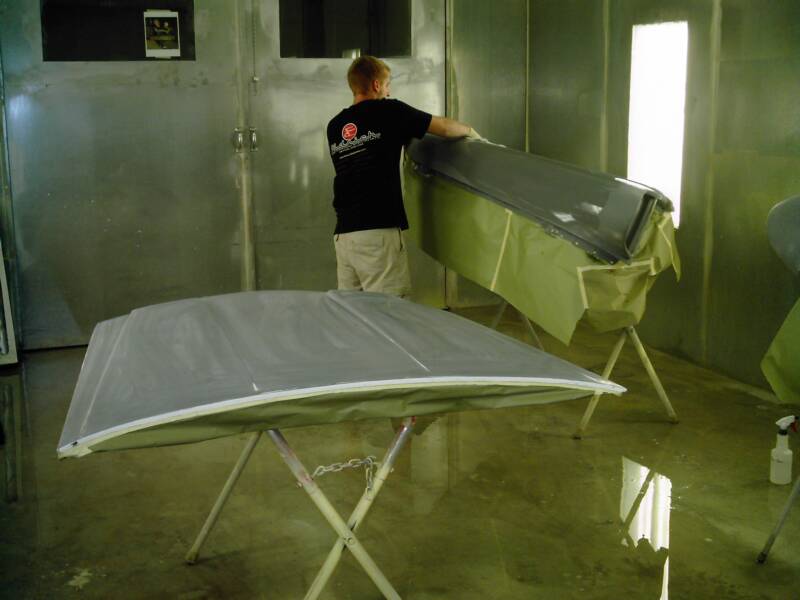
Once driver side metal and filler work is ocmplete the Tbird moves into the booth from taping off and paint prep.
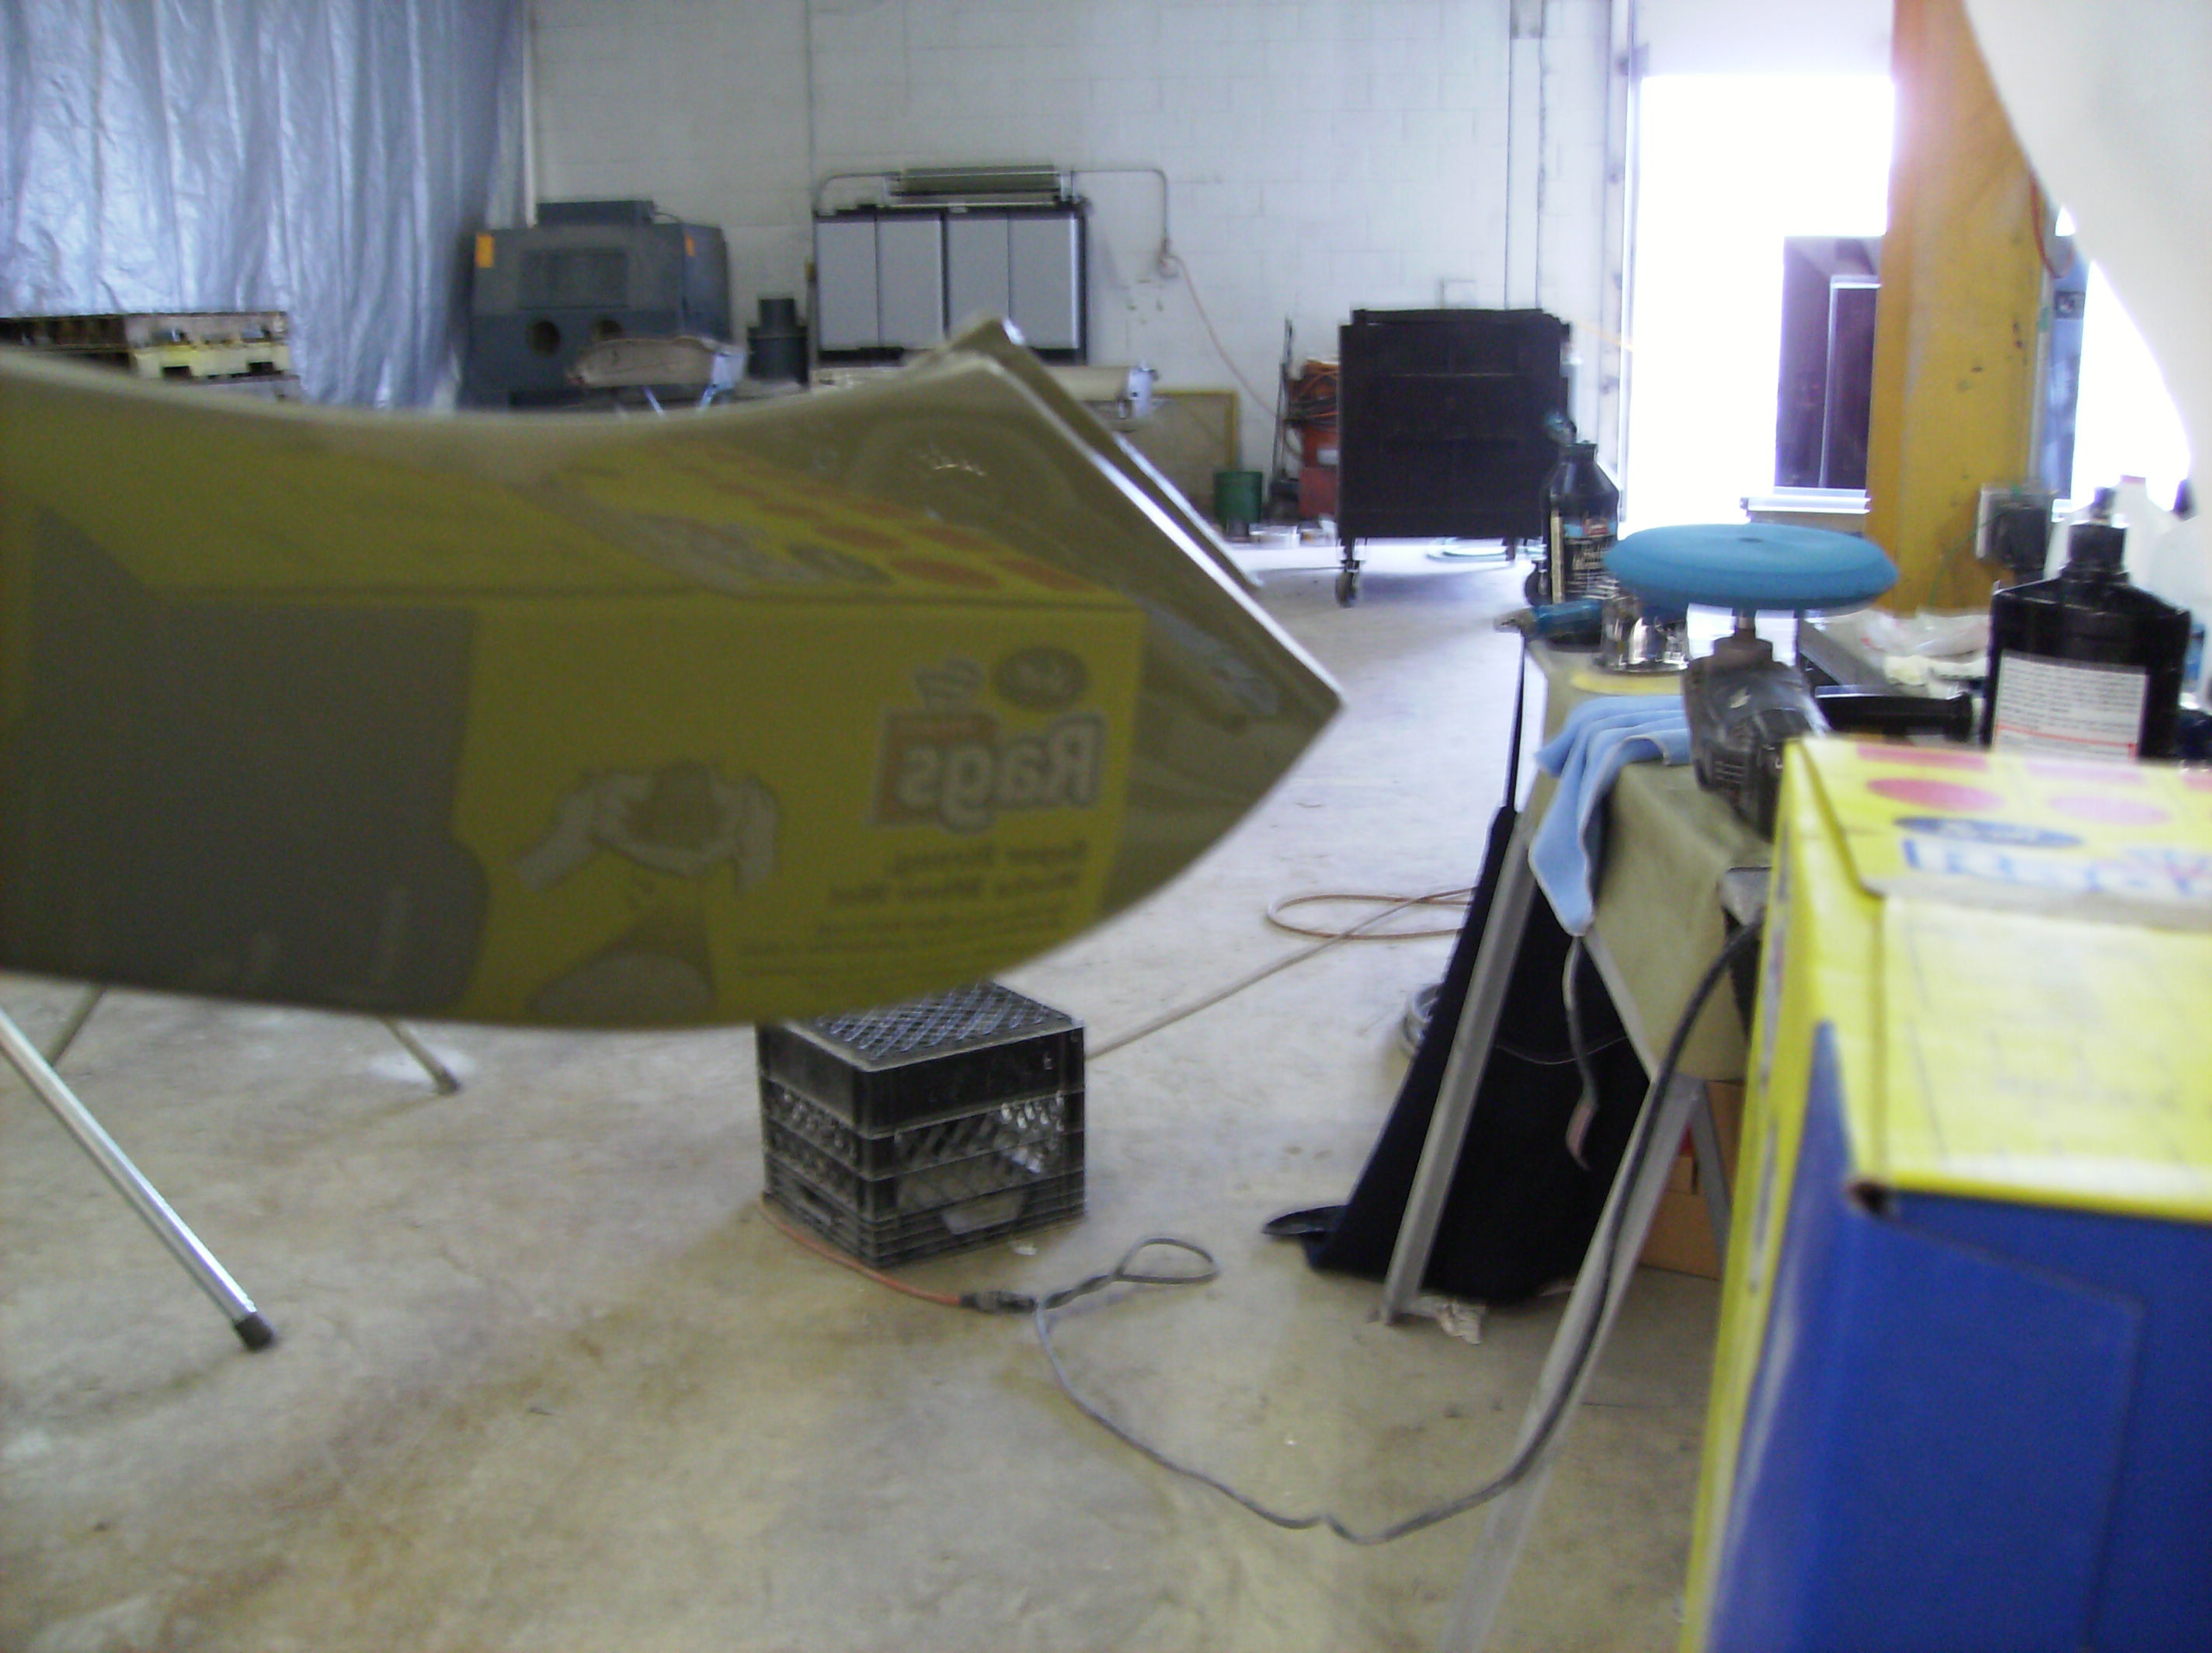
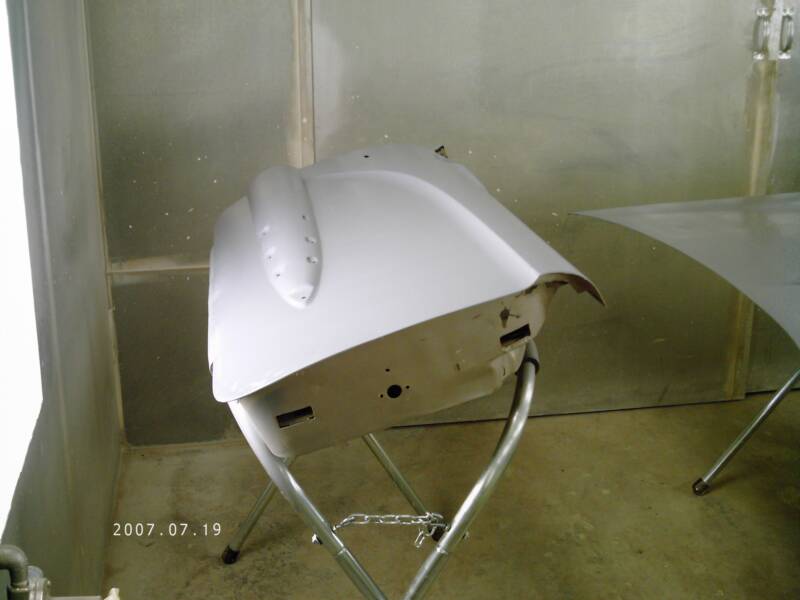
The hood is stripped and cleaned and ready for primer
The nose is straight and smooth, the engine is covered and masked off
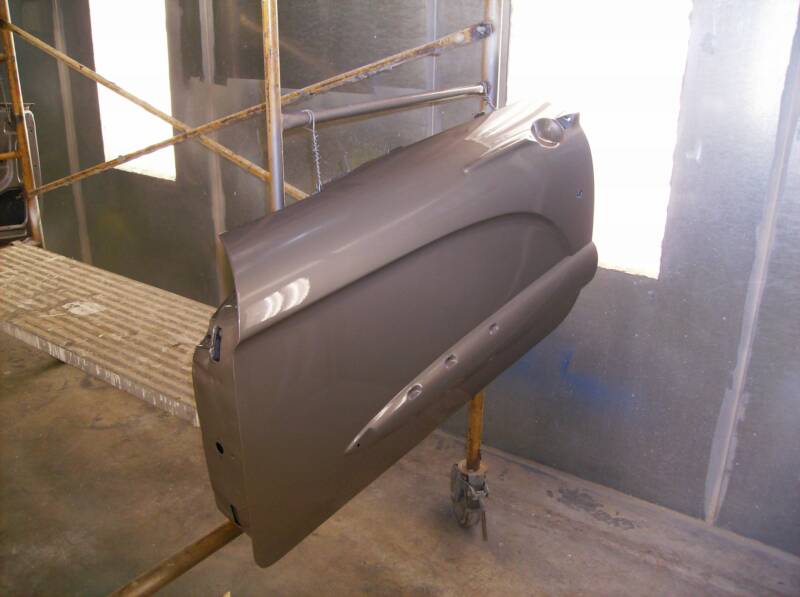
The doors, like the hood are painted off the car.
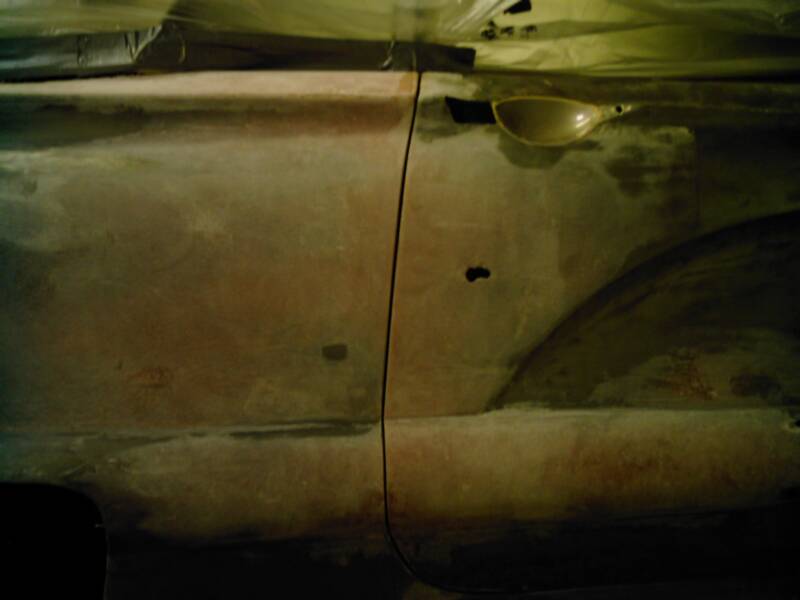
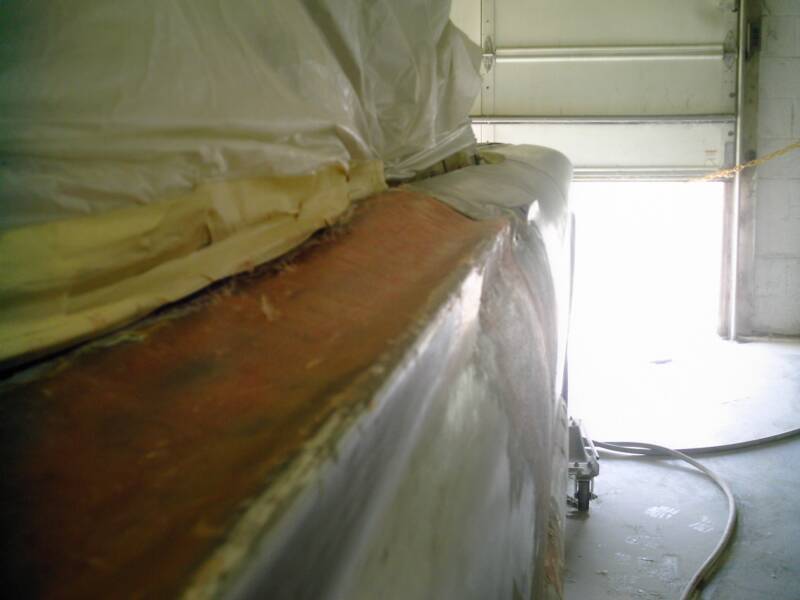
All along the passenger side the previous "body shop" split the car to try to correct its mistake.
Another shot of the attempted fix abandoned by the previous body shop.
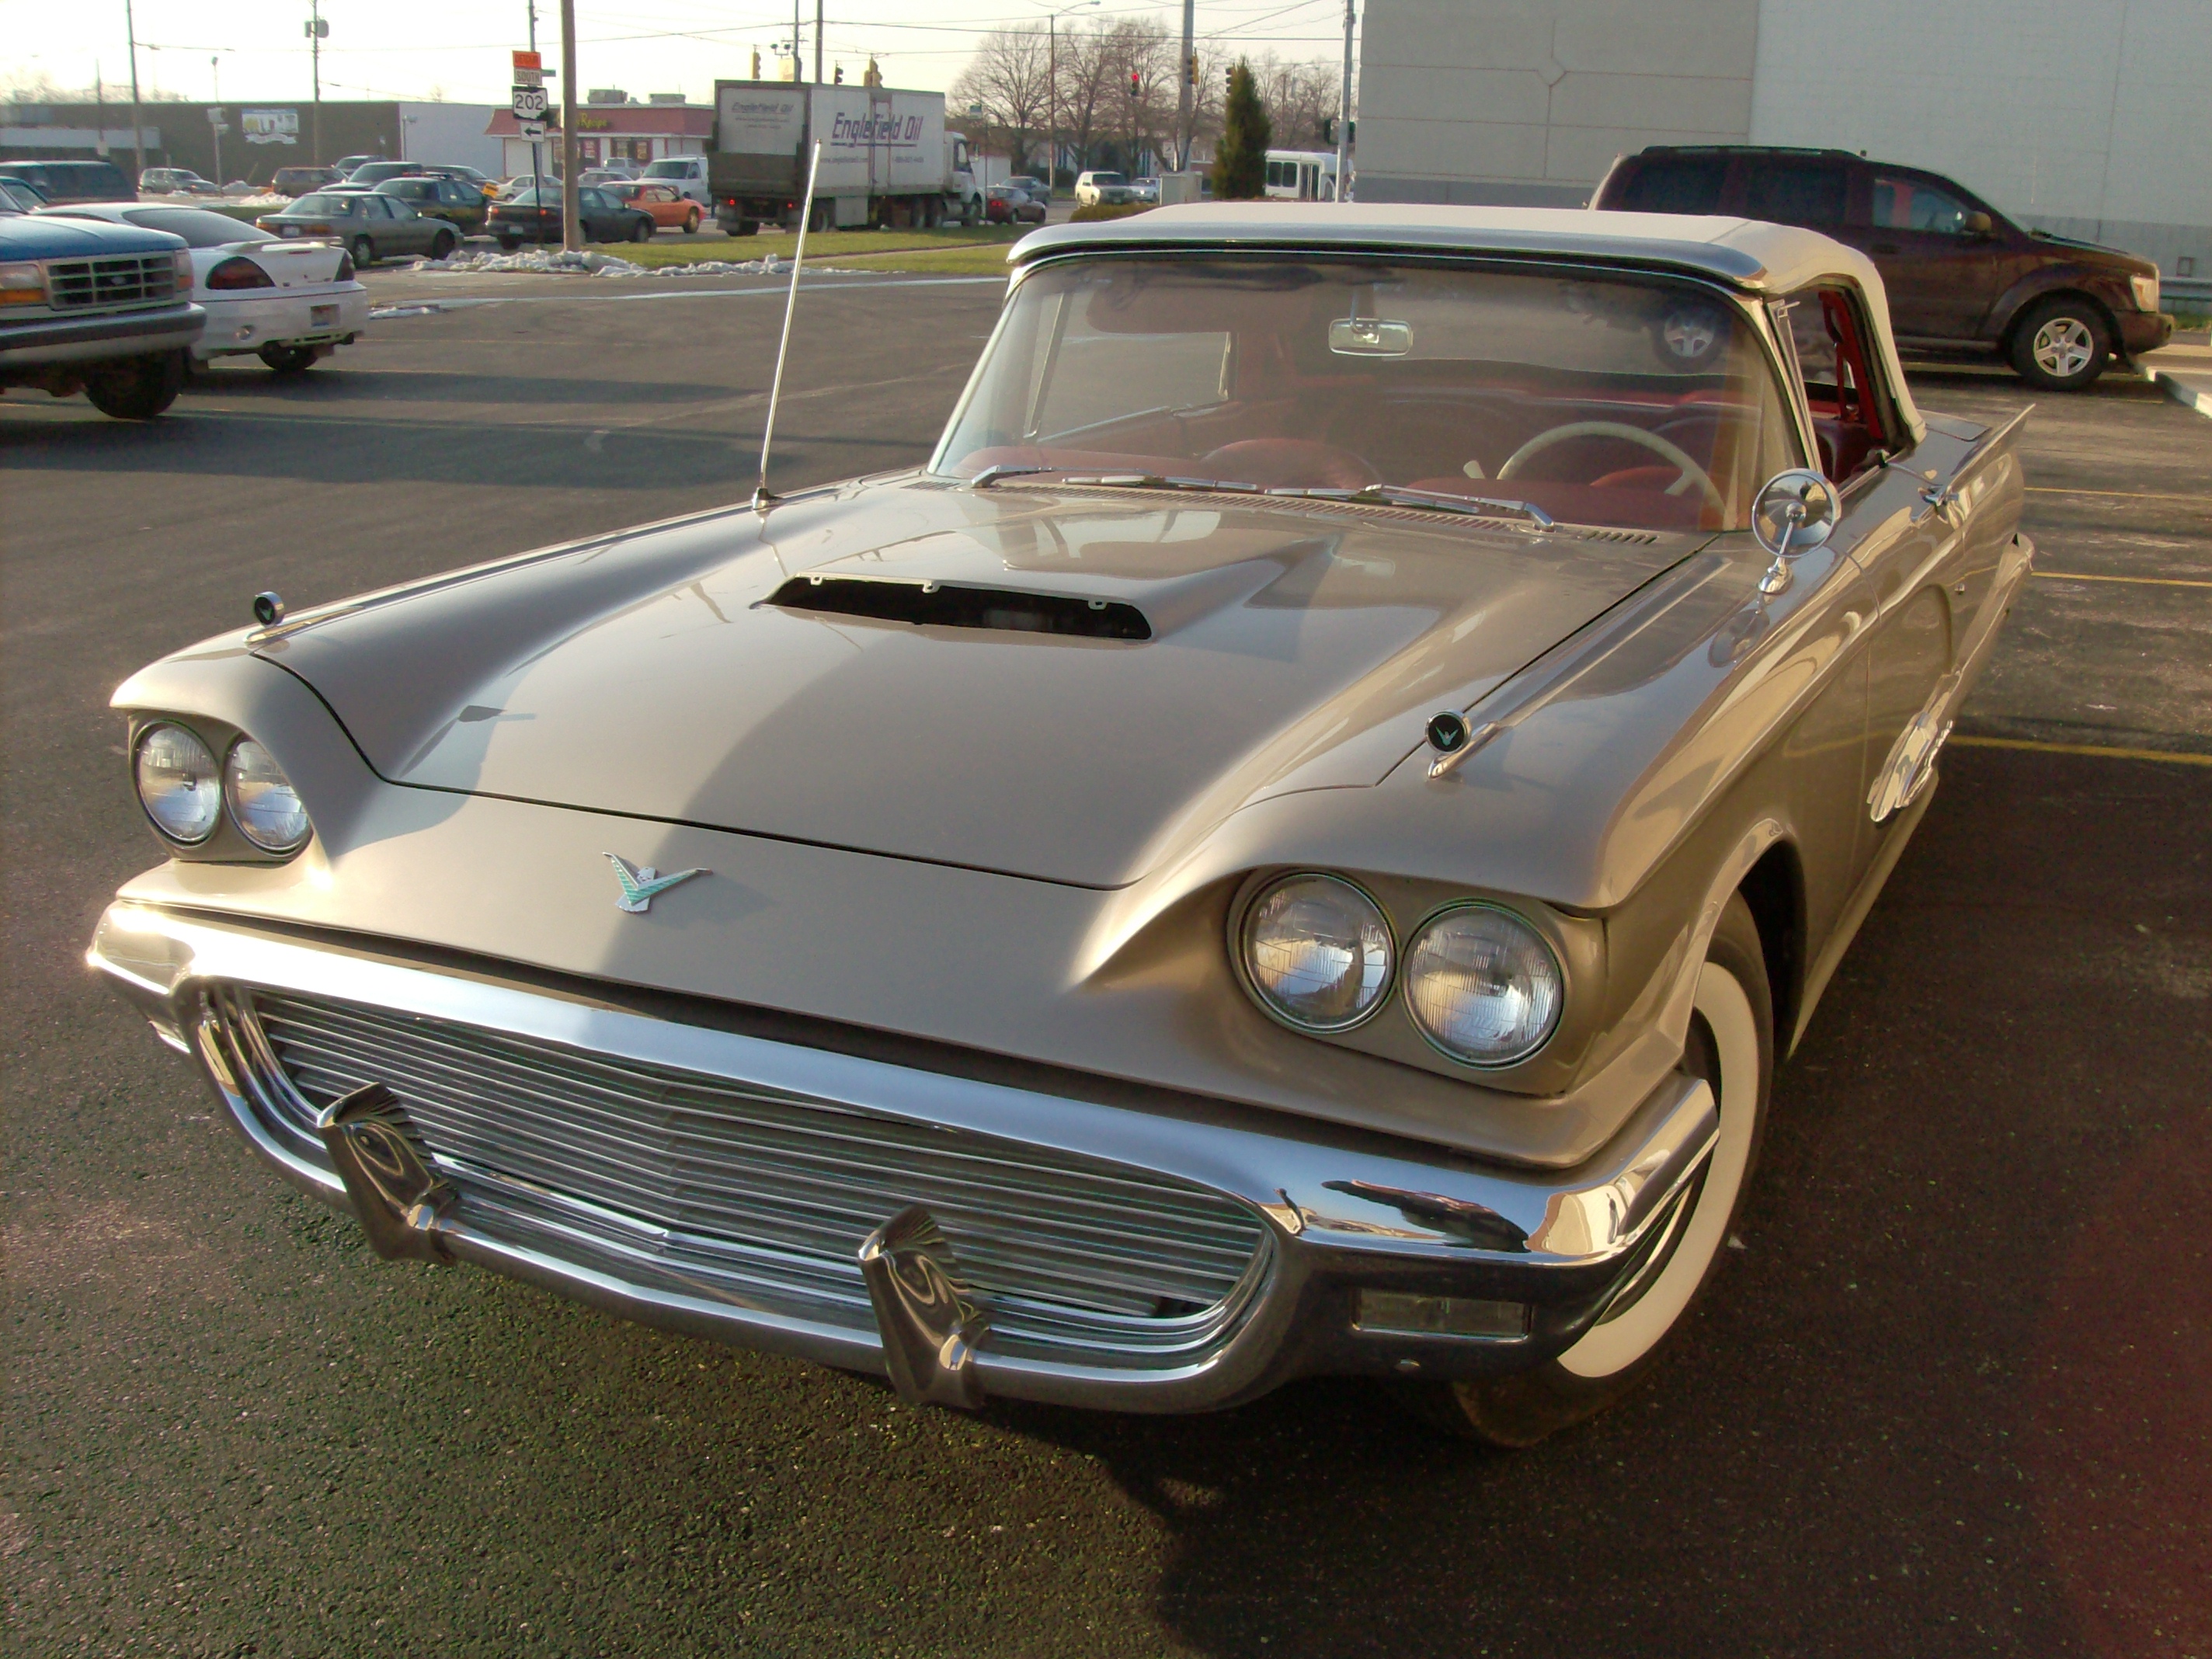
This Tbird arrived from a customer who had read our article in Old Cars Weekly about the benefits of finding a reliable restoration shop. After an 8 year trial with a "body shop" which ended in failure, this owner is breathing a little easier.
The nose like the rest of the body was severed front to back in a botched attempt to correct a one inch left to right mistake caused by improper measurements.
Week 5
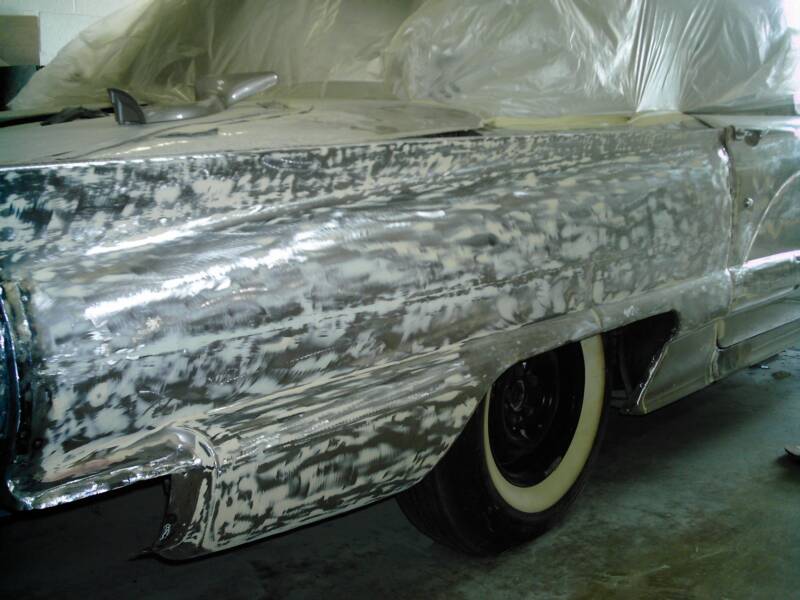
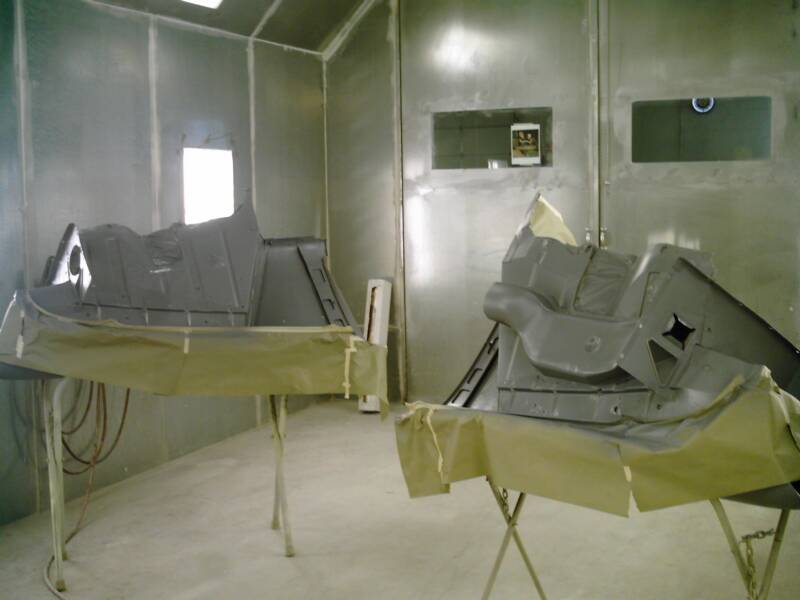
After the car was primed it was block sanded to make every surface, smooth and even. Notice how well all the seams line up now.
The driver side shows the same even texture, perfect to lay one final coat of epoxy before the paint.
Week 6
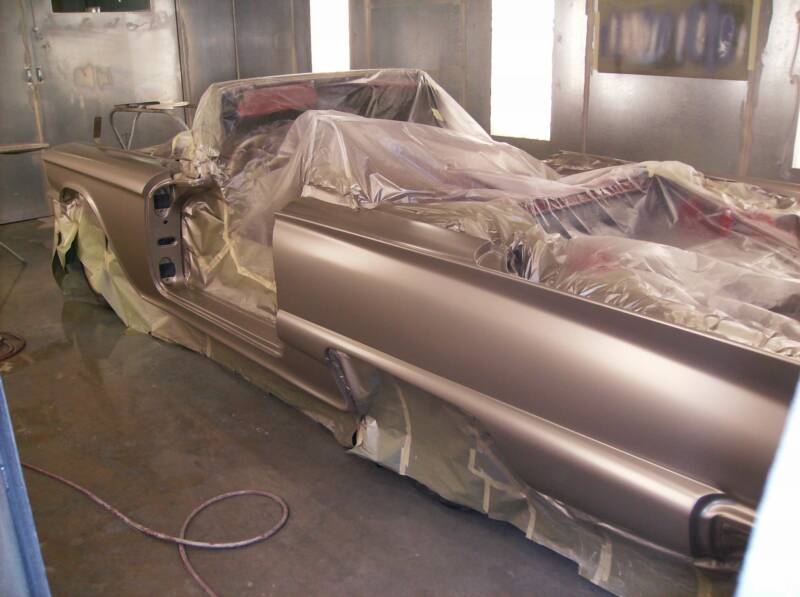
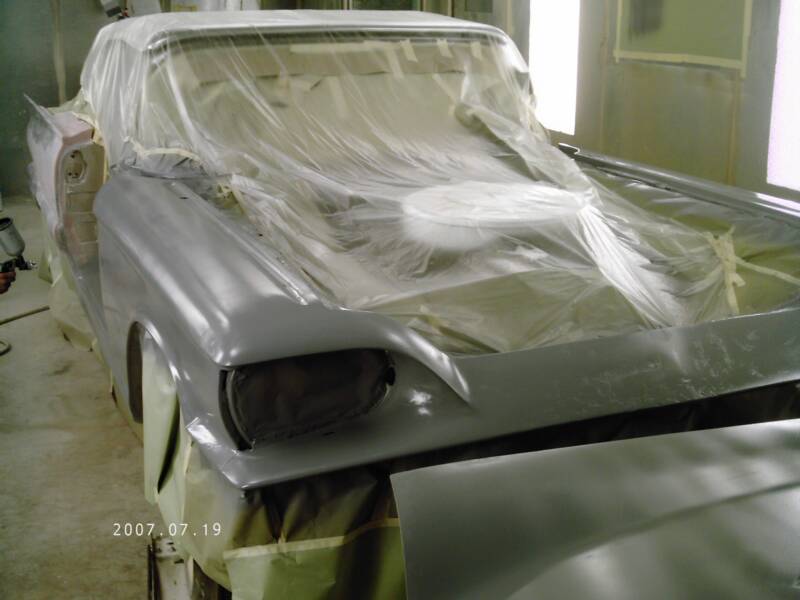
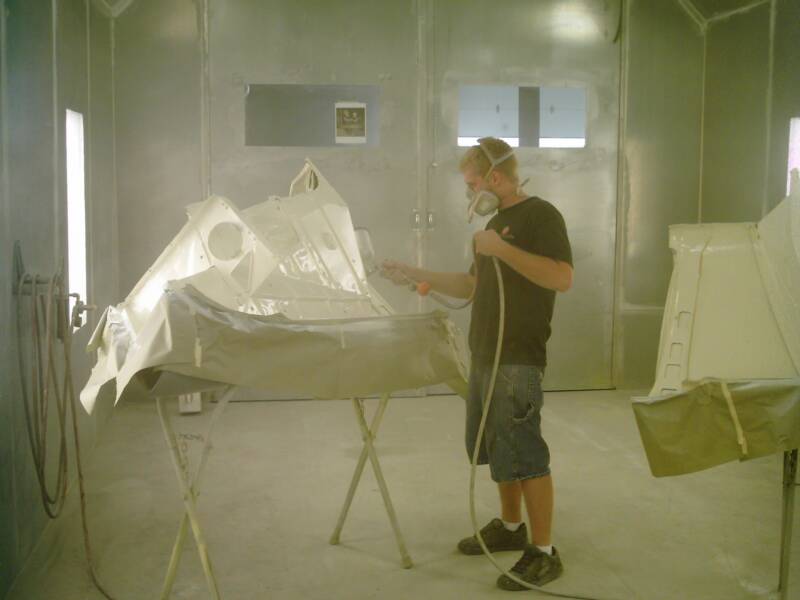
Another view of the T-Bird after epoxy.
The front end ready for paint after epoxy.
The T-Bird receives a coat of epoxy before final paint is layed down.
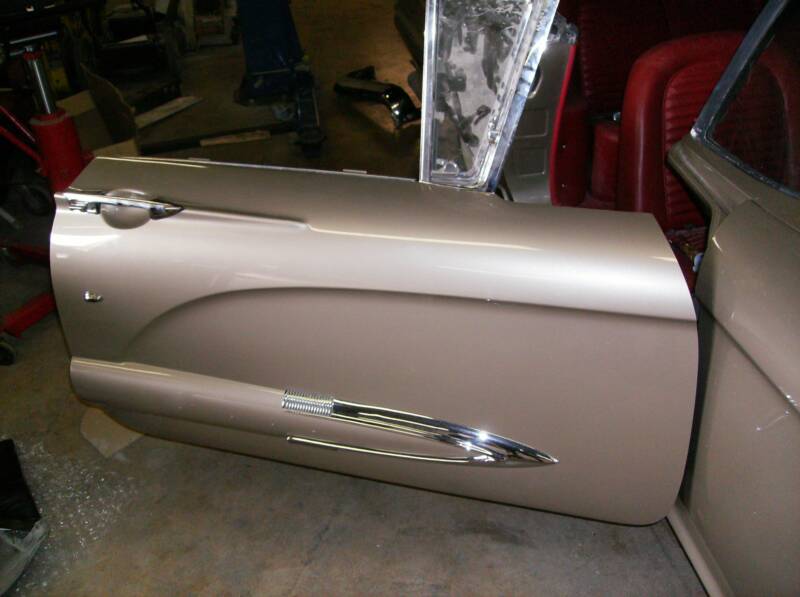
Here is a close up of the door, once again showing the proper alignment that this car deserved to begin with.
Week 7
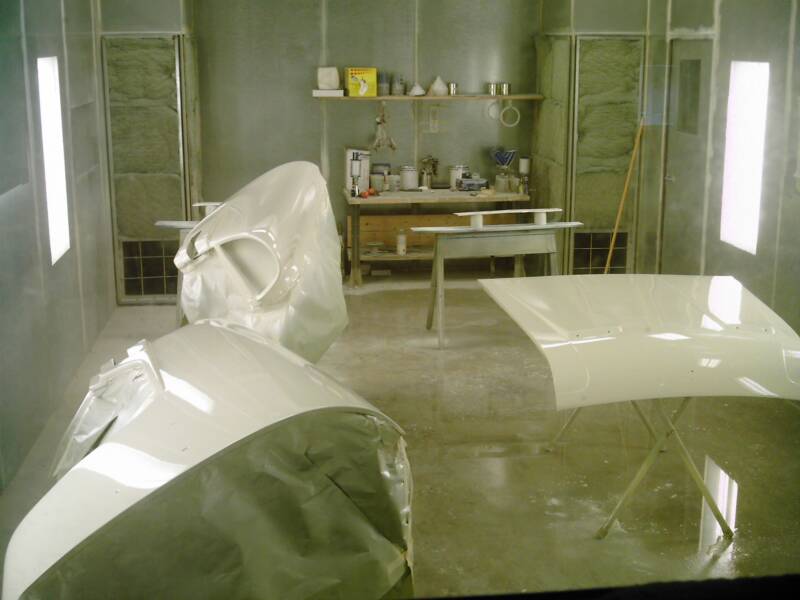
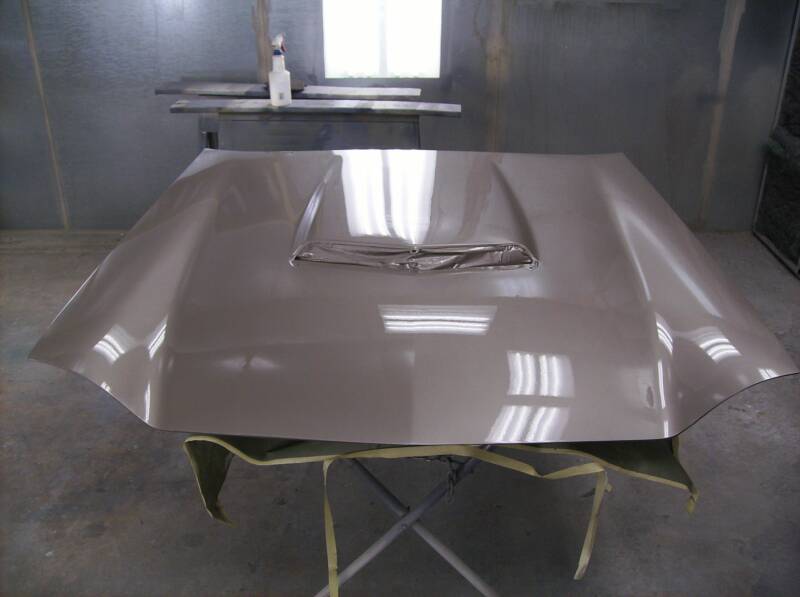
The hood is painted and shows the deep reflection of a good paint job.
The driver's side door recieves no less, a beautiful finish!
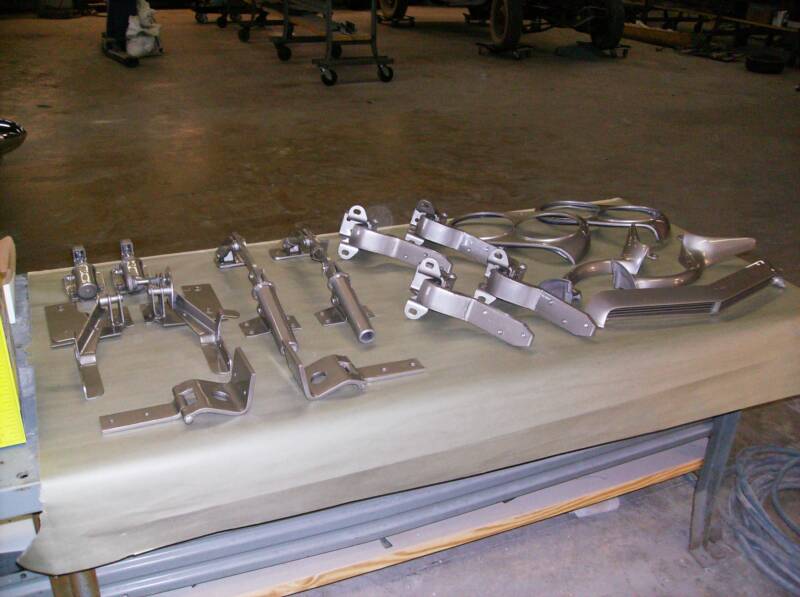
Paint is on the smaller pieces for the car.
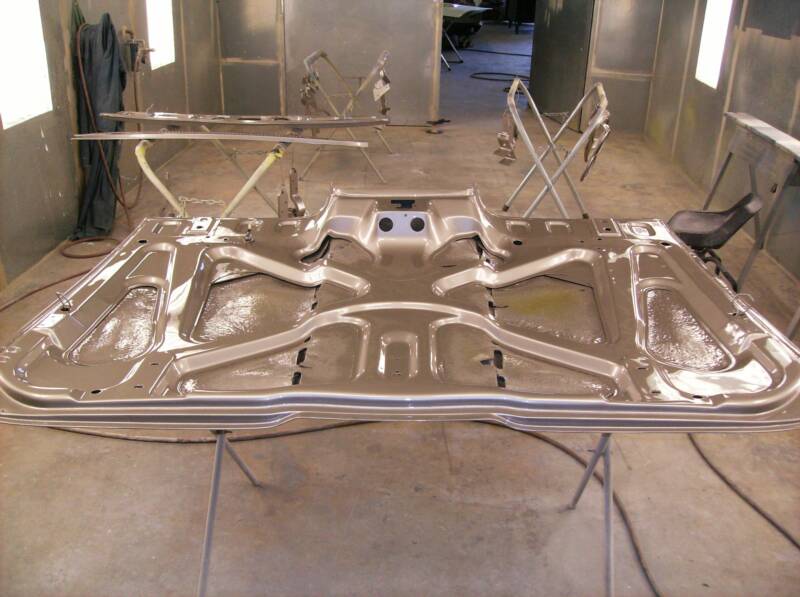
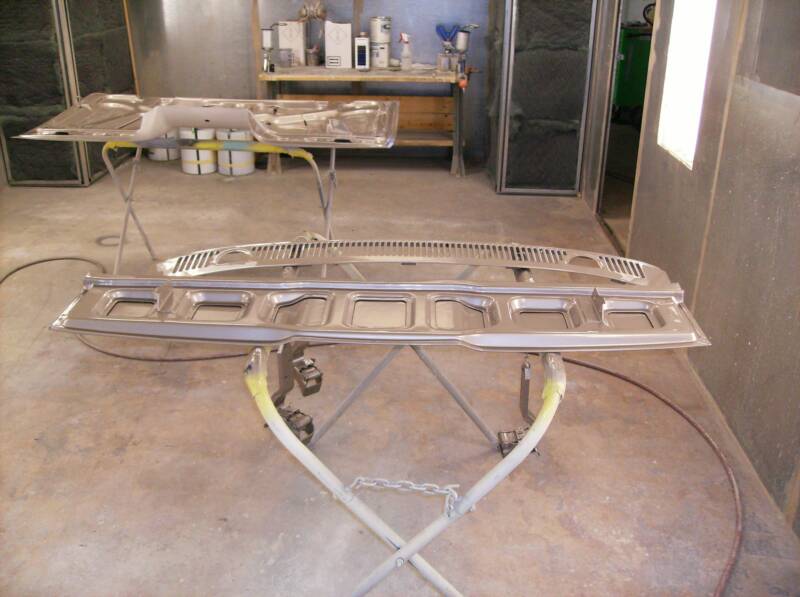
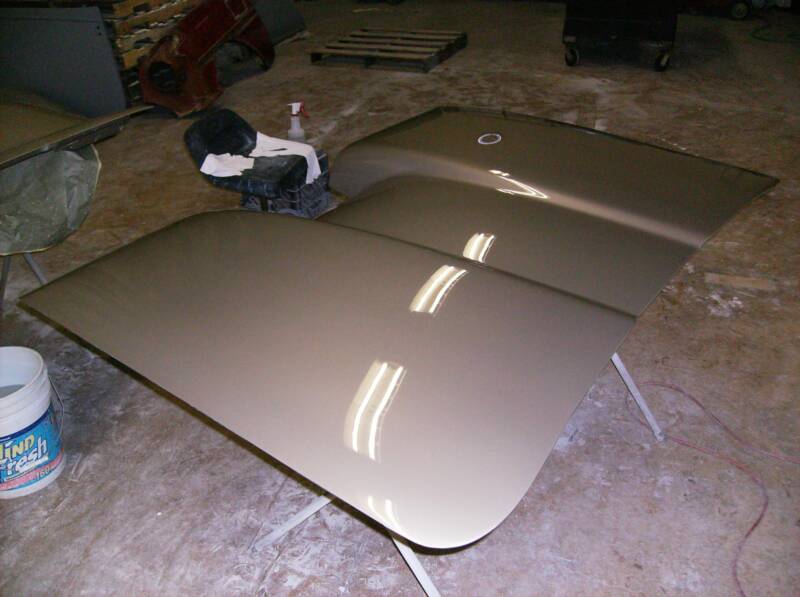
The cowl and the rear deck is sprayed.
Various hinges and misc. pieces are ready for reassembly.
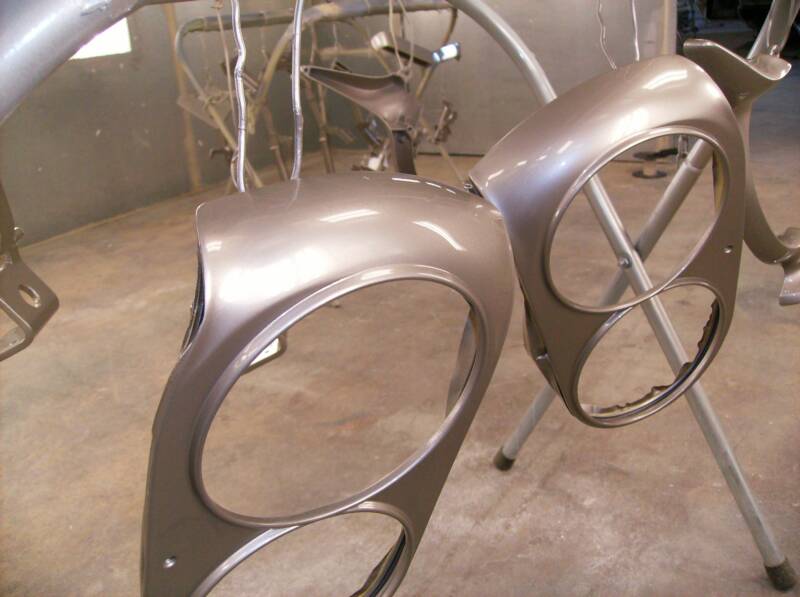
The headlight rings receive a coat too.
The underside of the trunk is all beautified.
.
Week 8
This is the hood after all the final work to the new paint. Wet sanding and buffing have brought an awesome mirror finish...just look at our ceiling in that paint!!
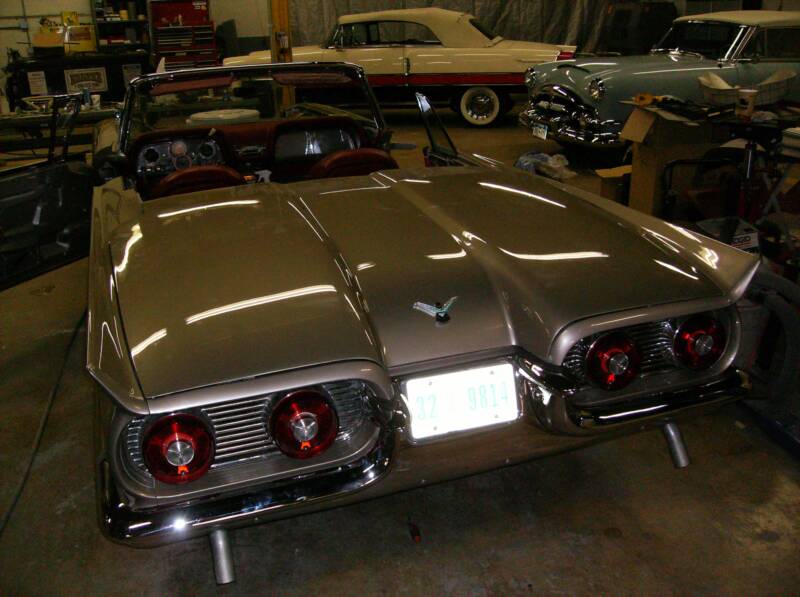
The trunk after paint. NICE!
The T-Bird has paint!! This is still freshly painted, without any clear coat as of yet. After the last step of clear coat final paint finishing such as wet sanding or buffing are in store... but still this is a beautiful finish to start with.
Week 9
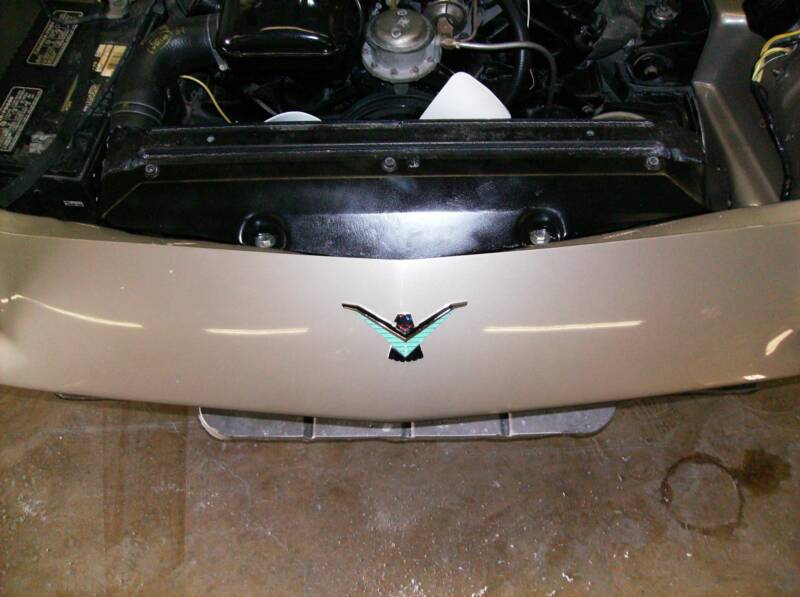
The Thunderbird badge is back on the front of the car...Its getting towards completion!
The chrome starts to go back on the T-Bird; Its sure looking good!!
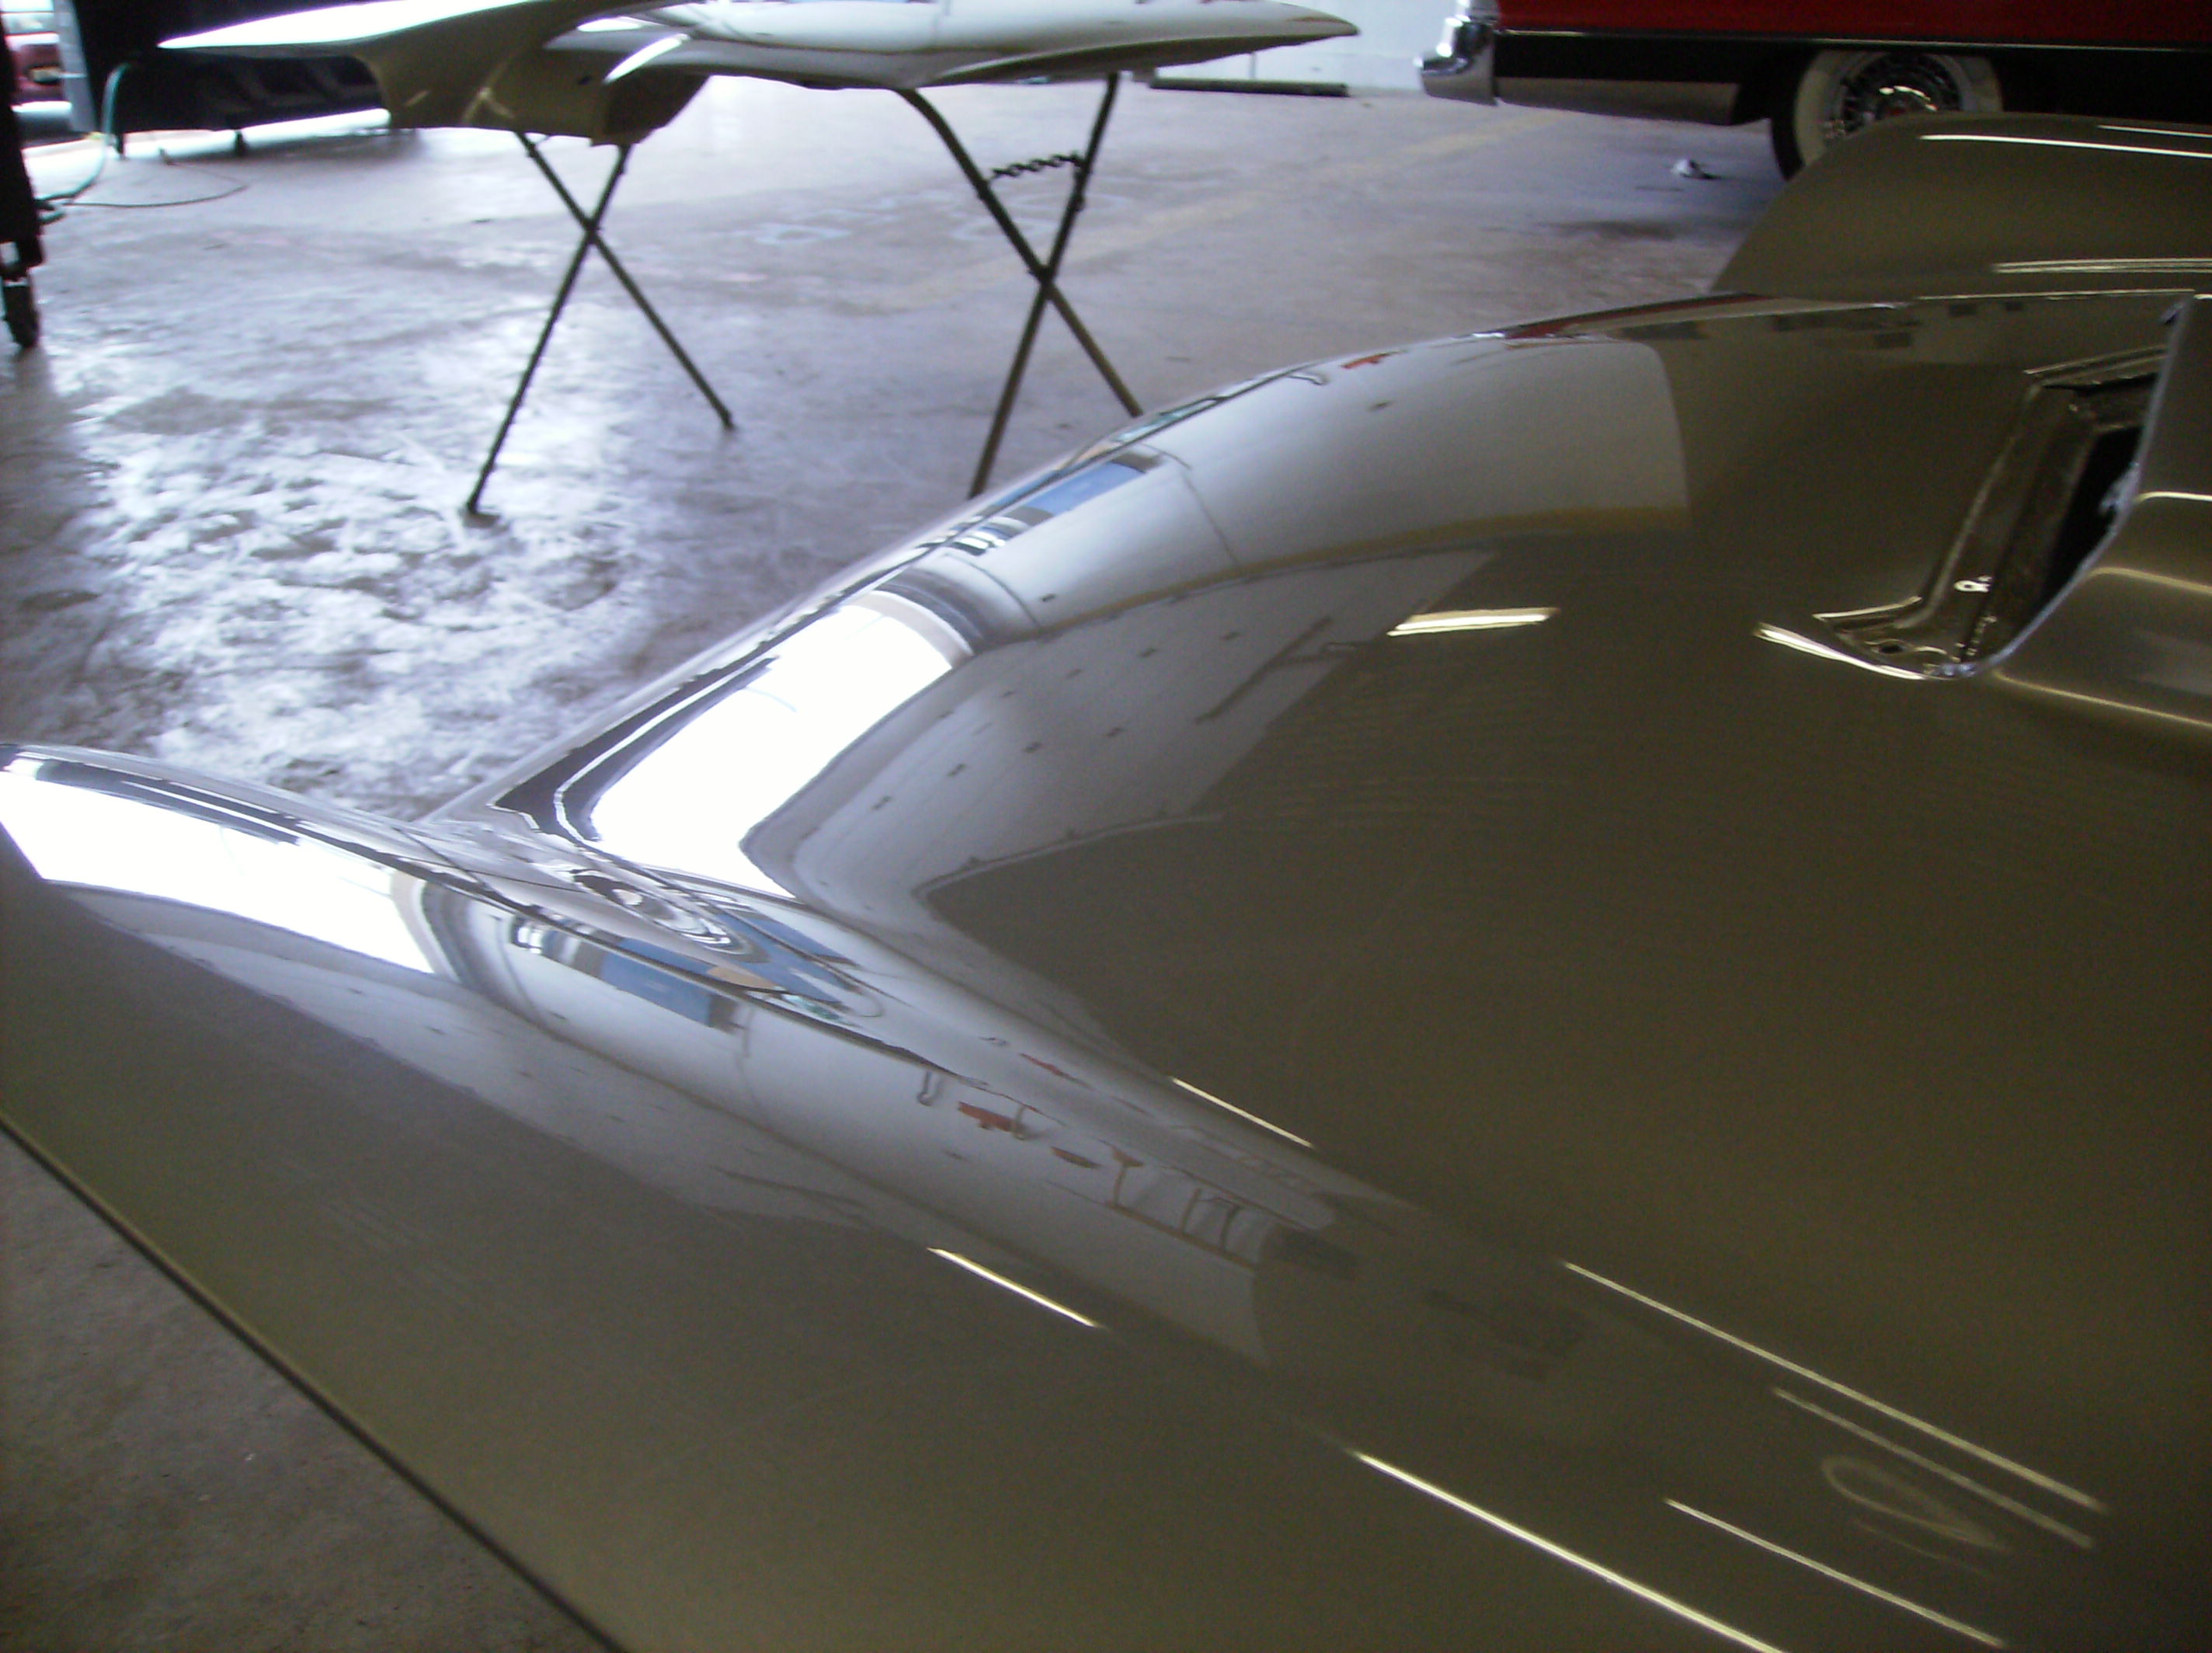
This picture illustrates beautifly the mirror like quality of the paint on this car...Its breathtaking!!
Week 10
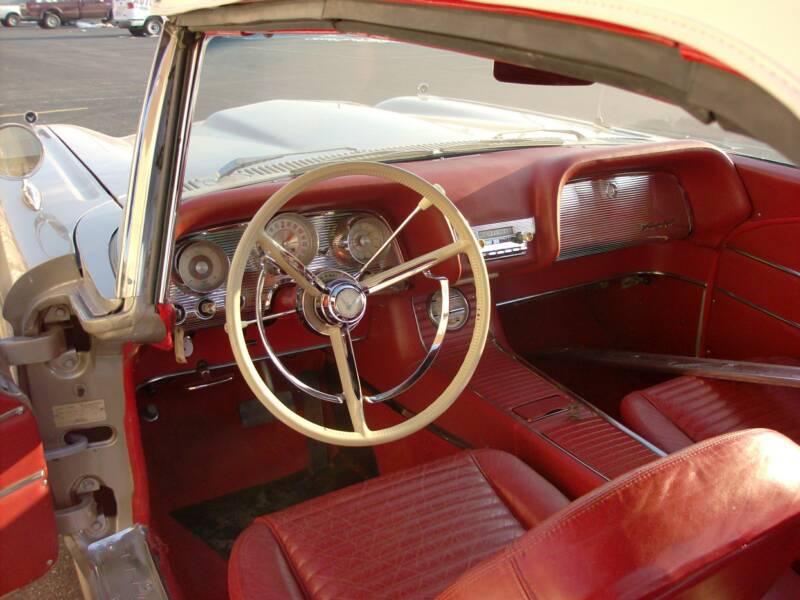
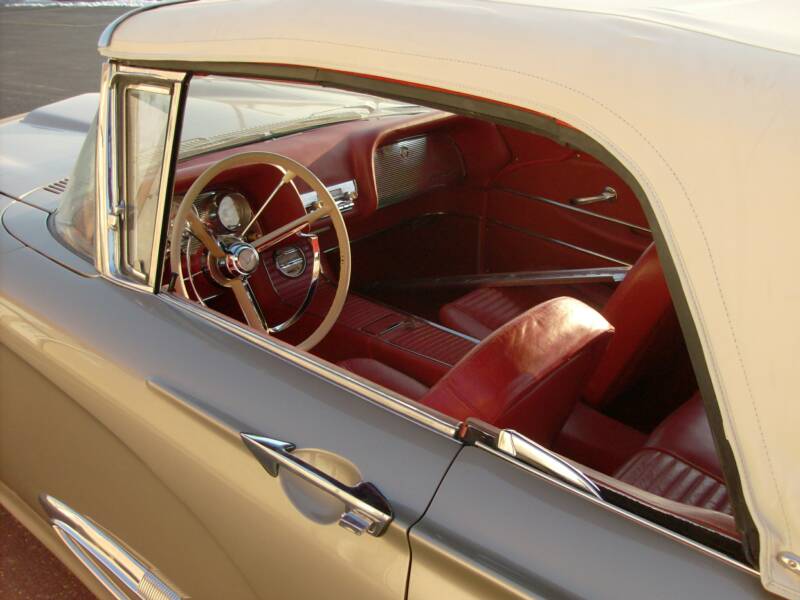
Here is the awesome interior and front dash for this car...Dontcha just wanna take it for a spin?
This shows the ruby red interior, its so inviting!
The Trunk is back on the car. doors are rehung, and taillights installed! This T-Bird is ready for a test drive!!
Week 14
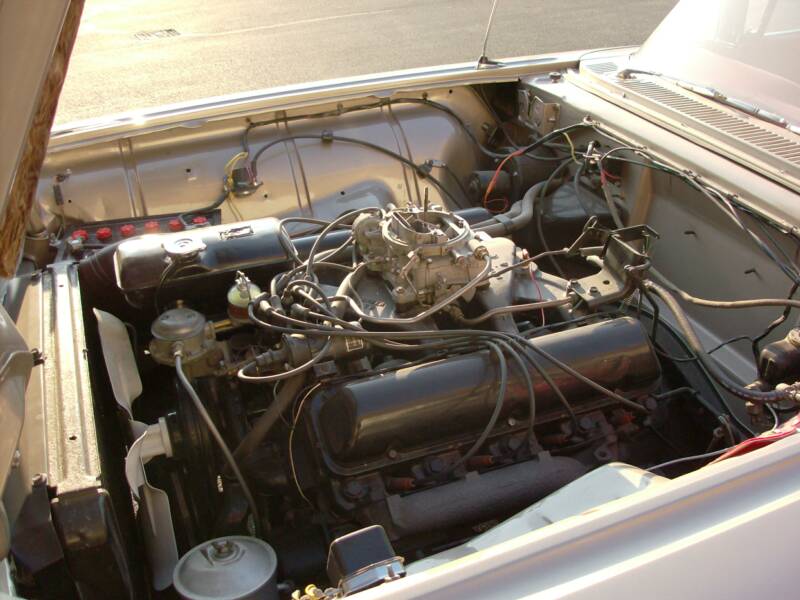
The Engine compartment, detailed and beautiful!
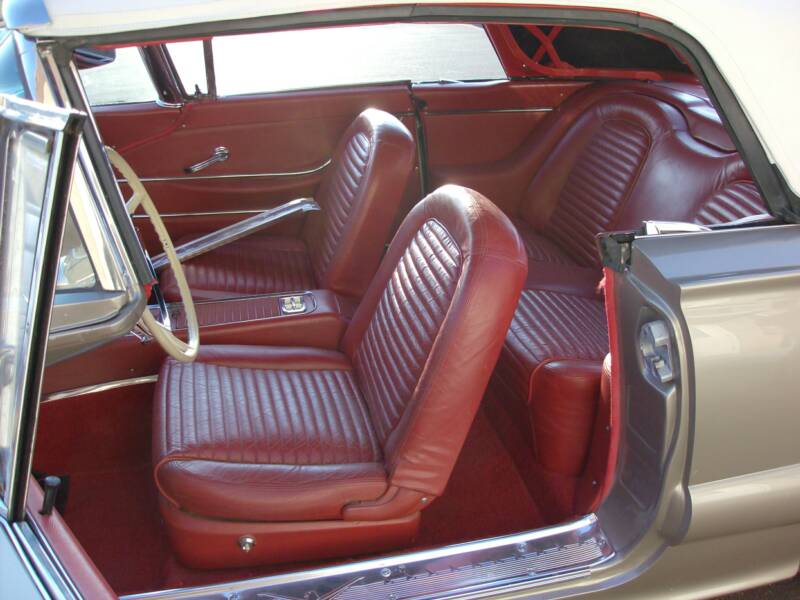
Another droolworthy picture of the interior.
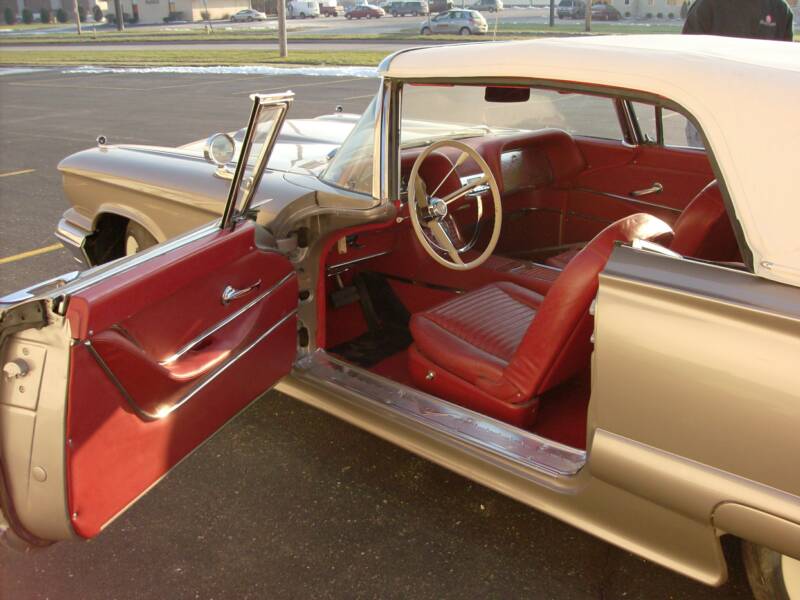
Door panels and interior all ready to go. Shiney chrome, ruby red seats and carpets with the sandstone-colored exterior; this car is show stopper!!
Here the T-Bird sits on a rare nice day in December. Her paint is beautiful, her engine purring, the interior screaming for someone to sit and take a drive. She is an entirely different car than the sad, misaligned mess that we saw just a few months ago.
Mr, Meadors, Enjoy your new beauty!
After some body filler to smooth out the new front end of this car, its amazing how much better it looks already. The lines where the hood, fenders and front grill piece all come together seem like they were made for one another now.