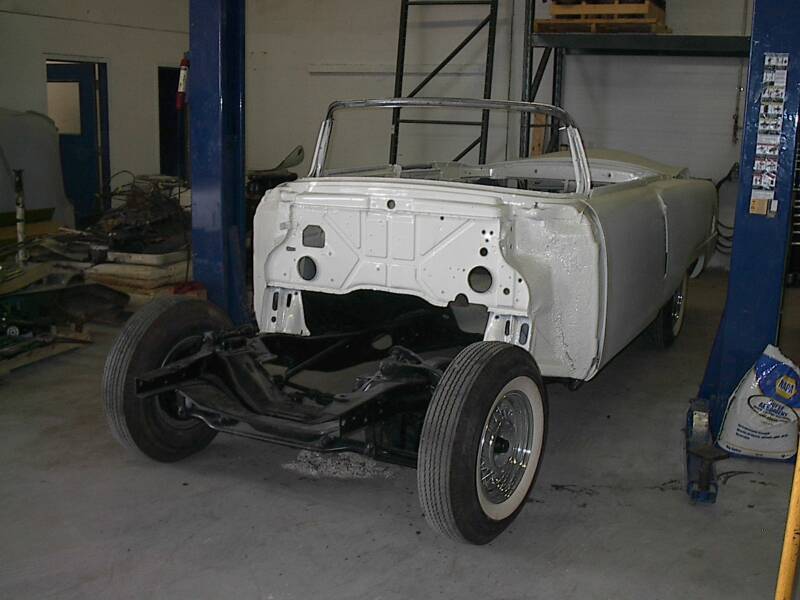
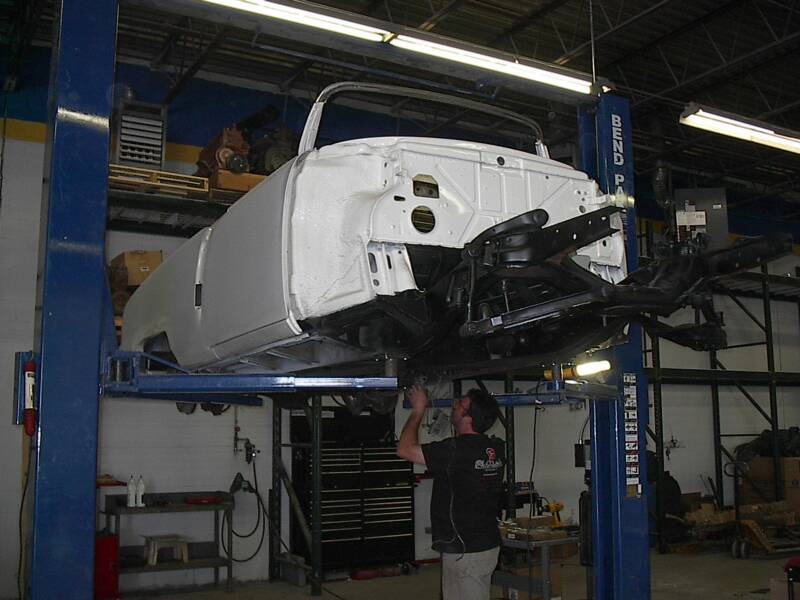
First things first the frame and suspension are stripped down in order to undercoat the car. While the parts are off the car, grommets, gaskets, and bushings will all be replaced.
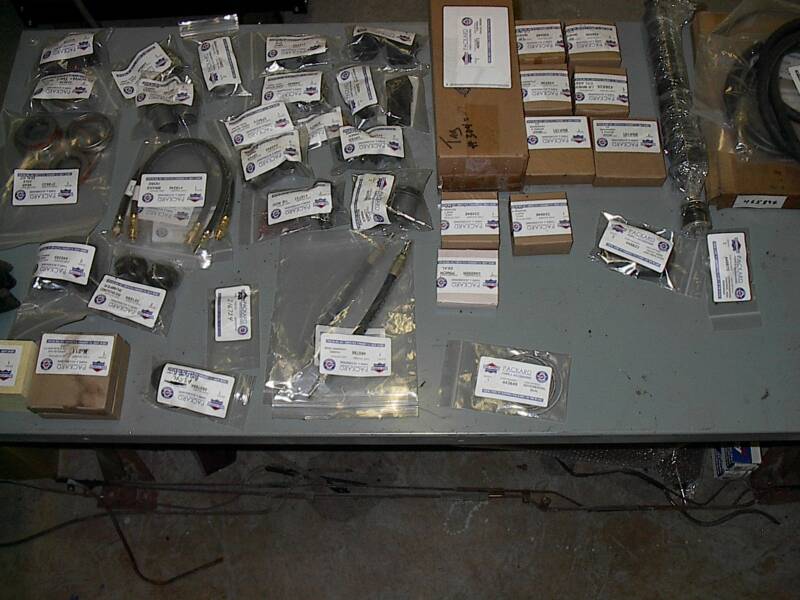
Parts for the 1955 Caribbean will be exclusively supplied by Max Merritt Auto.
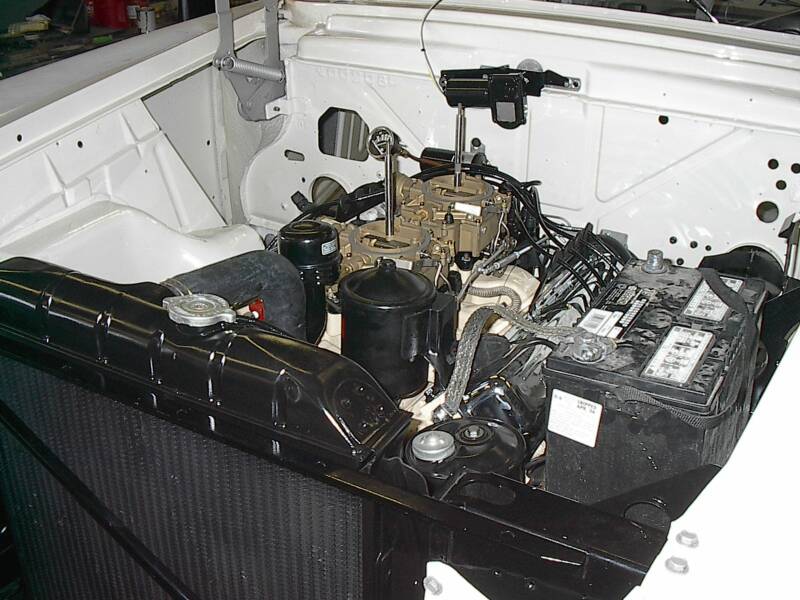
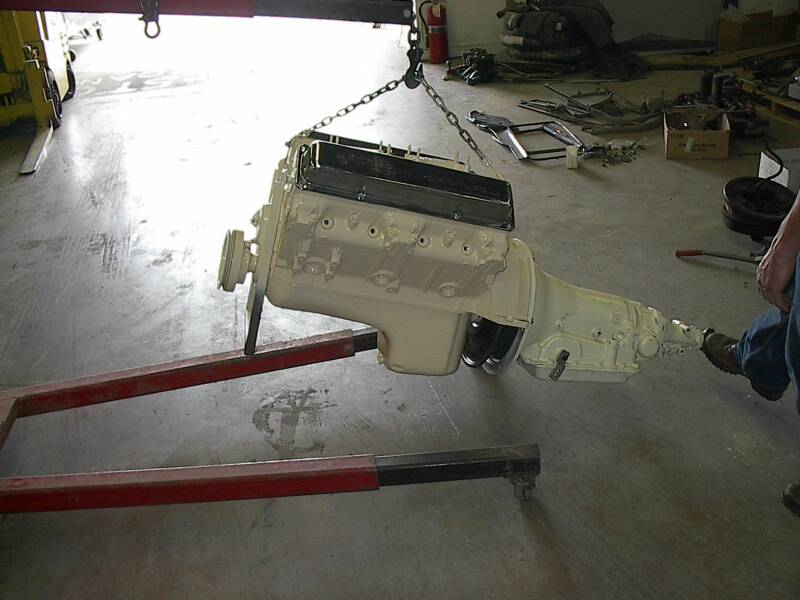
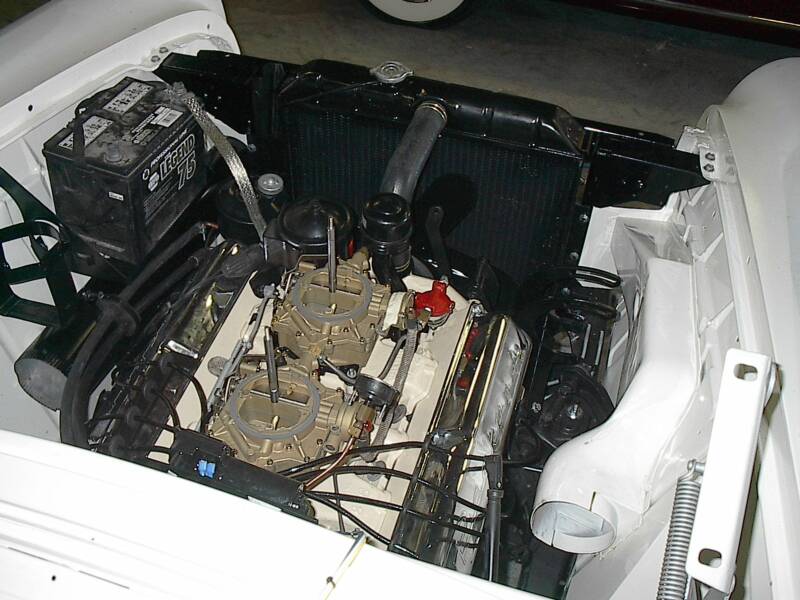
This car will have all new wiring, an out of the crate transmission, and a rebuilt original Packard V8 engine under the hood complete with dual Rochester carburetors!
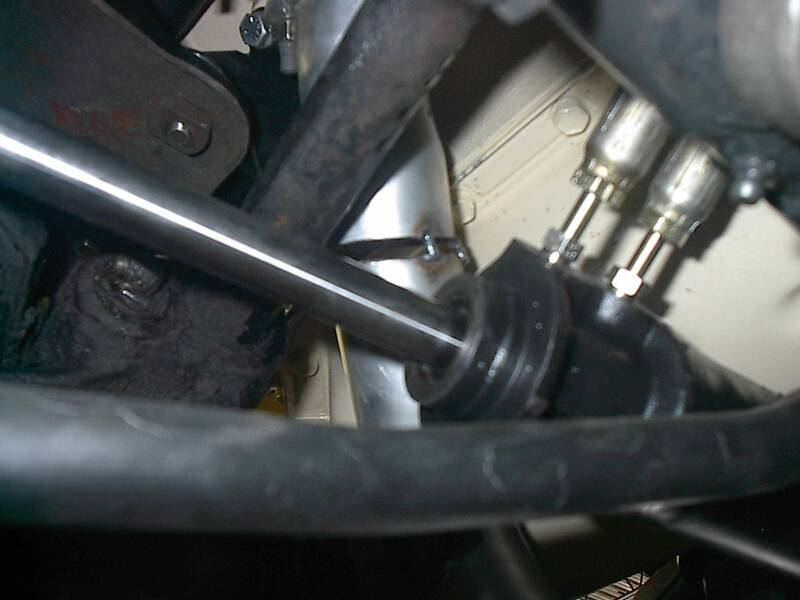
Here is a view of the driver's side king pin prior to releasing the torsion level suspension and dismantling the rest of the front wheel assembly.
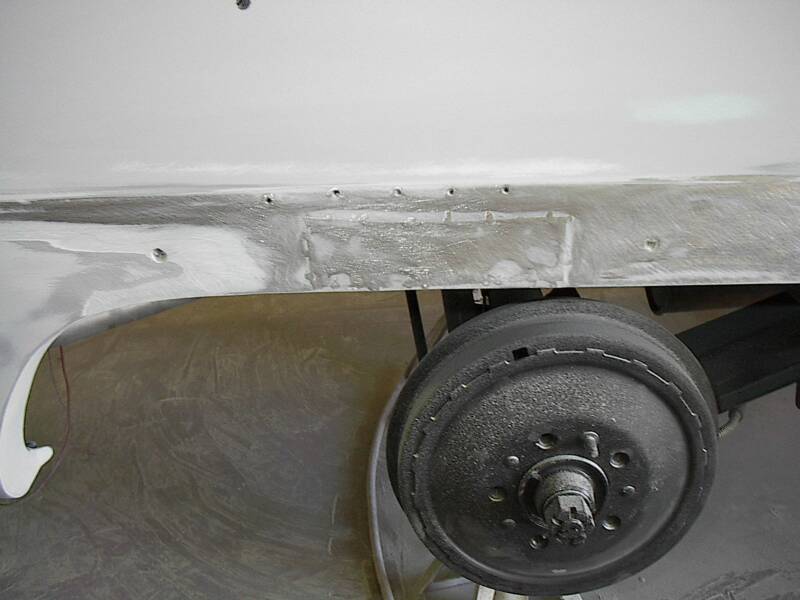
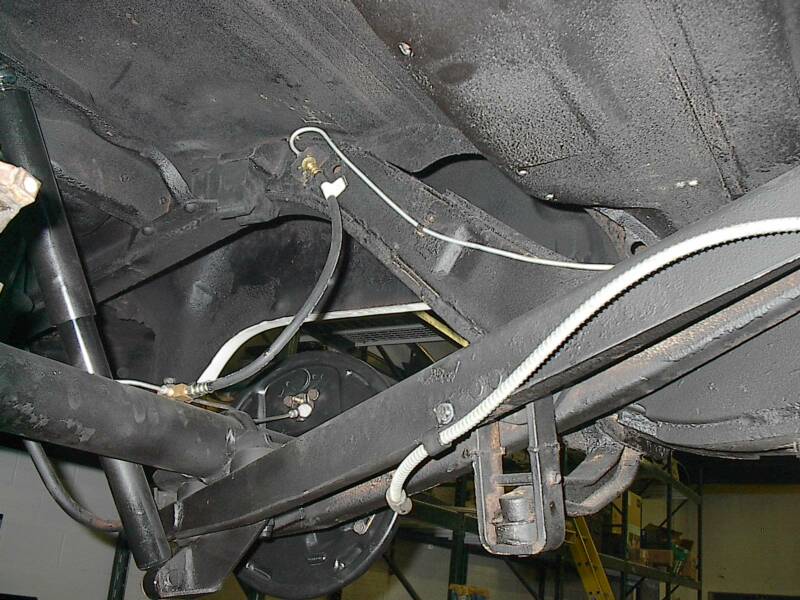
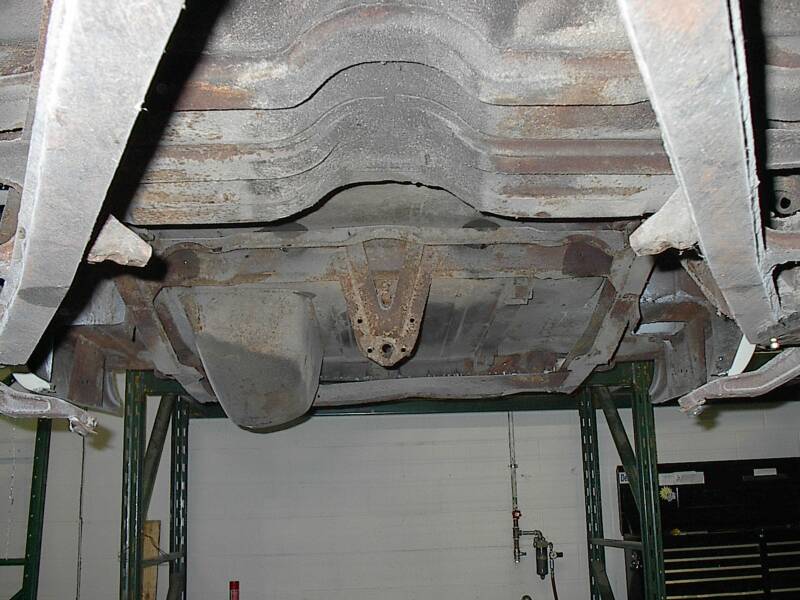
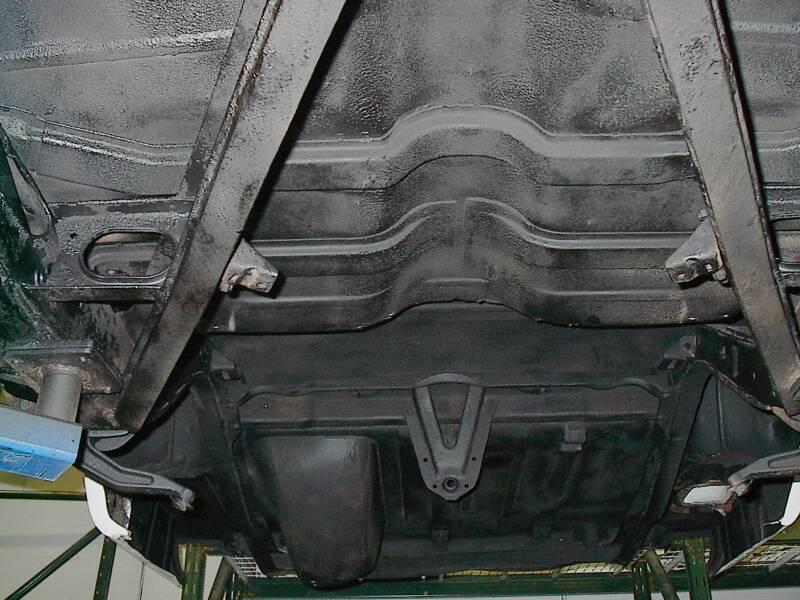
Here is a shot of the undercarriage after the rear suspension has been dismantled and the rear axle has been removed from the car. The undercarriage has already received an undercoating to protect the car from the hazards of the roadways.
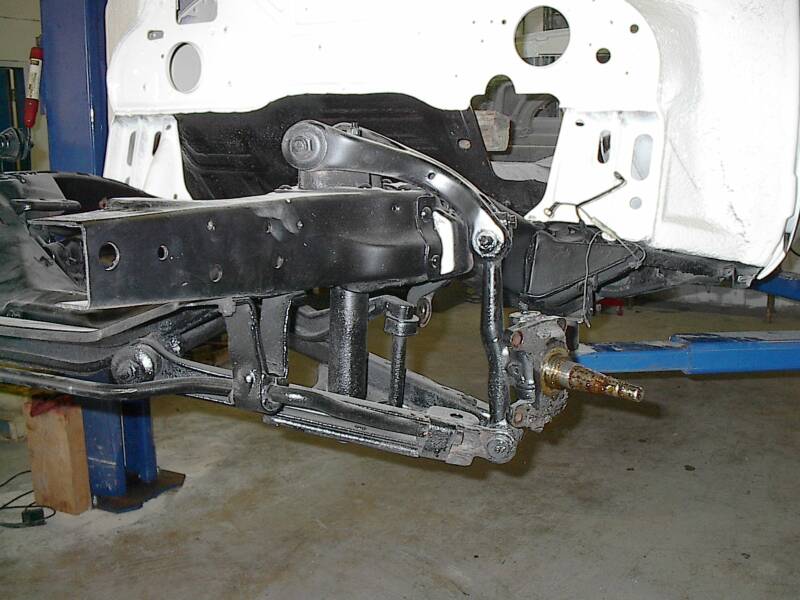
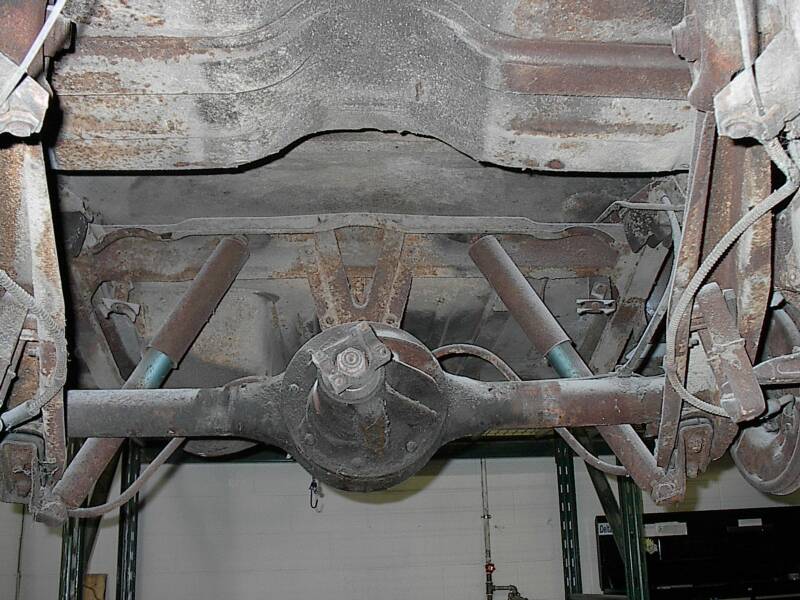
View from under the car looking back towards the rear axle before it is removed from the car. NOS parts from Max Merritt Auto will be used to replace anything not reusable on the car.
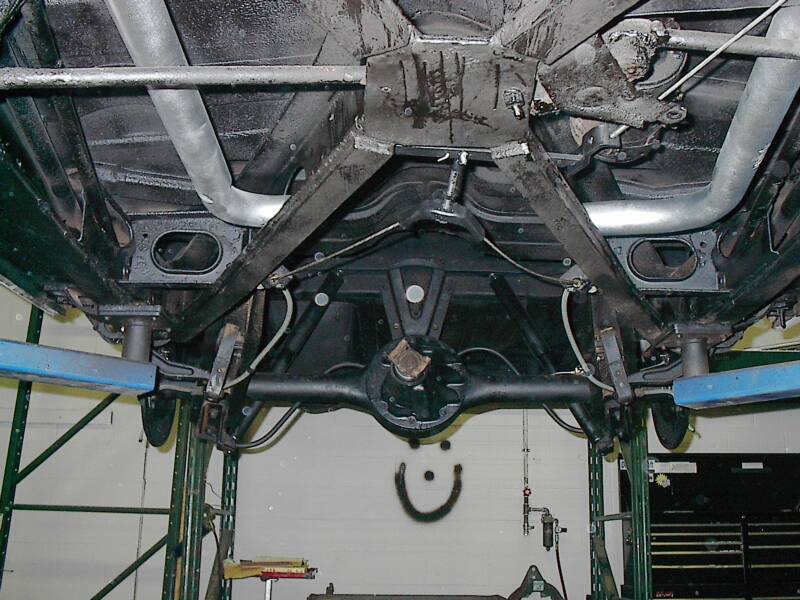
Undercoating has been applied and now the underside of the car is protected. All the rubber mountings arrived from Max Merritt Auto recently and will facilitate moving into the reassembly phase of this project. Each car comes with its own up to the day updated web site detailing the progress of the working being done to the car.
This can happen with your car too. Fred Bruner sent us a complete undercarriage kit for his car. And there it all is. Nice and new and ready to go back on the car. Check out Max Merritt Auto
for more information on how to get this kind of service for your Packard restoration!
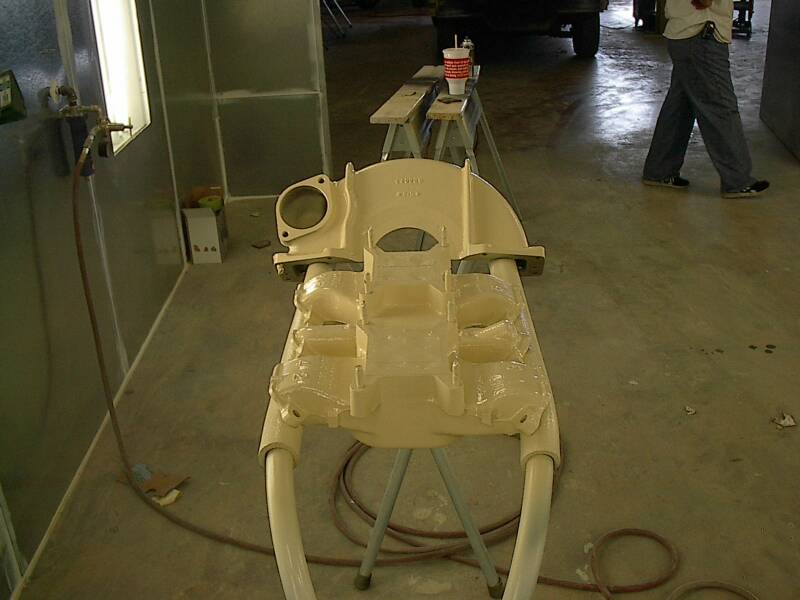
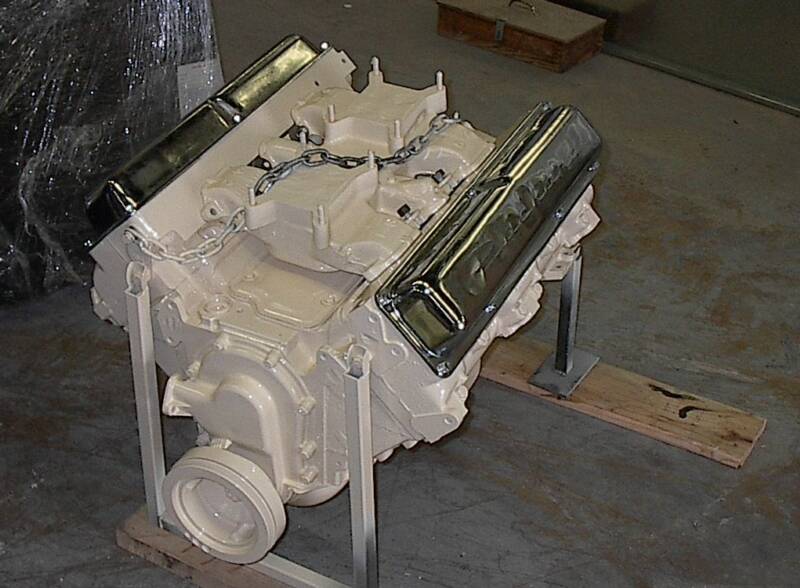
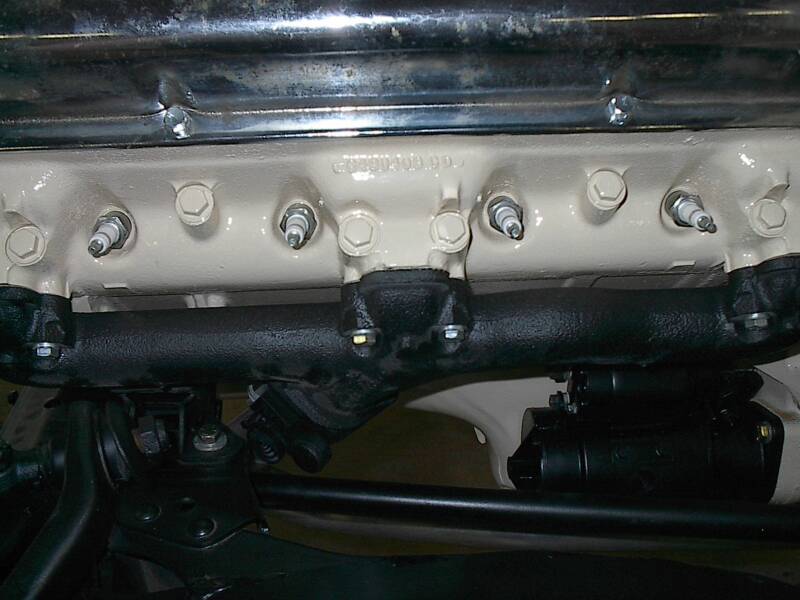
The head setup for the dual Rochester carbs, the bell housing and the water pump and housing have also been painted and are ready for reassembly.
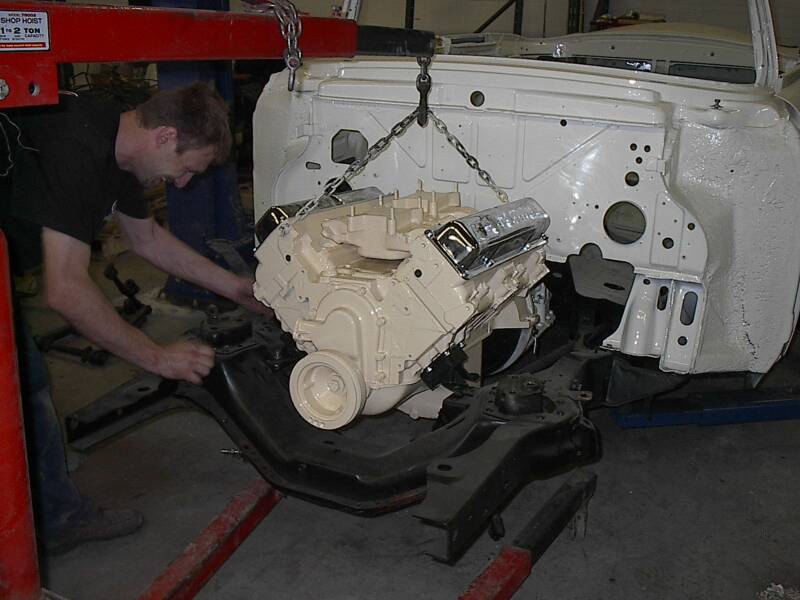
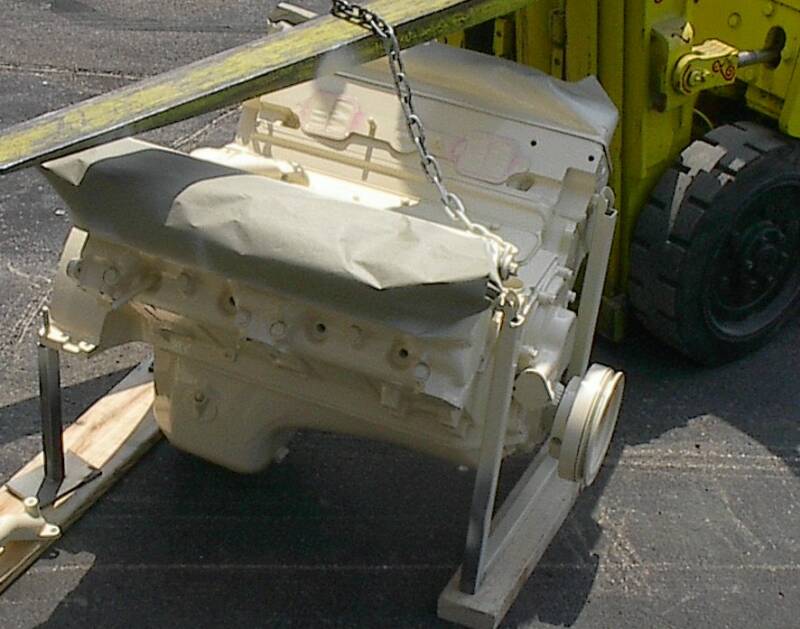
Things are moving quickly on this car. The engine was painted today (6-22-06) and is ready to join the transmission and get bolted into the car
The tape is removed to reveal a painted chromed beauty ready to marry to the transmission and drop in the car
The transmission prior to final assembly and bolting to the engine.
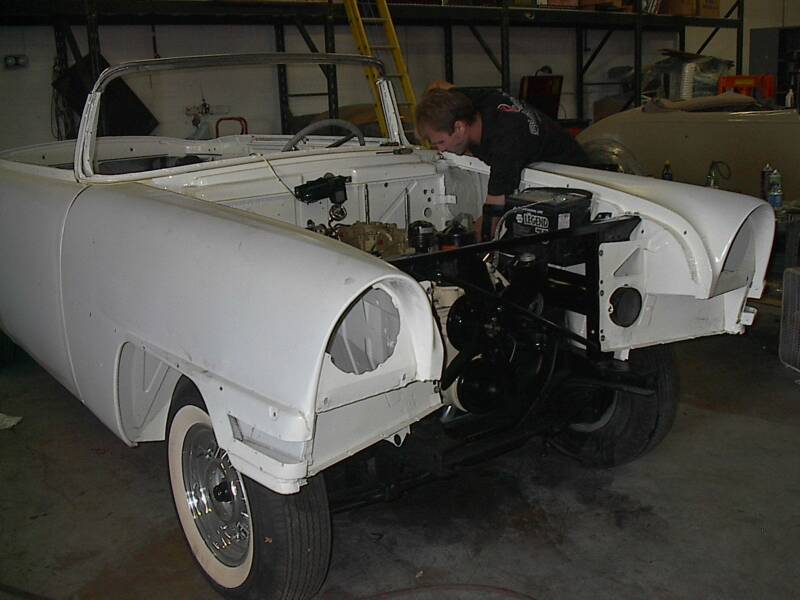
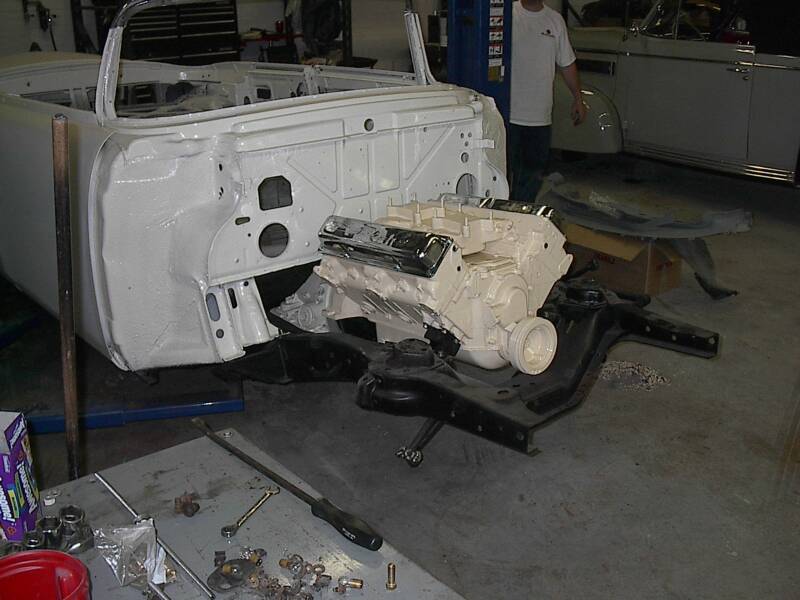
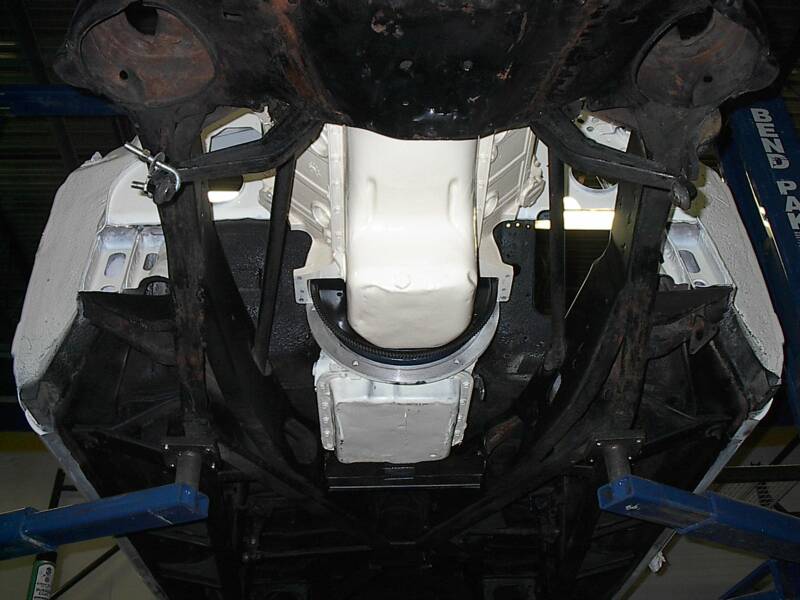
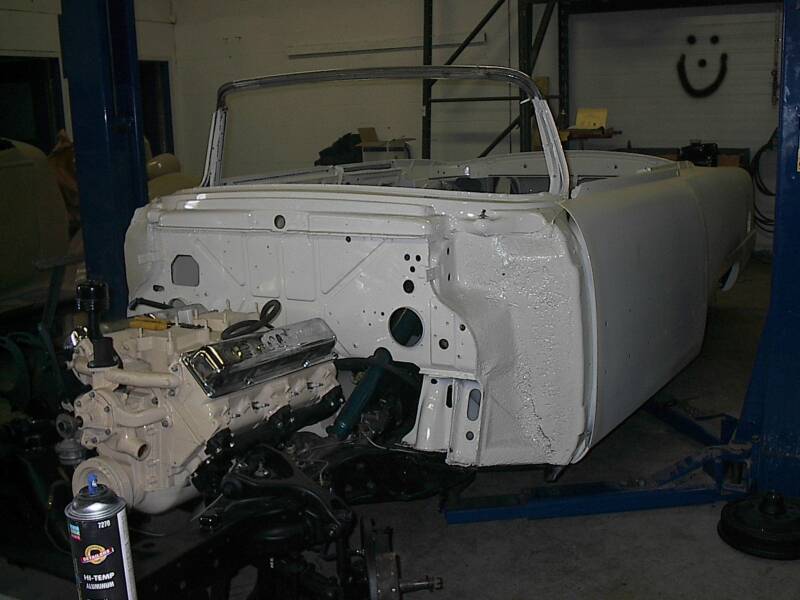
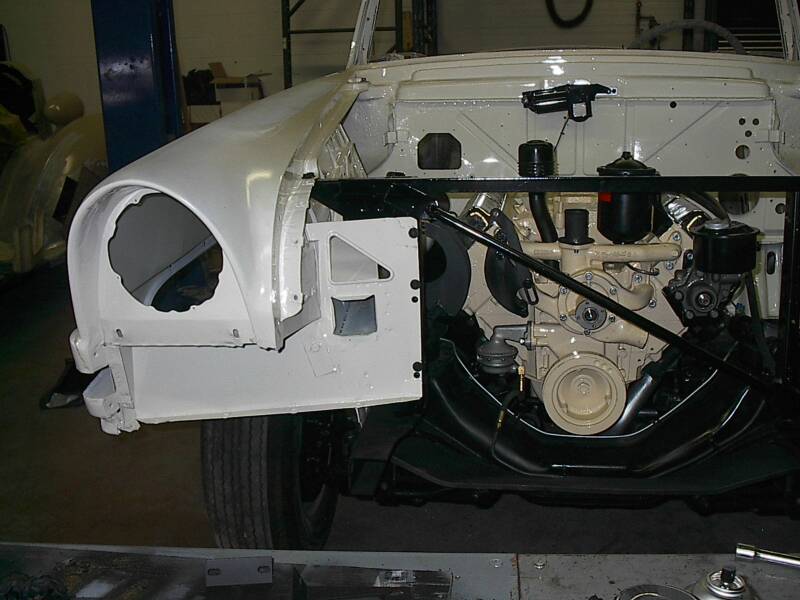
Step one: Attach the engine and bolted up transmission to the engine hoist and move into position. Step two: Align the engine and slide it into the car. Step three: Bolt the engine into the car. Step Four: Admire how clean the bottom of the engine looks.
Week 2
Week 3
Week 1
Week 1
Week 4
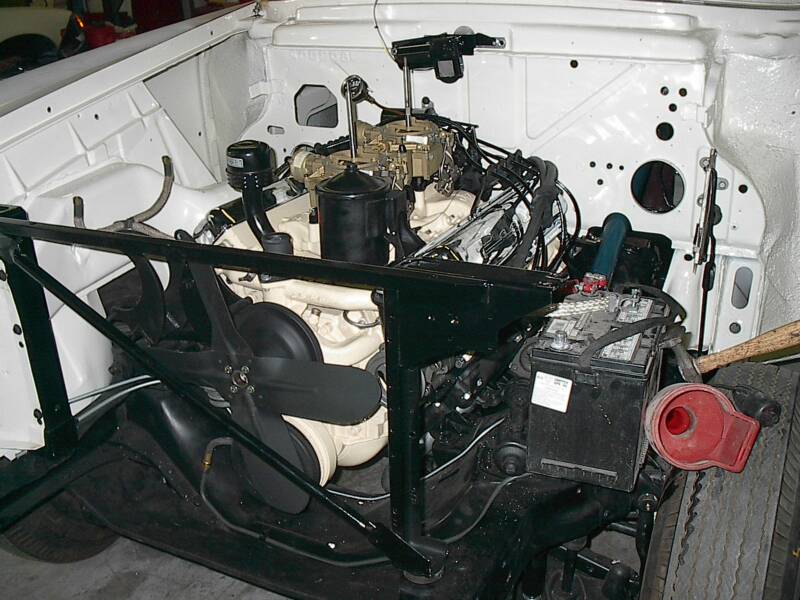
New parts go on the engine! Here you can see the new exhaust manifold. Lower right you can see the starter has been bolted in.
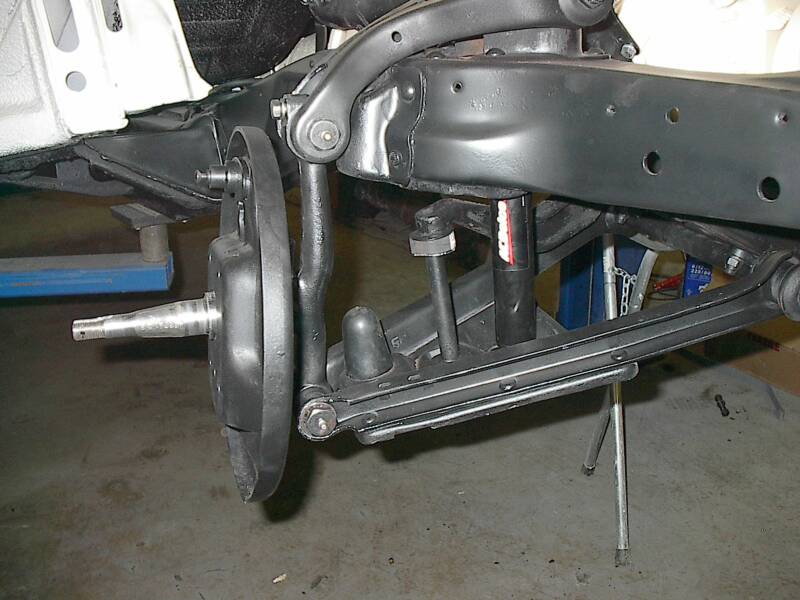
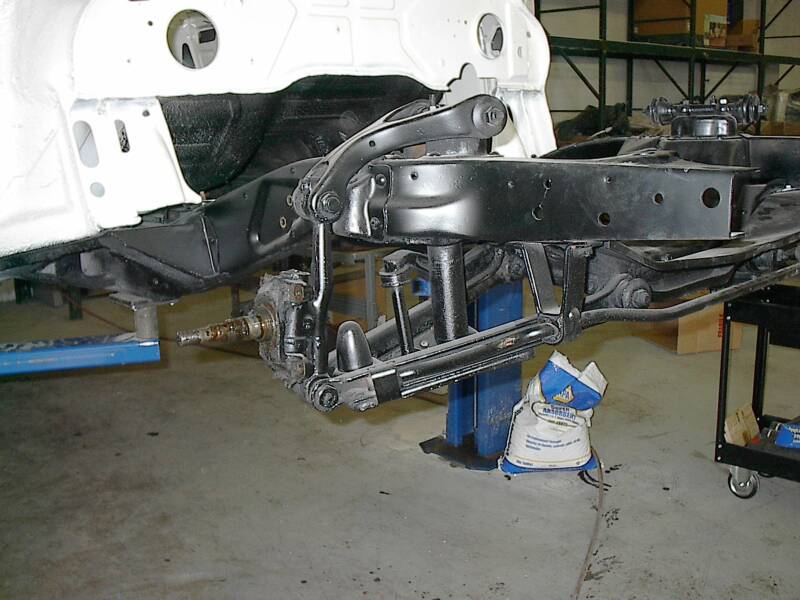
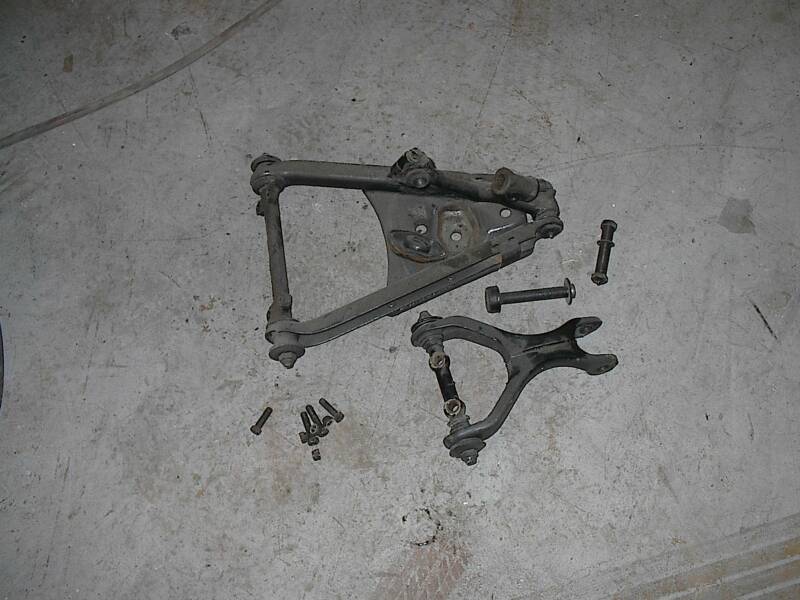
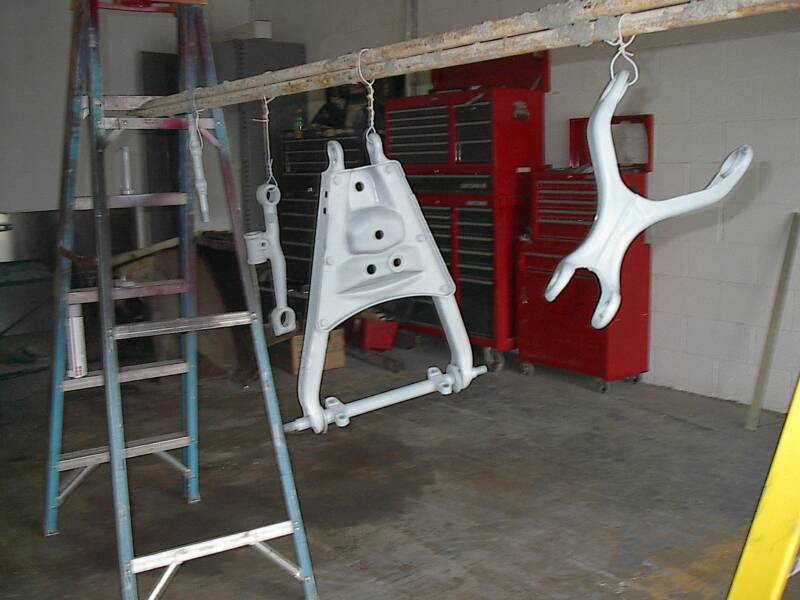
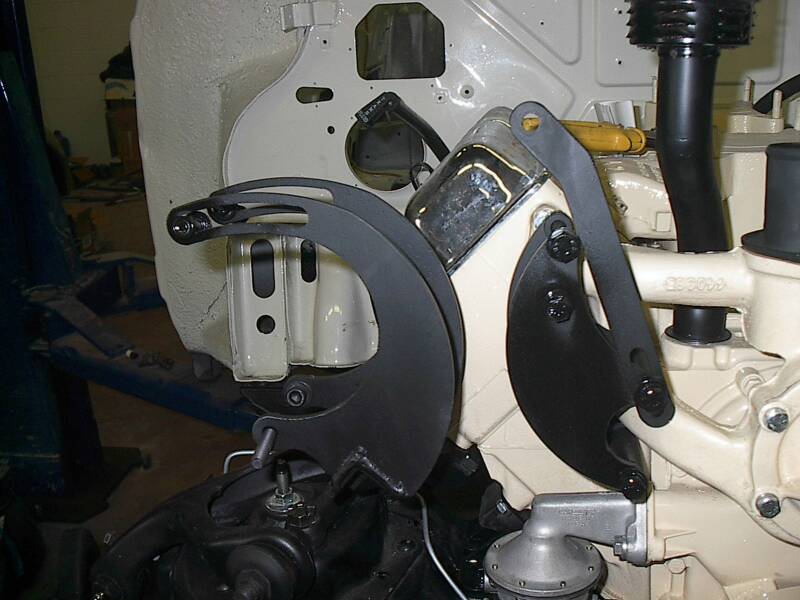
The front suspension needed rebuilt so we took it all apart and replaces bad bushings and bearings. Each piece is primed and painted before reassembly. Then the parts are restored to their place on the car with new bushings, new shocks. Everything on this car s new if it is available.
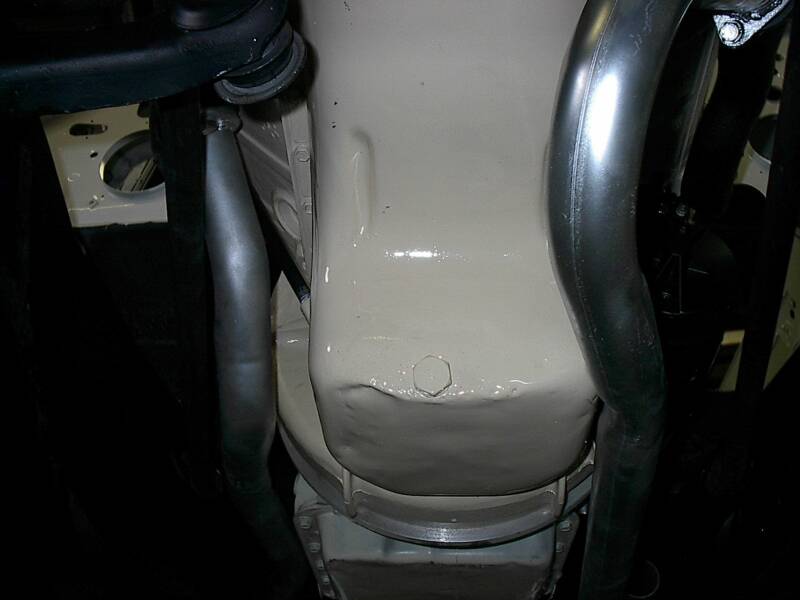
The front end of the exhaust has been bolted to the manifolds on both sides. The bell housing and the oil dip stick are also in place.
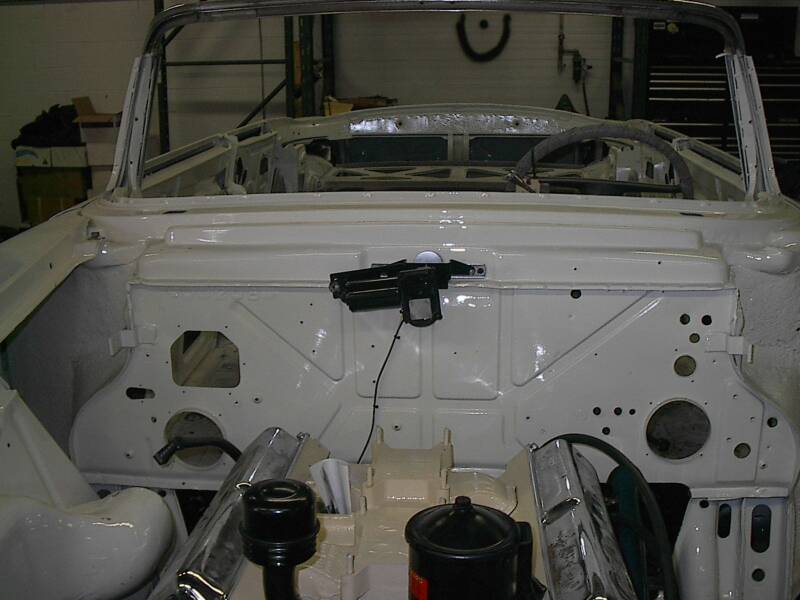
Mitch and Josh carefully place a newly painted steering column into the car.
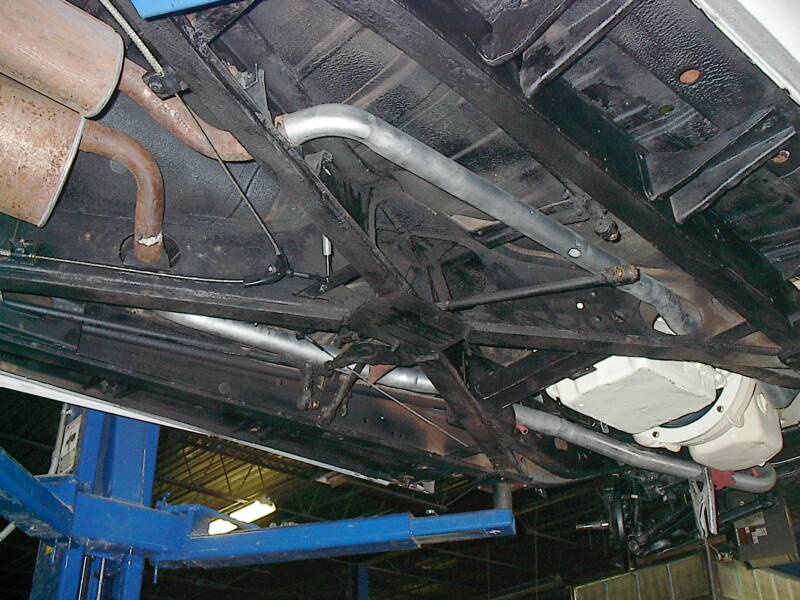
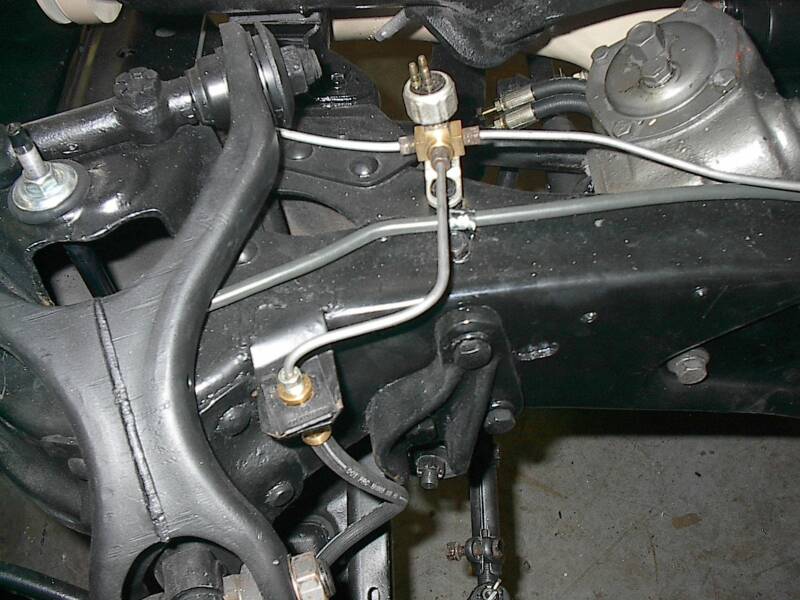
Brake cables are installed. The exhaust system will join dual mufflers just in front of the rear end.
Brake lines are run. You can also see that the new rear end shocks have been installed.
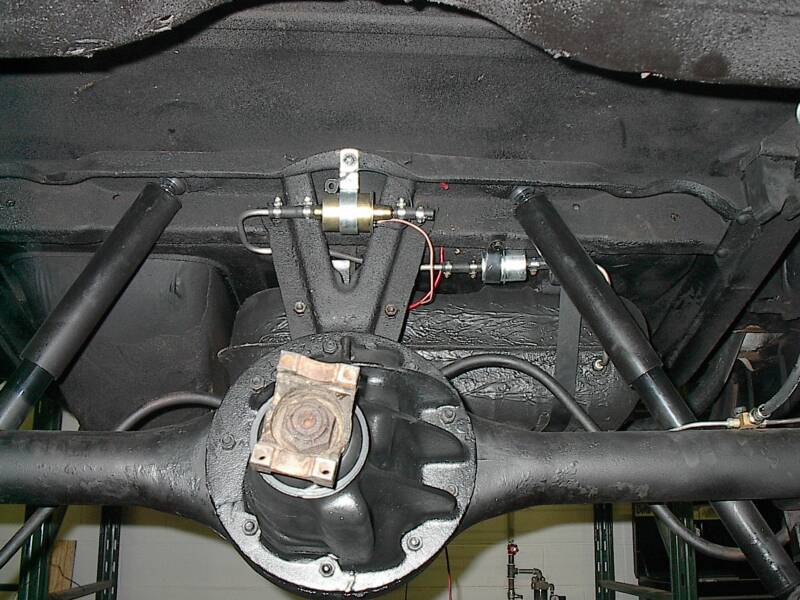
While we were at it we put the fuel pump and fuel filter in place above the rear end.
Finally the brake line runs all the way to the brakes, the way customers prefer.
With the steering column bolted in place the brake booster box is also bolted in and the installation of the brake lines commences
Week 5
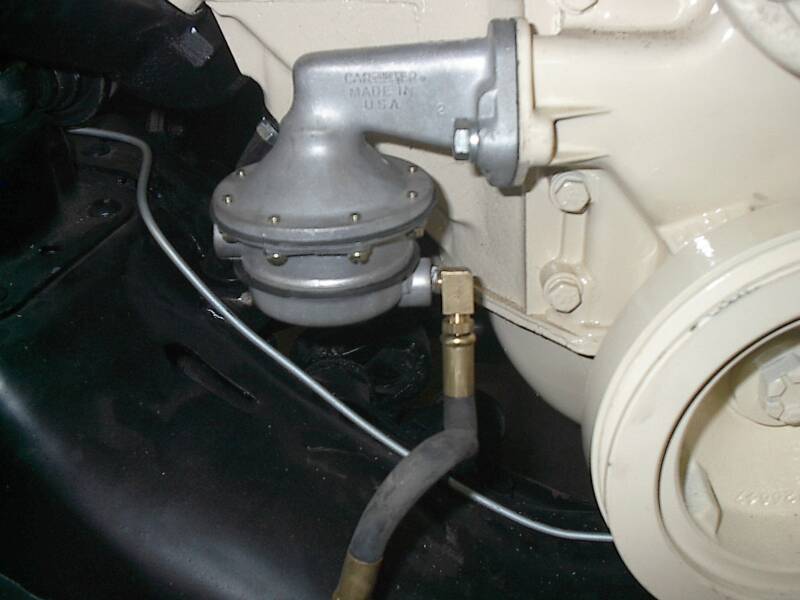
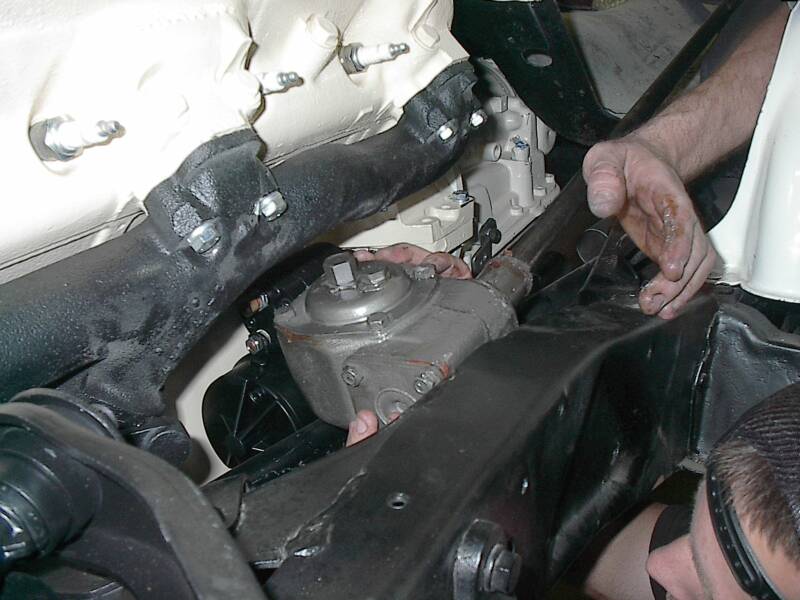
Once the Steering column goes in, the power steering pump can be attached to the system.
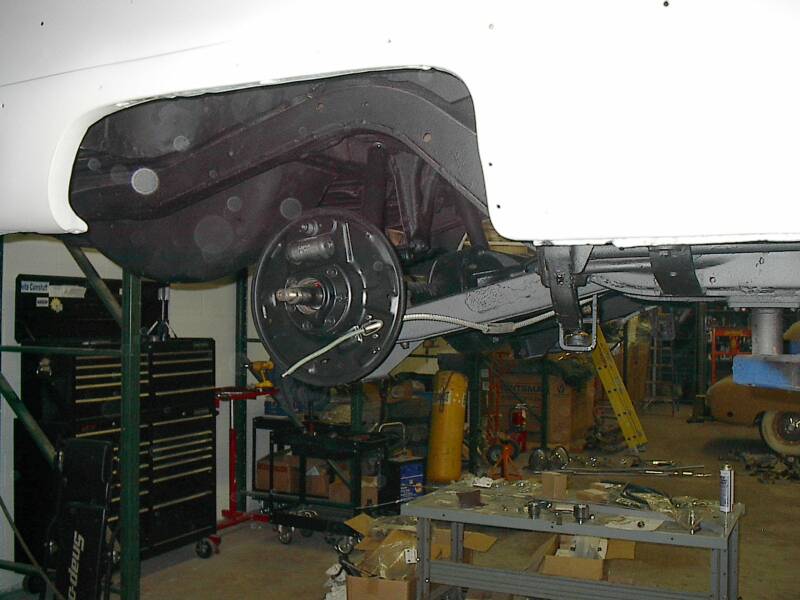
Pic of the Week: With everything but the brake shoes done we couldn't resist lowering the car to the ground to see what it looked like! This car will be on its wheels again in a matter of days now.
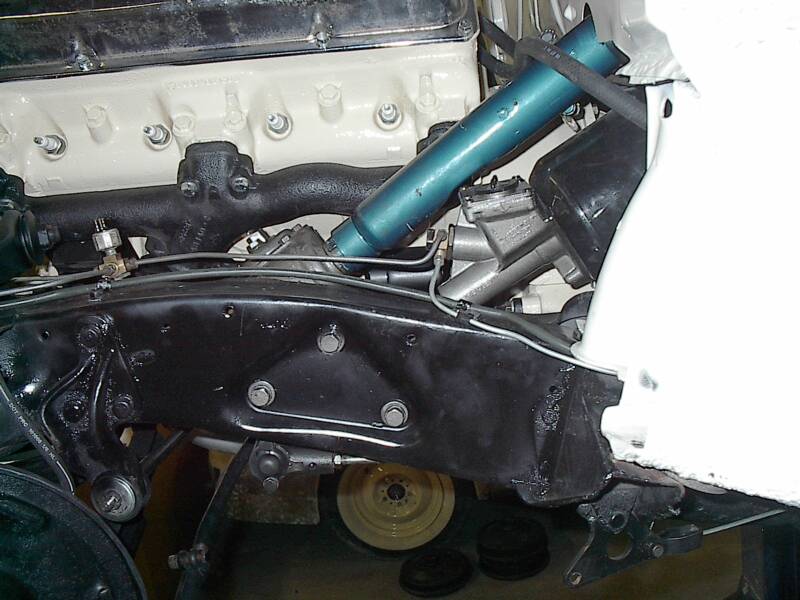
Air Conditioner Brackets are mounted to the front of the engine.
Below that the fuel pump is installed.
The next photo shows the brake light switch bolted in place.
Finally you can see the dual mufflers mounted in the rear of the x frame.
Week 6
Week 7
The passenger side fender is mounted on the radiator support bracket.
The windshield wiper motor gets installed.
Here is another view of the front fender going back on the car.
Week 8
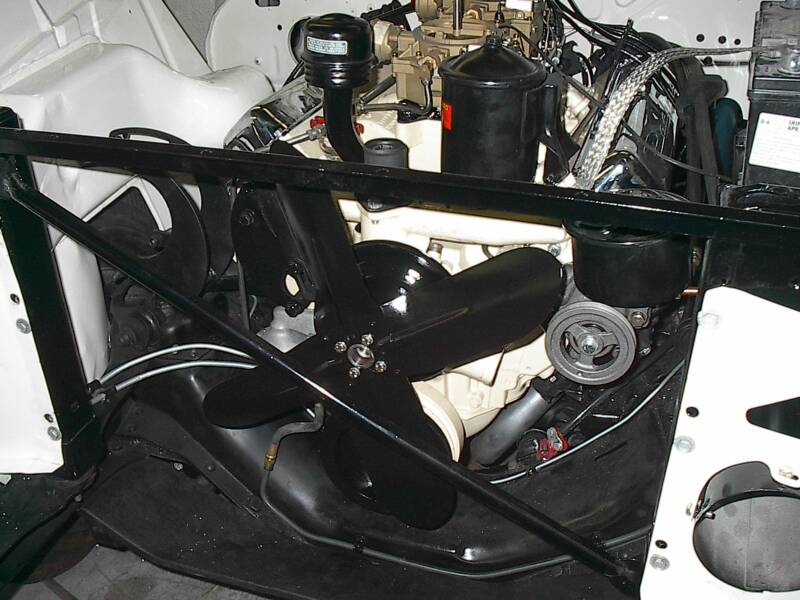
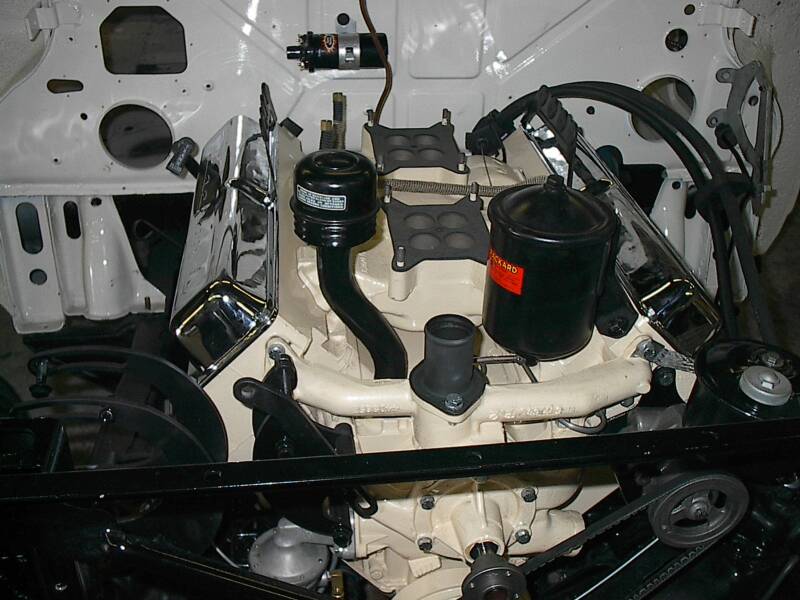
Here is the top of the engine prior to putting on the dual Rochester carb setup.
Here is the top of the engine after putting on the dual Rochester carb setup.
Clockwise from the top left:
The fan and pulleys in matte black.
The driver's side fender is mounted.
A shot of the fan and pulleys in semi-gloss black.
A picture of the radiator installed.
Week 8
continued
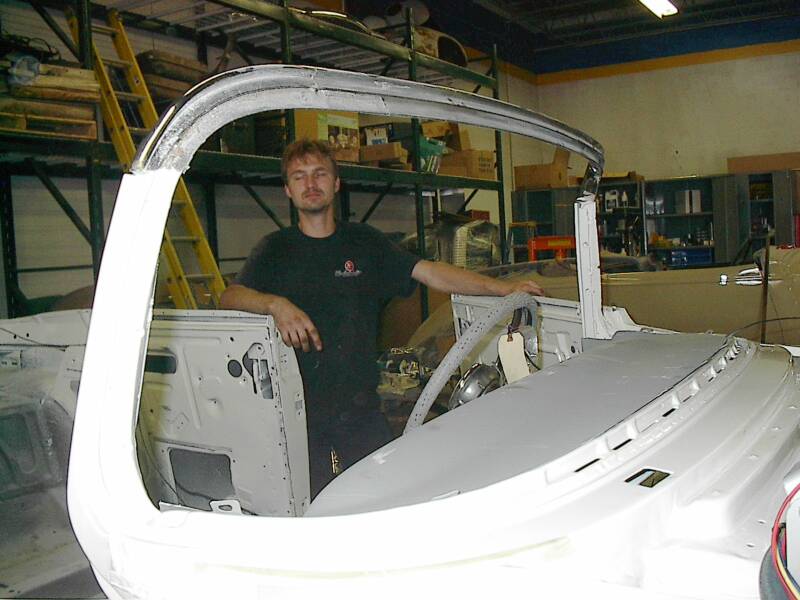
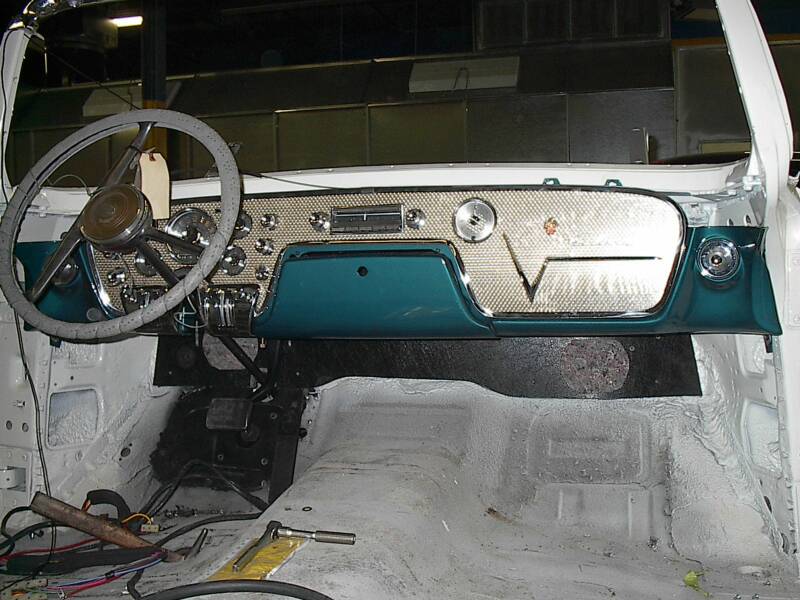
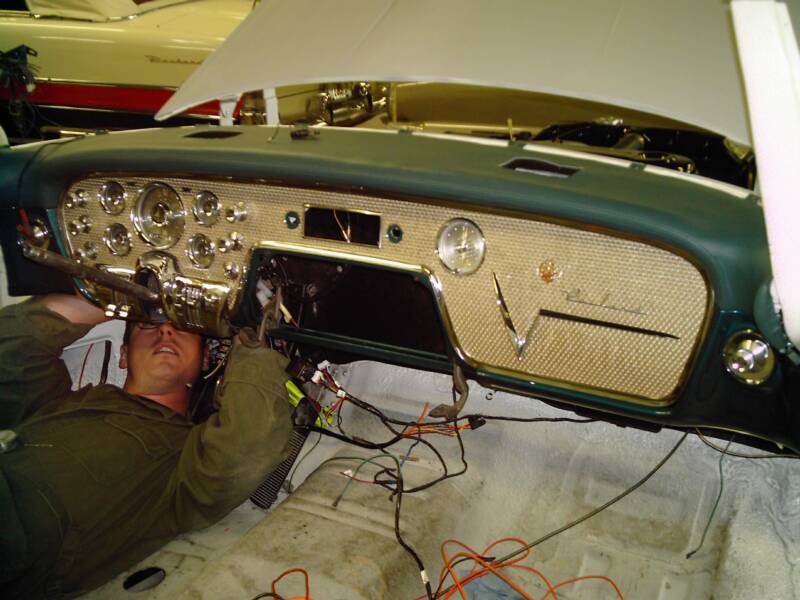
Ok, this is a moment I have been waiting for: The dash is about to go in.
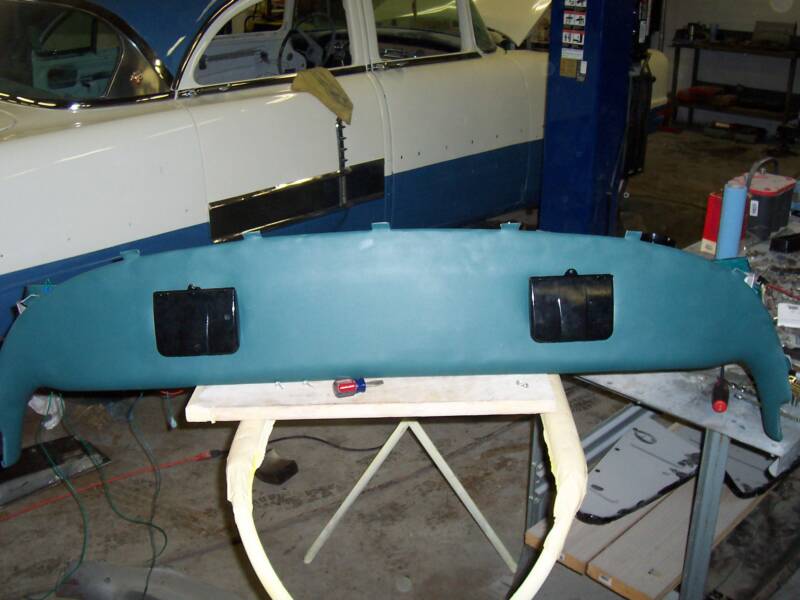
A shot of the metal backing plate to which the dash pad is eventually secured is fitted into the car.
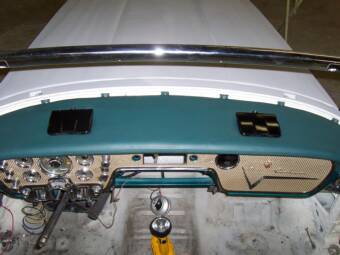
Here it is. The picture does not do the dash justice. This thing is immaculate. What you see in the lower right on the glove box is the reflection of the socket wrench on top of that yellow plastic. The instrument cluster is a sight to behold. What a car this is shaping up to be!
Week 9
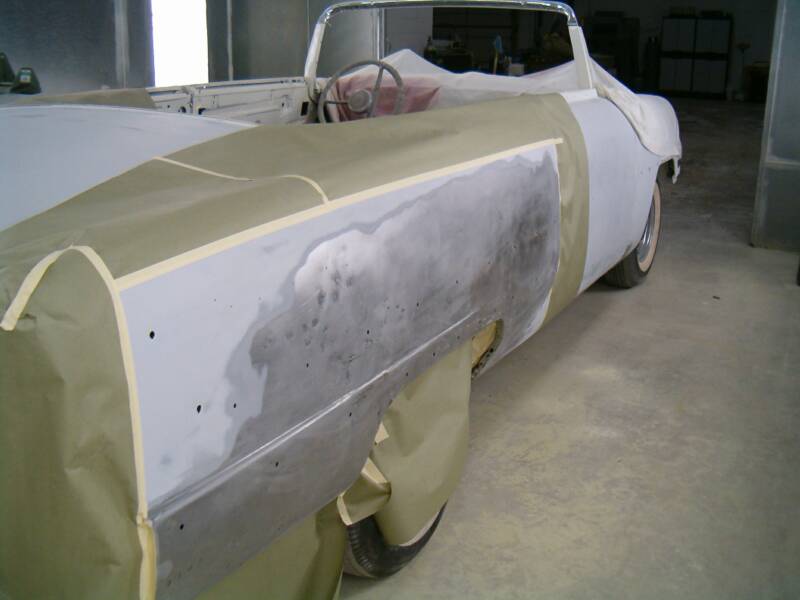
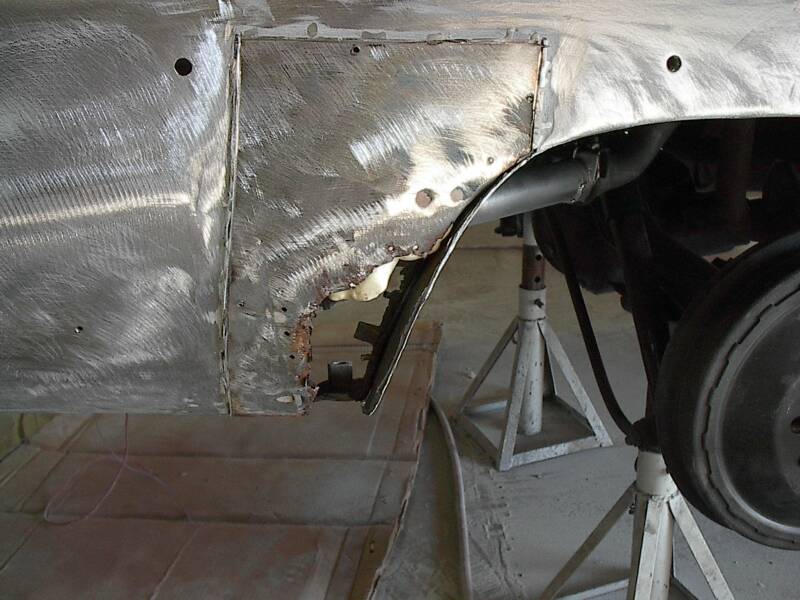
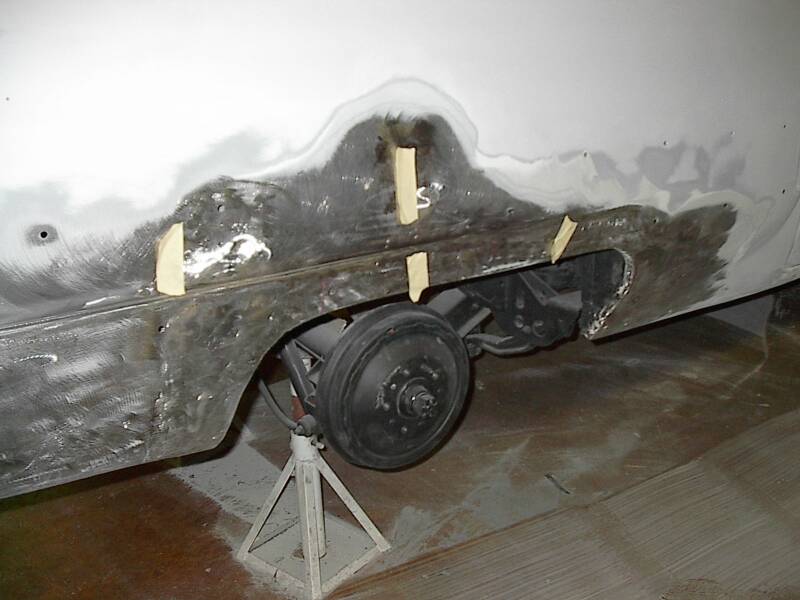
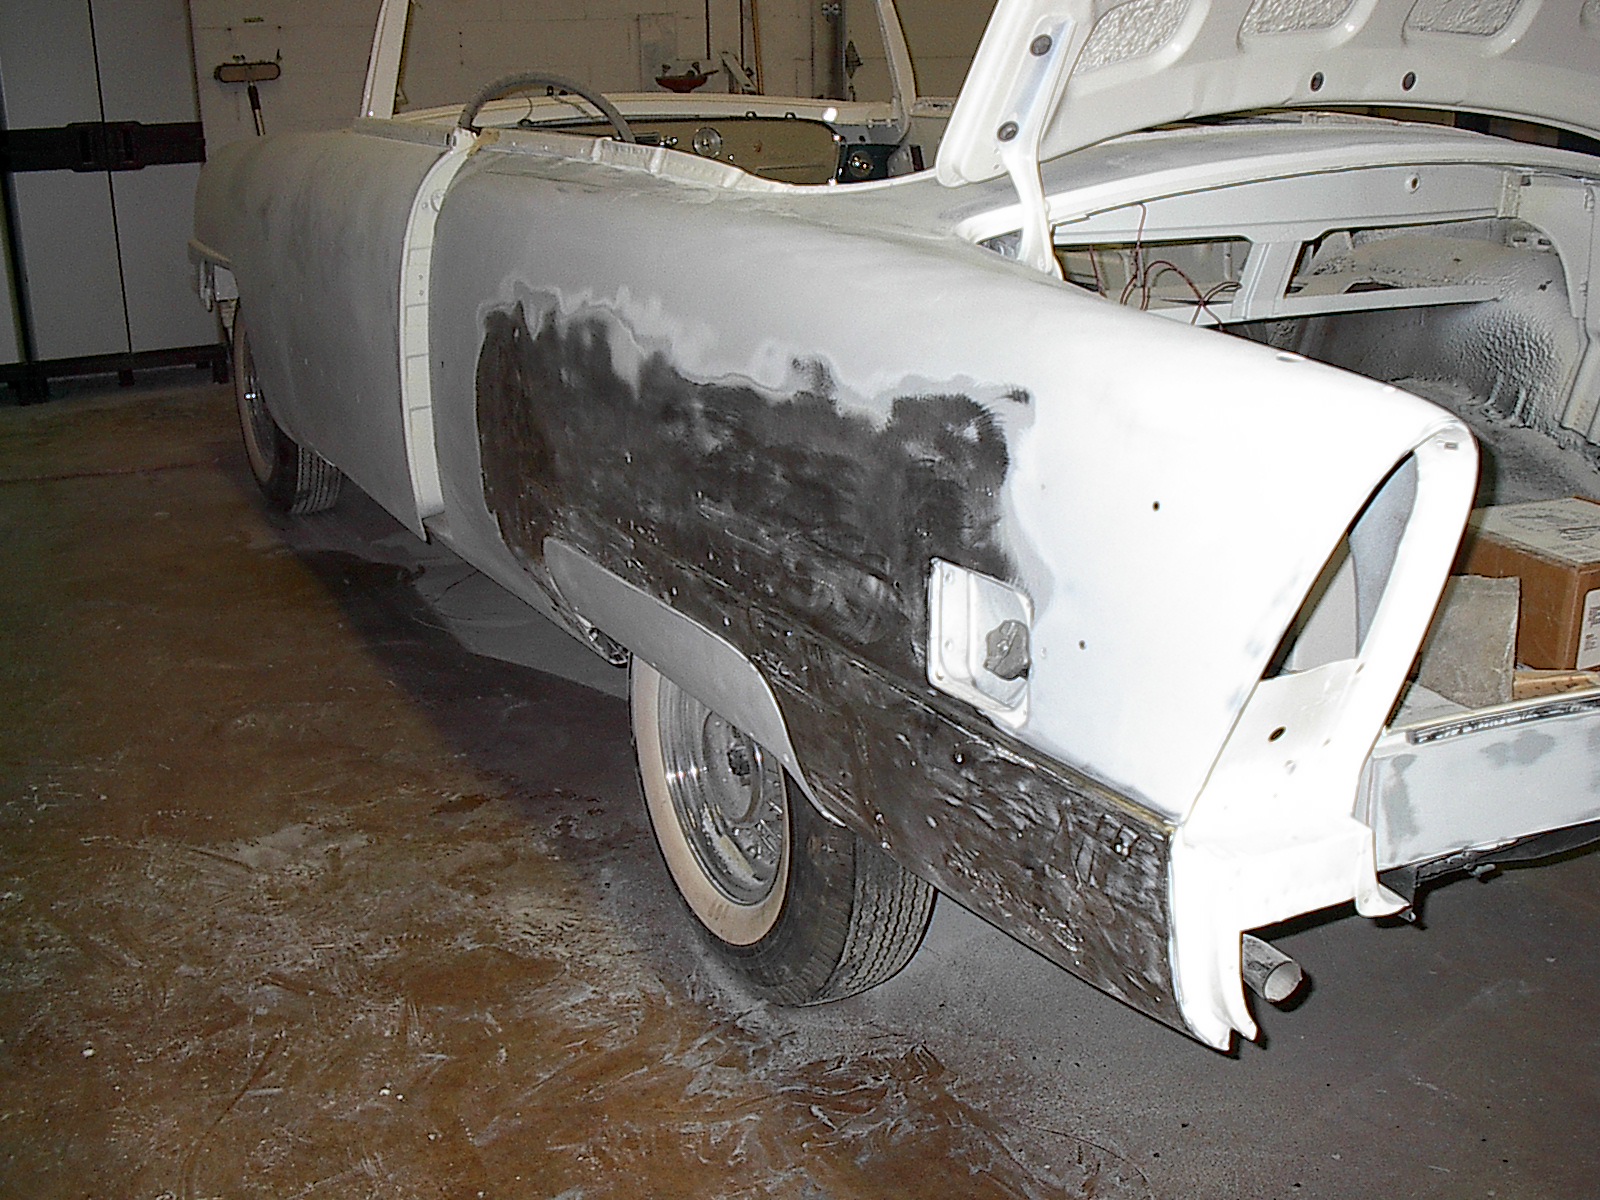
The passenger fender front had some major issues underneath. Very lumpy and not straight.
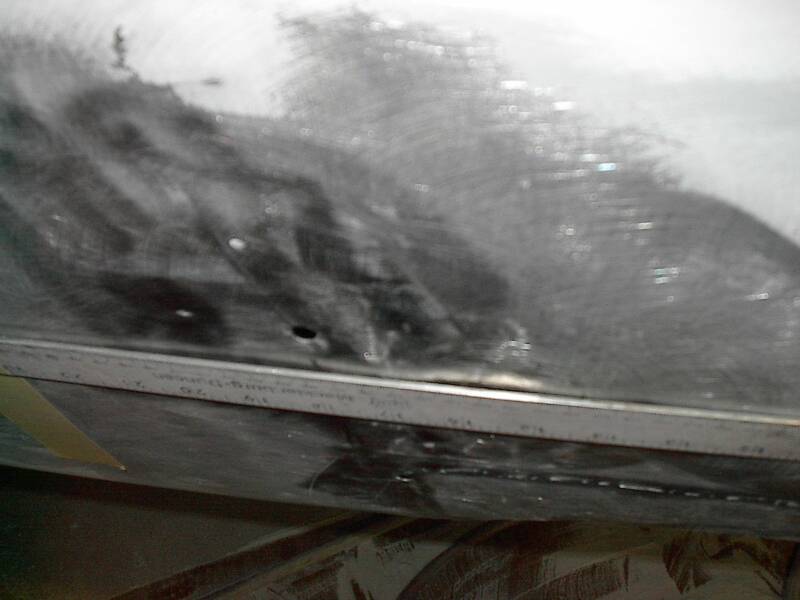
When the paint is taken off a crack in the metal is revealed and must be welded and reworked.
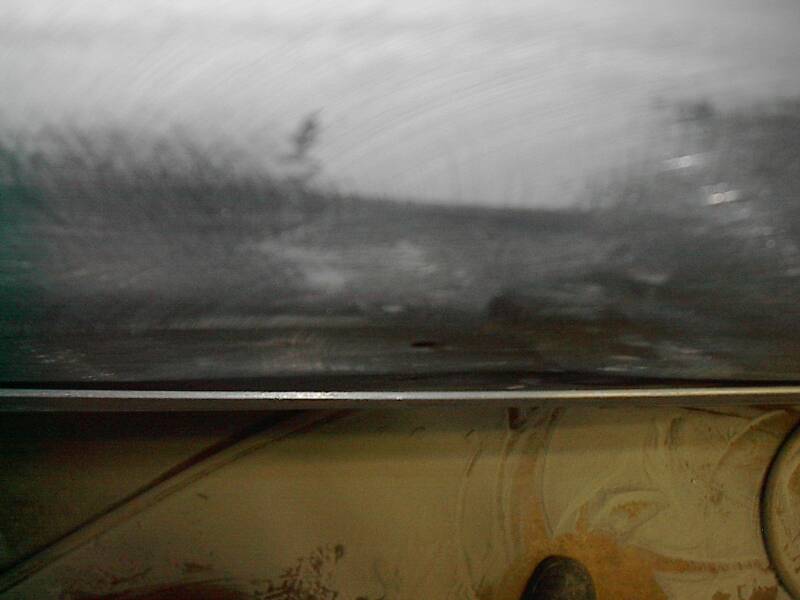
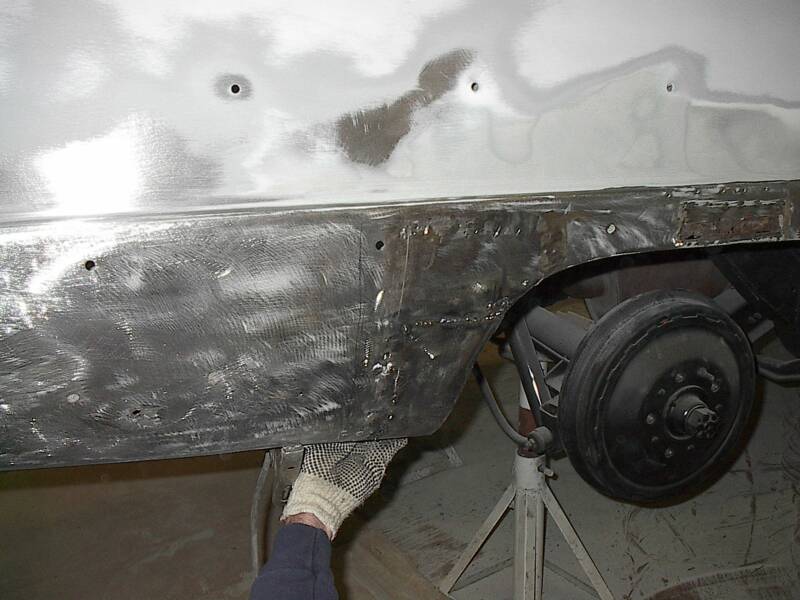
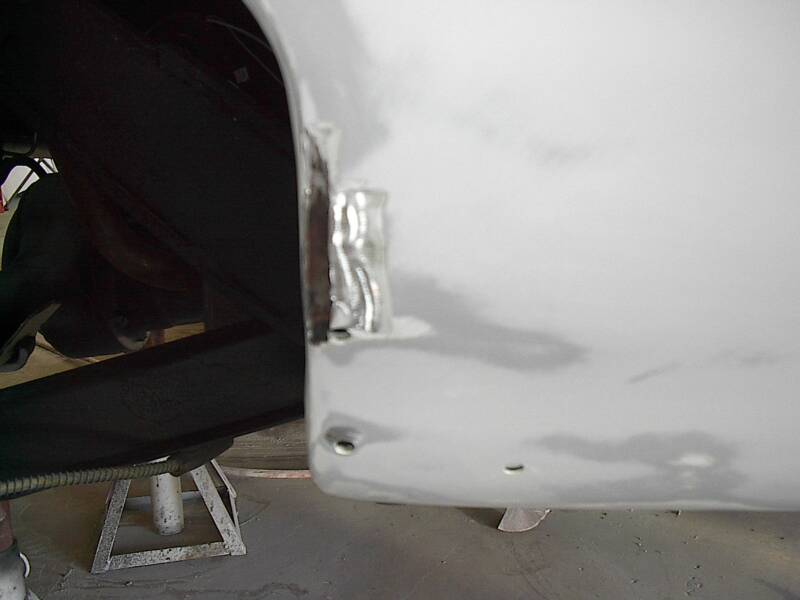
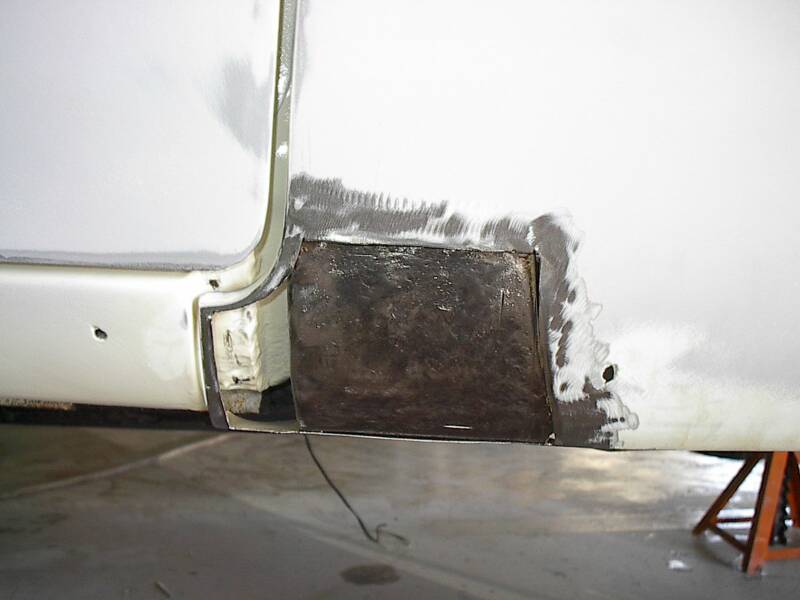
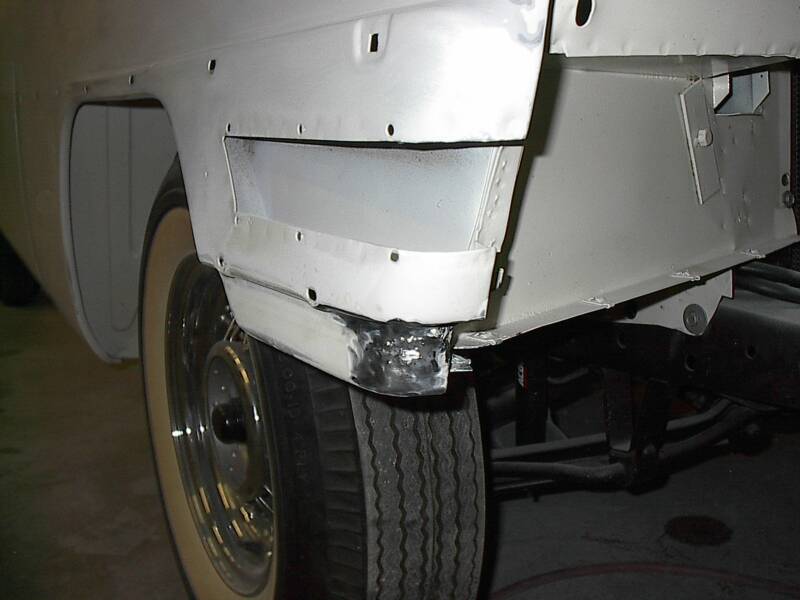
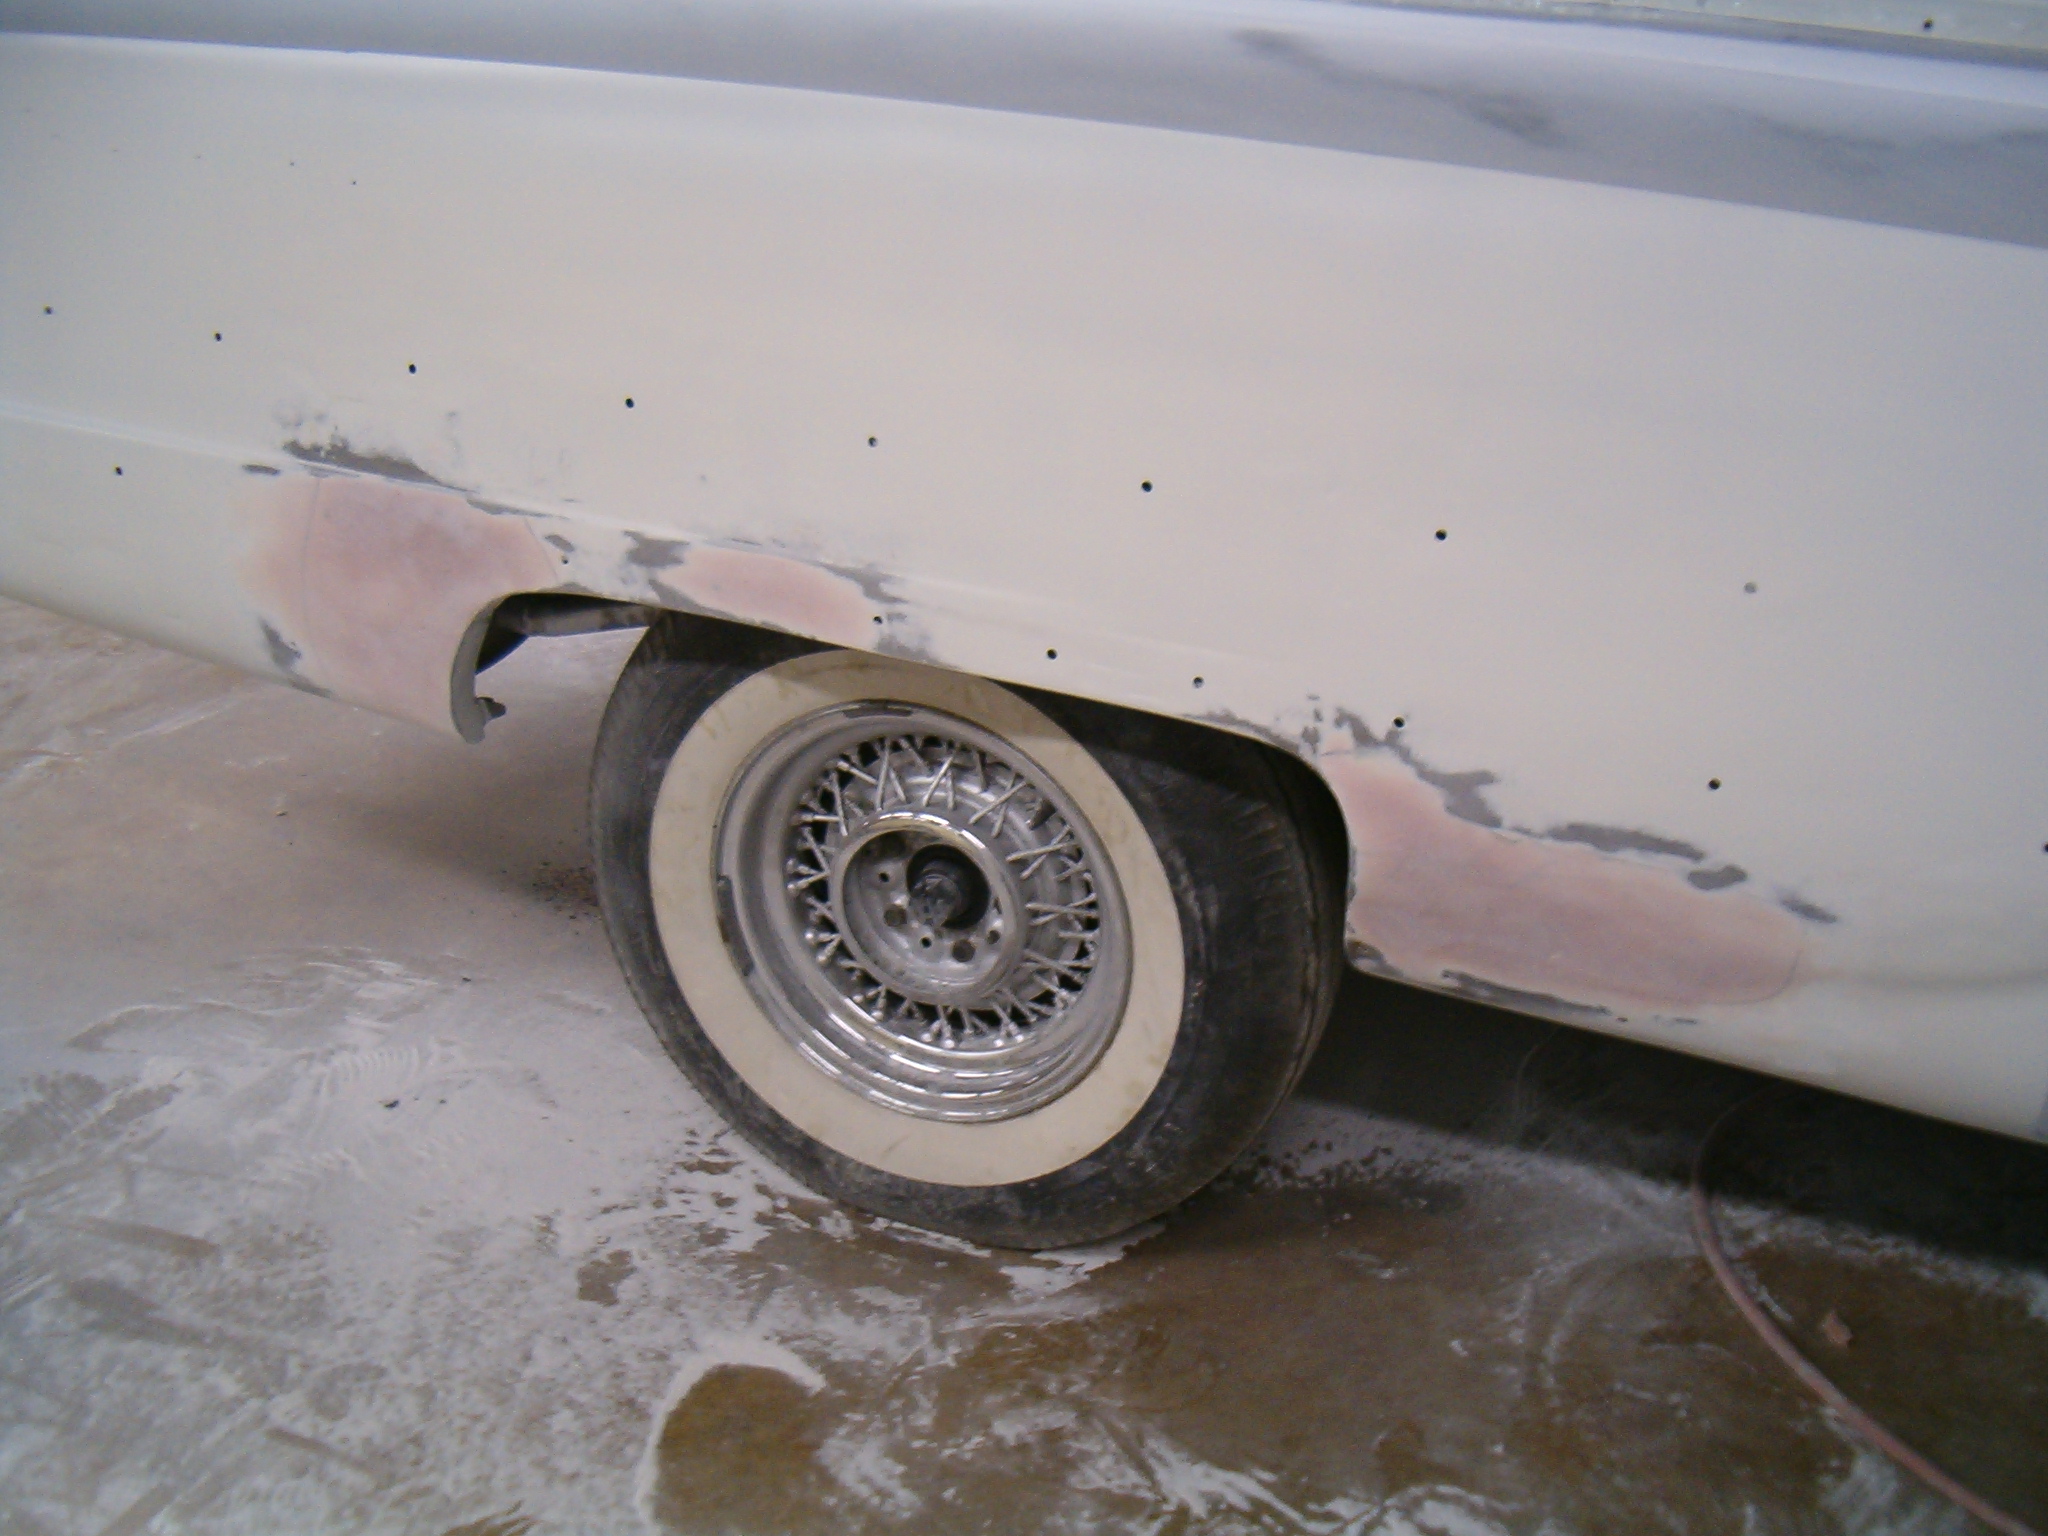
A notoriously rusty spot on these old cars is between the front fender and the support bracket.. Two large surfaces sit right next to each other and trap moisture. The fender was cut away and the rust was removed. In the lower two pictures, the rear fender reveals rust, and holes above a tacked-on patch that were never finished correctly.
Week 10
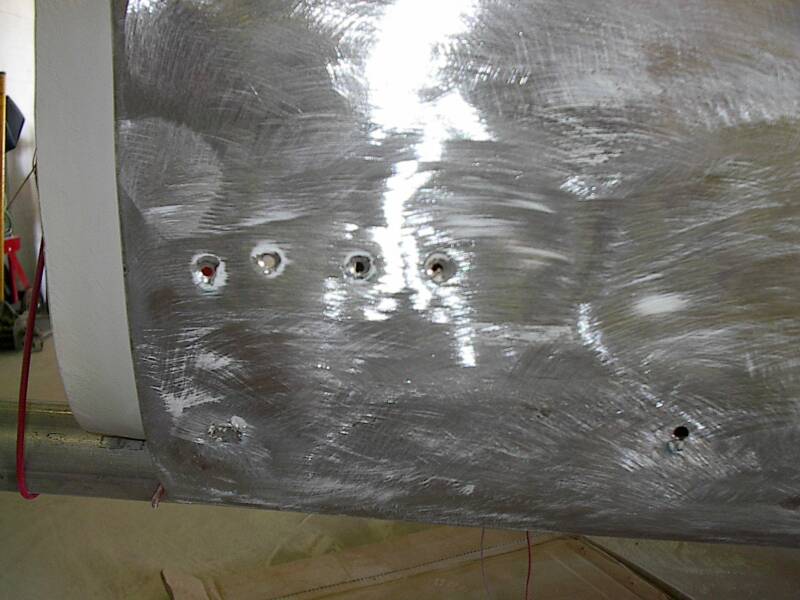
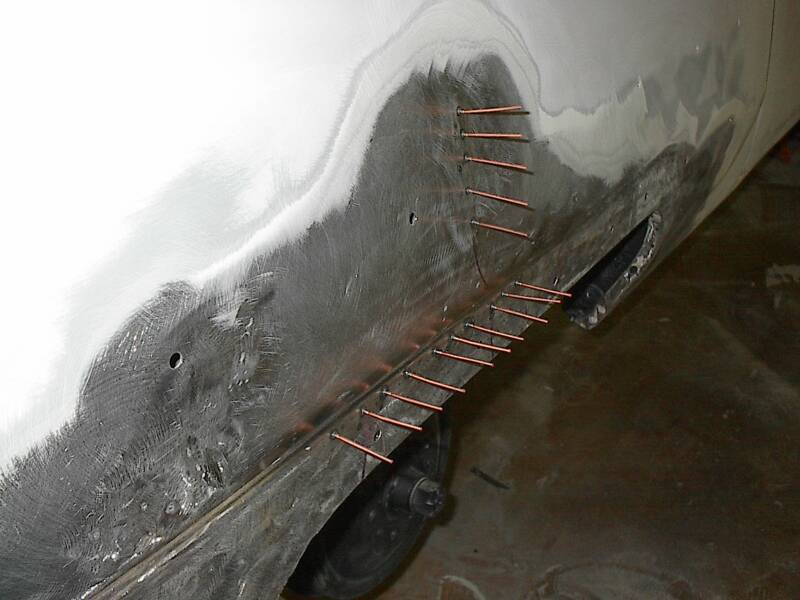
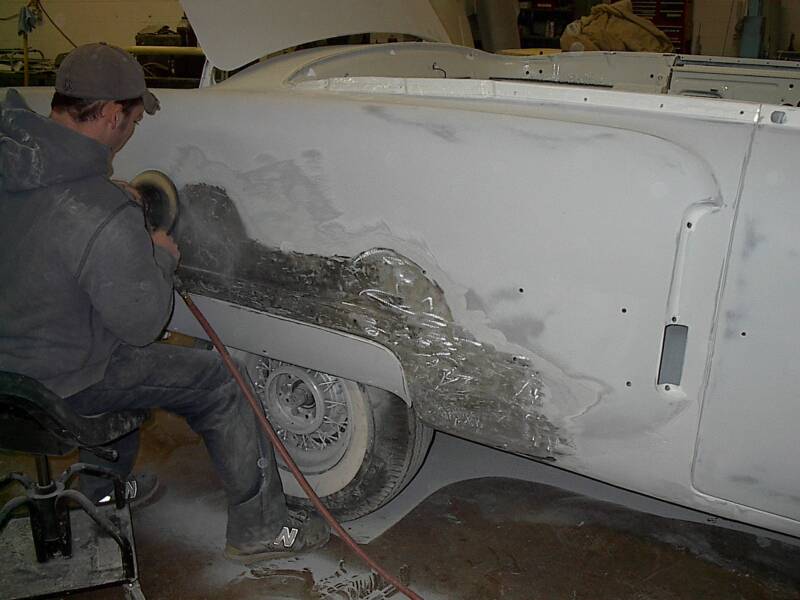
The wheel well gets worked all the way around. Here the skin is peeled back to clean away rust and coat the supporting metal behind the opening.
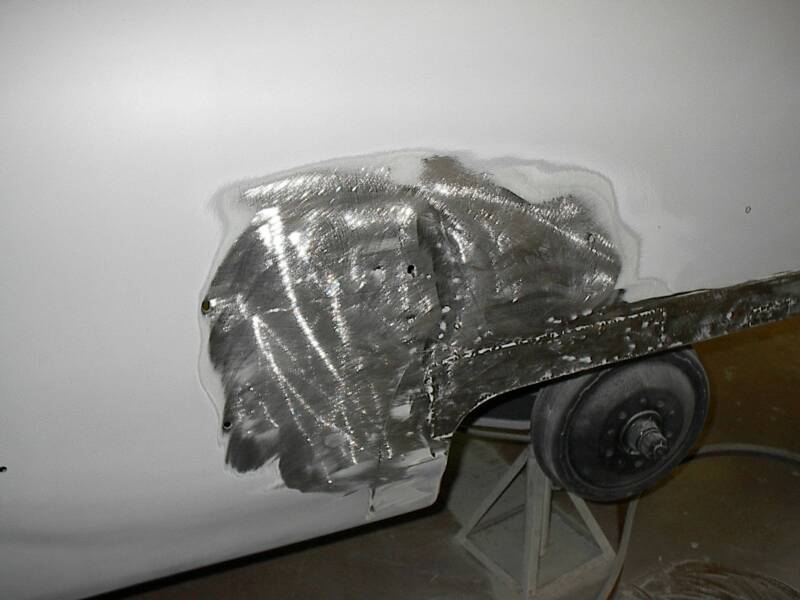
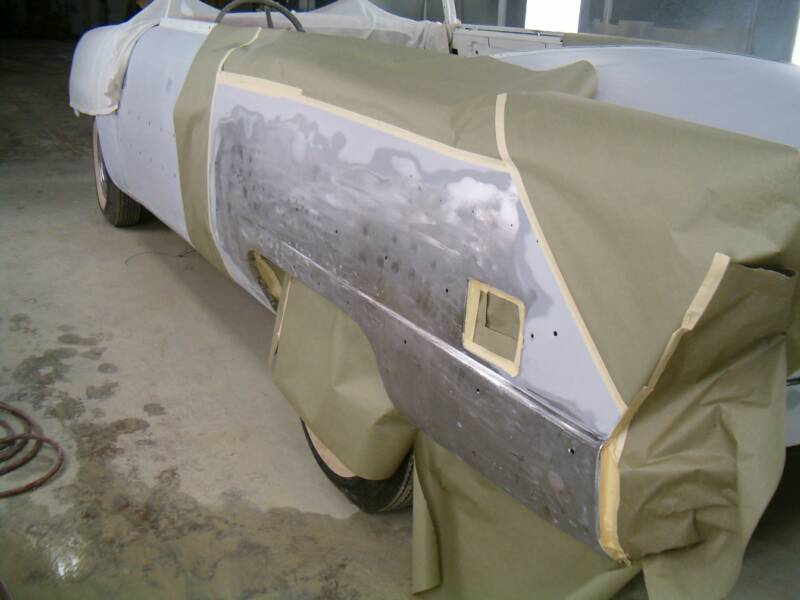
Here is the fender with all the new metal work roughed in. It is a good feeling to know the car is done right from the beginning.
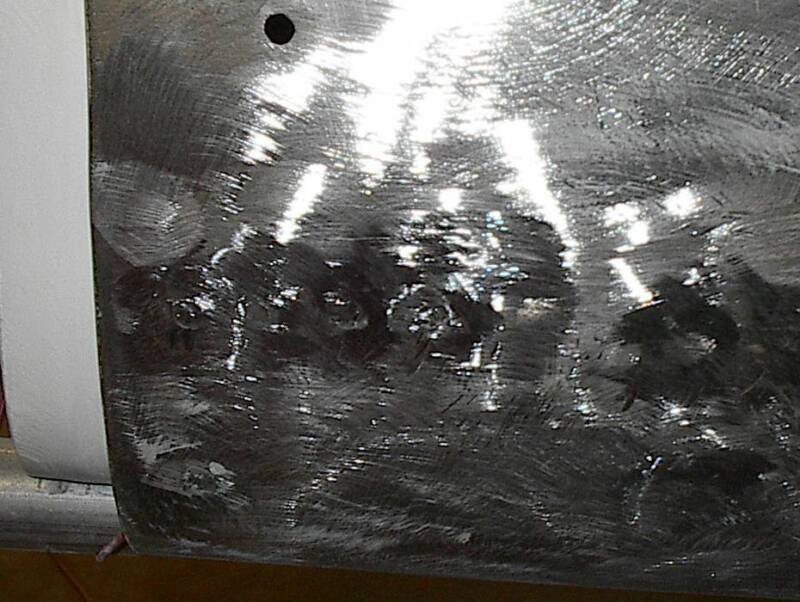
The rear quarter had these dent puller holes which were filled in with bondo. At Aldrich Restoration Specialists, this is not acceptable. The holes therefore, are welded shut and ground flush.
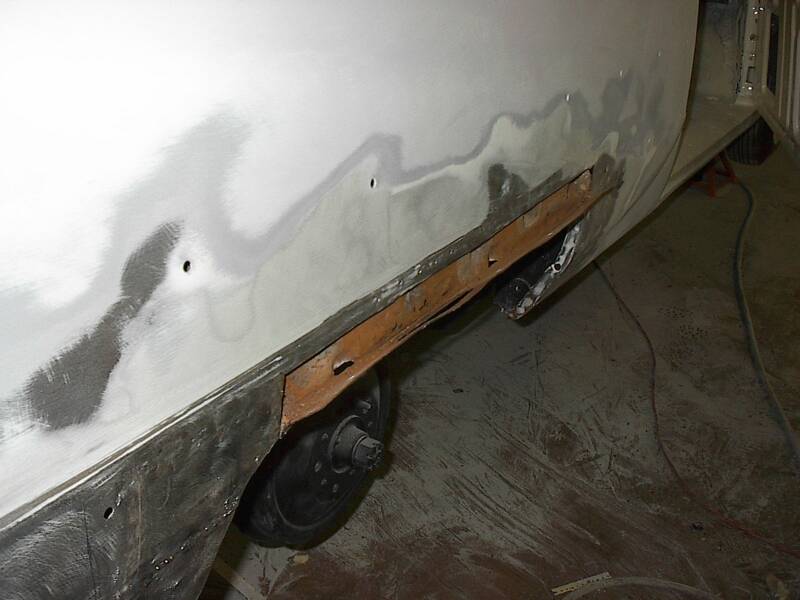
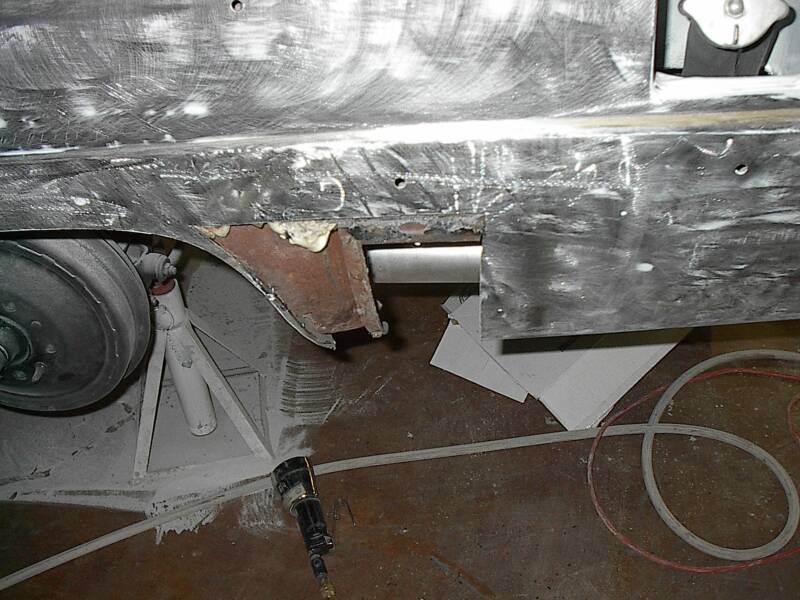
Bottom two: A patch panel is removed so that the metal behind can be cleared of rust and replaced with a proper butt-welded panel.
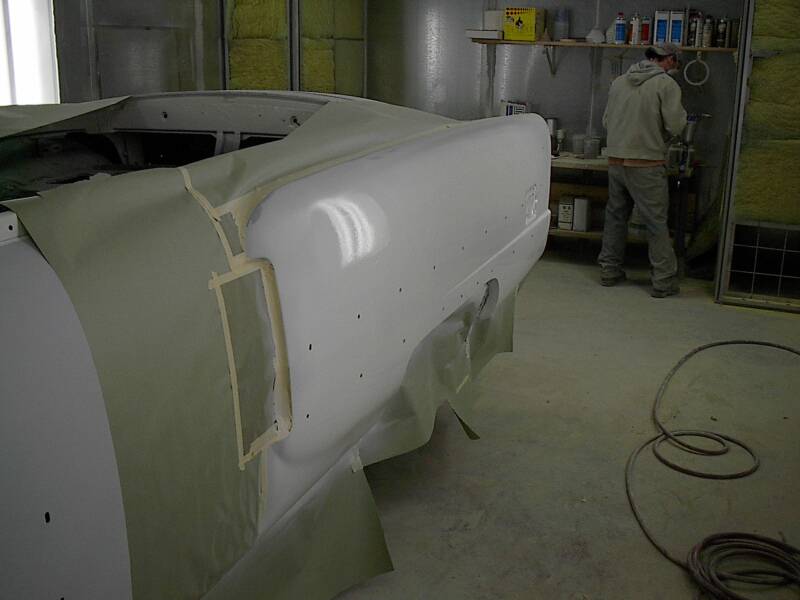
The drivers side rear quarter has more metal work ahead before we are ready to do final body work and prepare the car for the next step in its progress.
The wheel well gets worked all the way around with the dent puller to ensure straight clean rust free lines. This makes the work ahead that much smoother.
Once the passenger side is good to go, we moved on to the driver's side of the car. where more patch panels were discovered and more dents which had not been properly addressed.
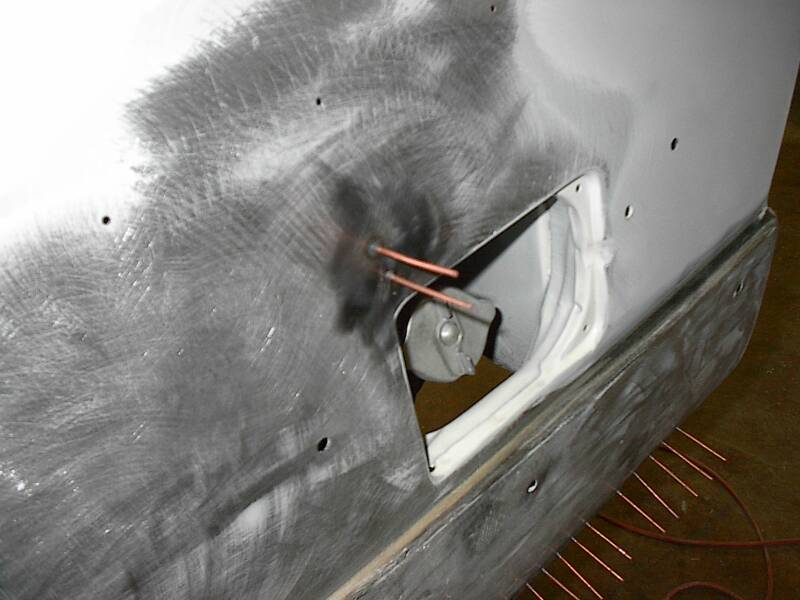
Top Two: showing the uncovered patch panels.
Bottom Two: Showing a dent left after filler had been removed and the resulting fix.
Week 11
Clockwise starting from the bottom left. Here shows the final metal work finished on the drivers side, top left shows the same panel ready for primer. Next is the passenger side ready for primer and lastly before primer application came a fitting of the fender skirt to be sure it all fit perfectly.
The drivers side is all primered and ready for final touches before paint is applied. Now the rest of the body has to do some catching up to this quarter panel
Here is the passenger side fender with the body work started after a coat of primer.
Week 12
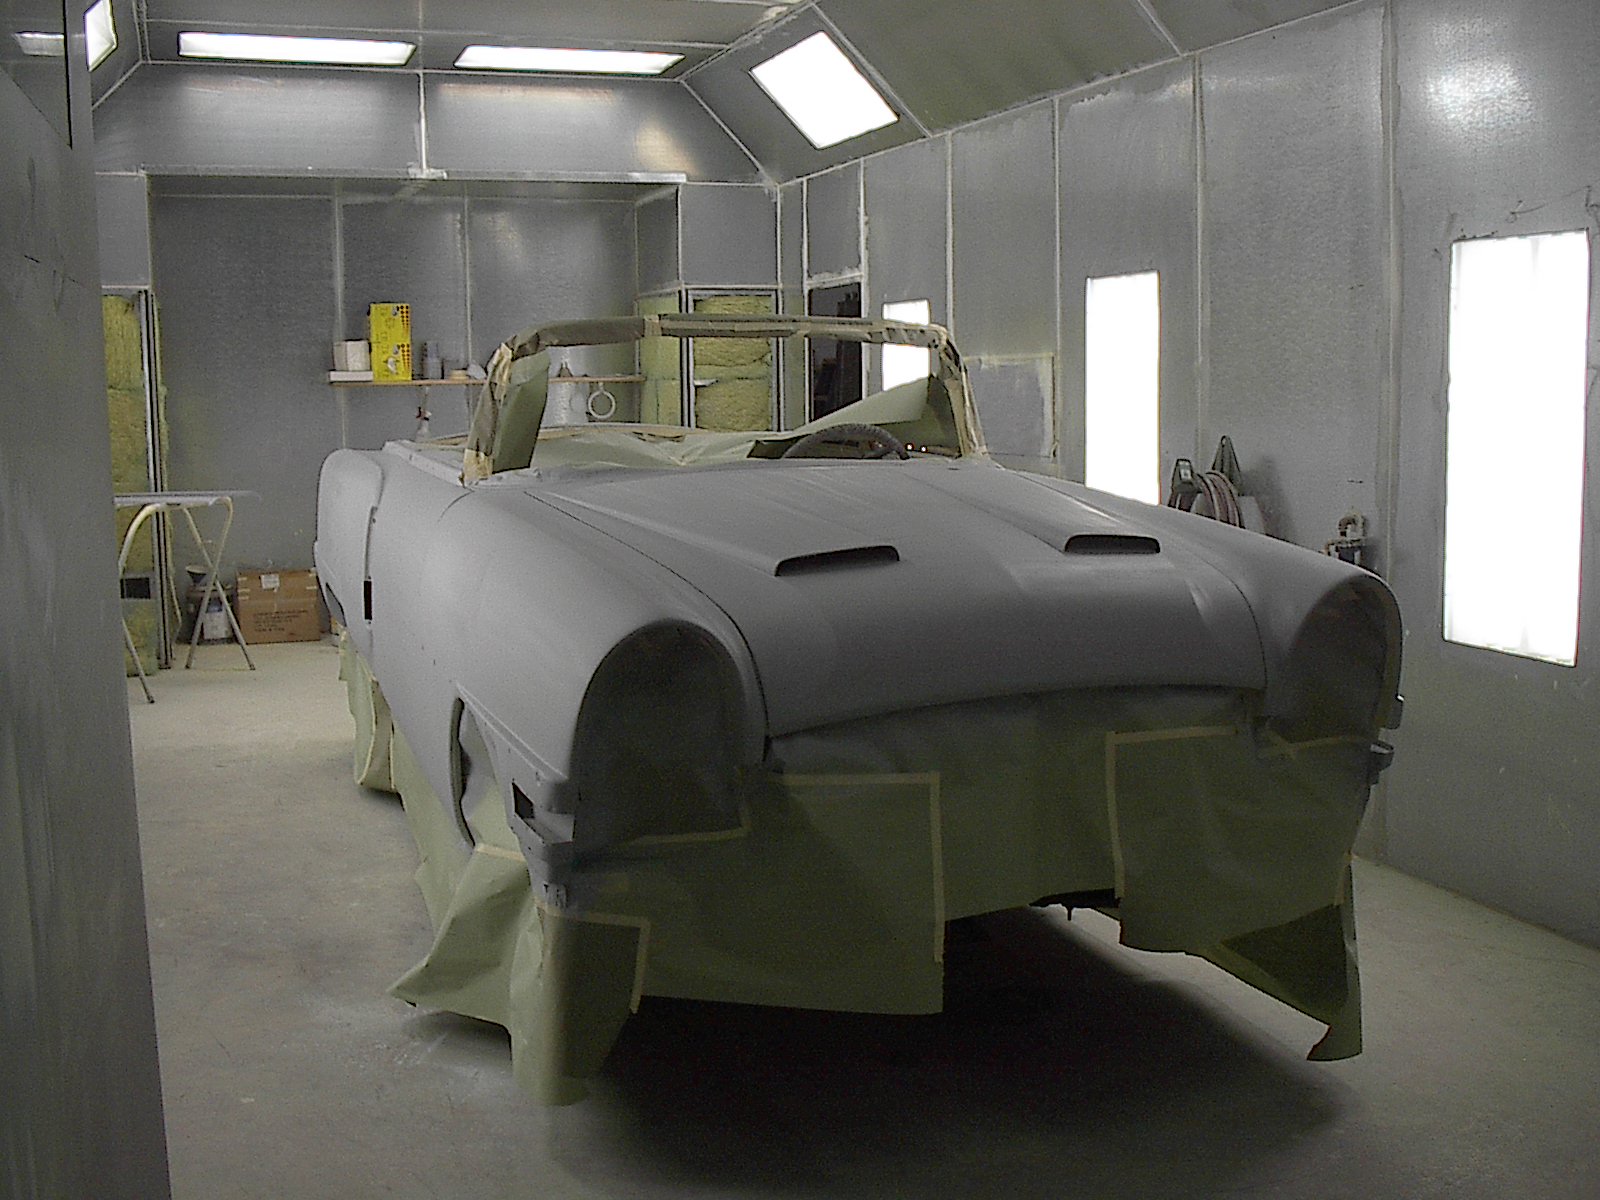
Here the car is sealed in primer prior to painting. It is now waiting for some more mechanical work to be completed before it heads for the paint booth for its new colors!
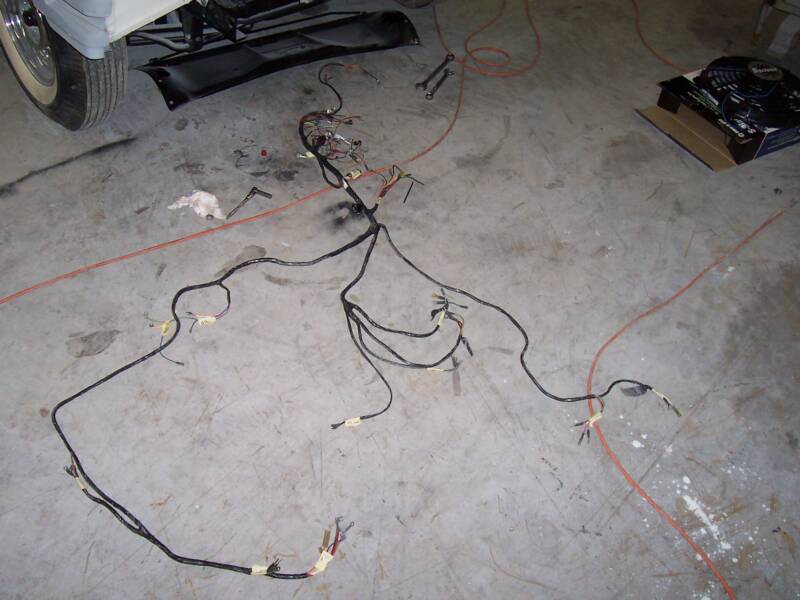
This NOS wiring harness is laid out on the floor for inspection. Since this car will get some modern upgrades, we will have to do some modification to make it all work.
The inside of the fender is finished in flat black. These are now ready for outside final paint once the mechanicals are finished in the engine compartment.
Week 13
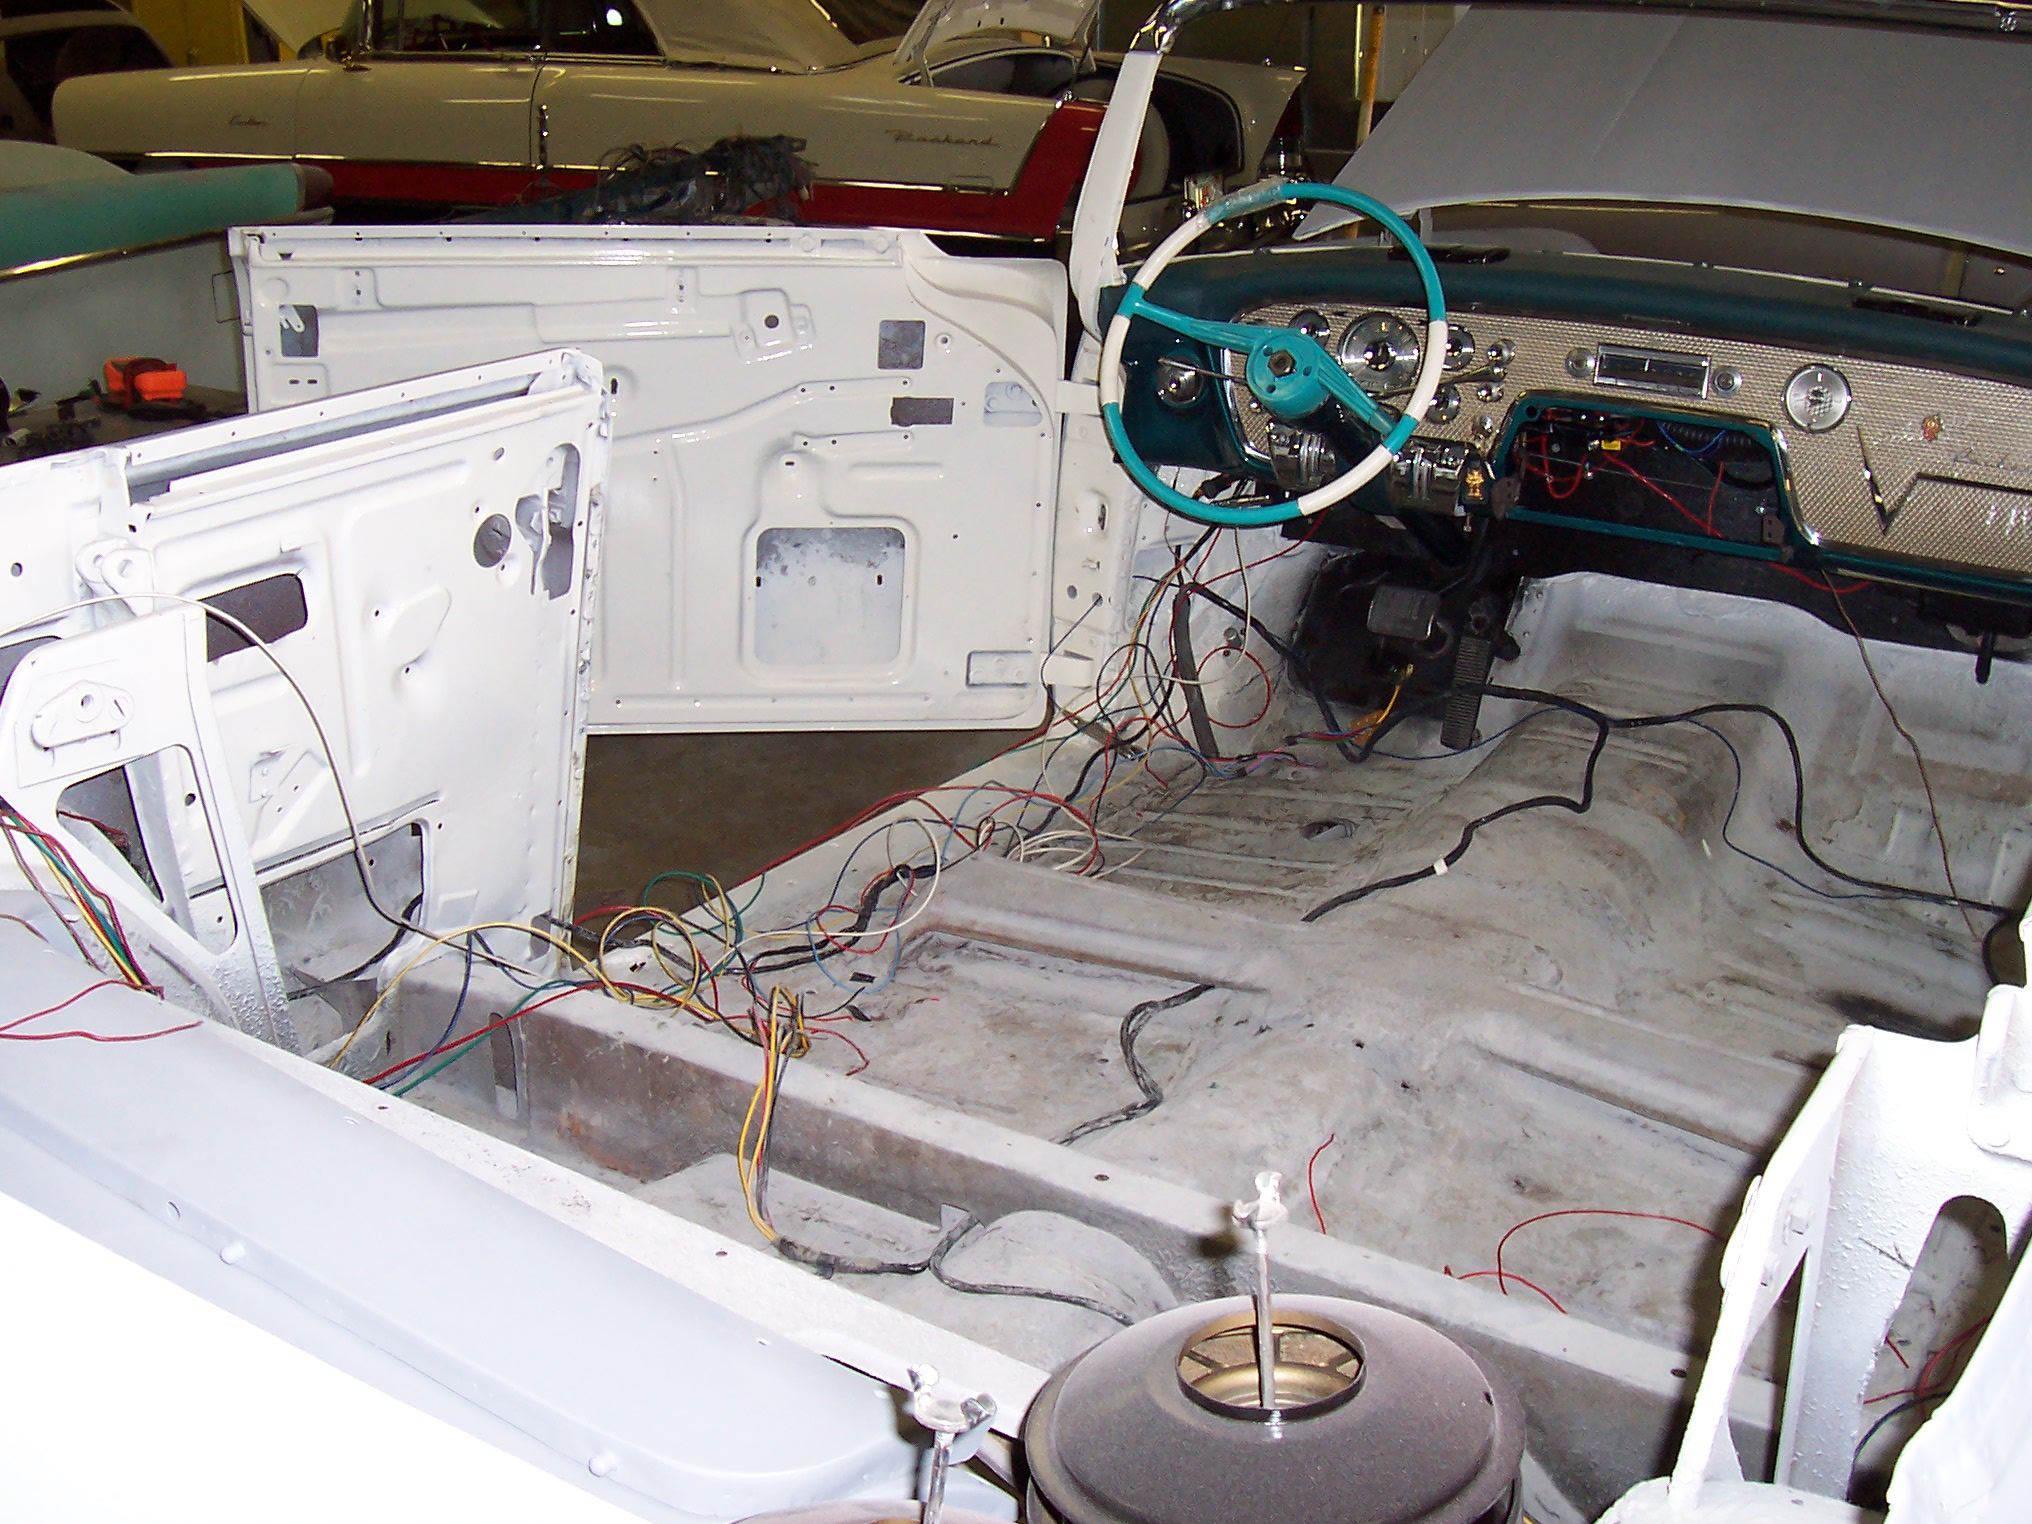
The new dash is installed and the wiring harness is in the beginning stages of installation. Note the new vinyl dash pad complete with cut outs for air conditioning vents; one of the few modern upgrades this car is receiving.
The wiring harness is being installed in the floor of the body.
Here is a picture of the NOS air conditioning vents installed on the dash. This will help keep the car cool for the hot summer cruising.
Week 14
Here is the front end of this car assembled and ready for any final adjustments needed before she goes out for a test drive.
Another view of the dash installed in the car complete with A/C vents, but still missing the windshield.
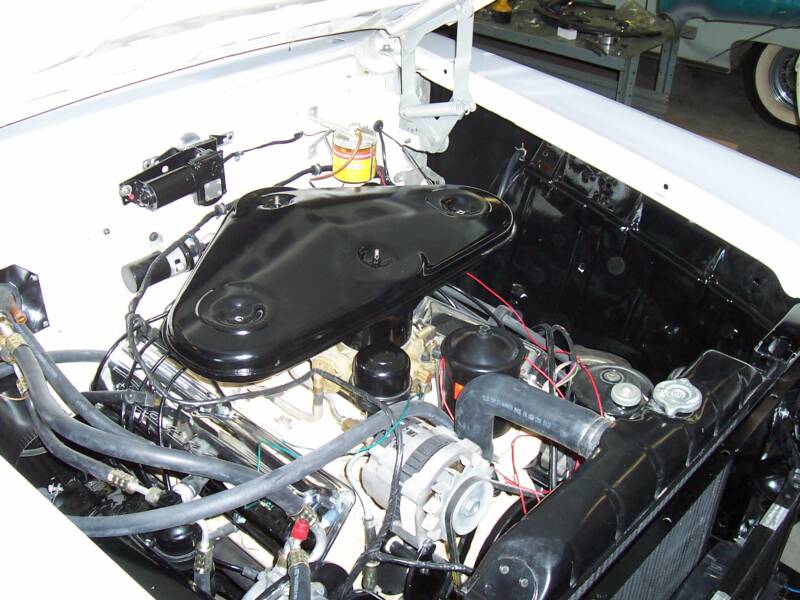
The engine compartment is nearing completion. The aftermarket air conditioning is finished in this aspect and the fenders go back on to help make the compartment achieve that finished look by adding clamps to hold hoses out of the way.