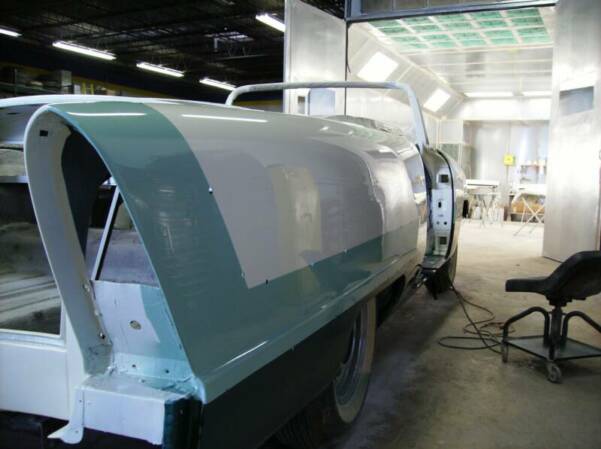
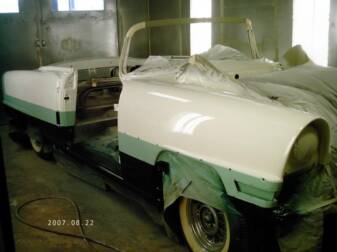
With the light green taped up we now spray the darker, metallic green on the bottom.
Top Left:
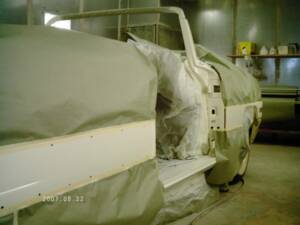
We taped the car off to paint the intermediate green color first for this 2 toned green car.
Top Right:
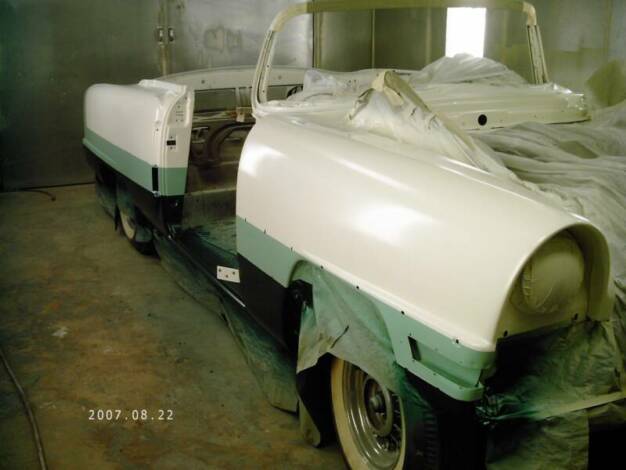
Another view down the long side of the car
Bottom left:
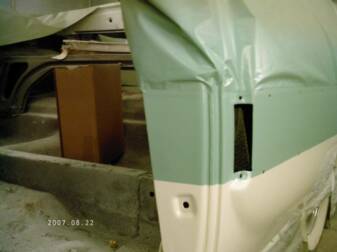
Here the light green is applied
Bottom right:
Here is the tail end of the car with its new beautiful green color.
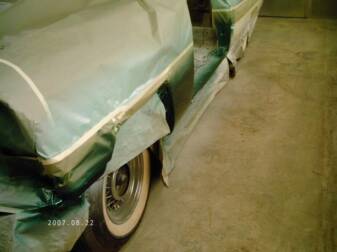
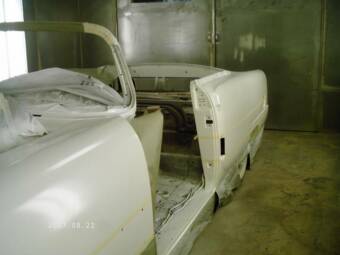
The next step is to remove the tape for the bottom color to be applied. For these Caribbeans we use base/clear because of the multiple colors of paint and the bottom color being a metallic.
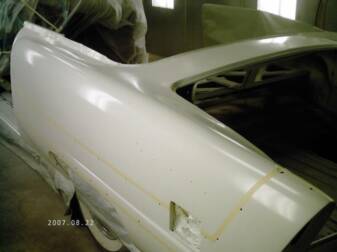
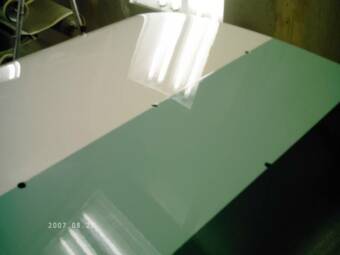
Another view of the car entirely in the white color with the masking tape showing the lines of color separation. The white underneath will give both green colors more clarity and true color.
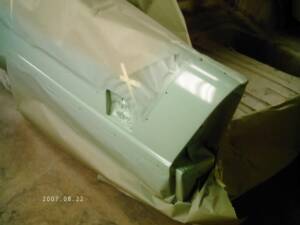
The Caribbean is sprayed first in the white color that is the top color of the car. We sprayed the entire car first with this color.
In preparation for clear coating, we remove all tape and paper to see what we find underneath. So far its looking very very nice. But next comes the shine!!
The caribbean is paint is down and the clear coat is applied. Notice the shine on the front fender compared to the lower picture.
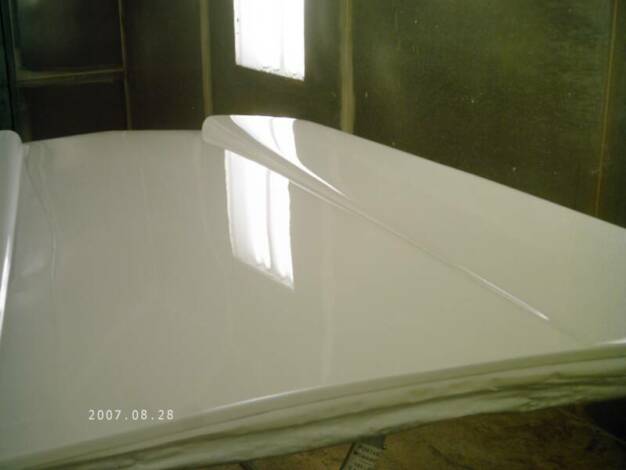
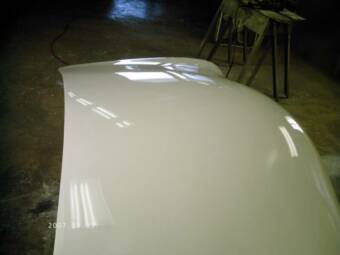
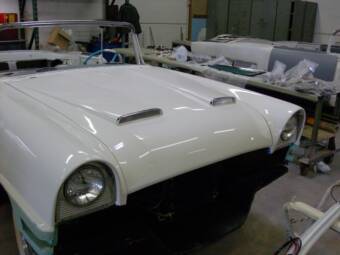
We see the hood here in all is splender.
The trunk here in the same situation as the door and hood and just as beautiful.
Here is the door just after clear coat...magnificent!!
I couldn't help not putting this picture on the website. This is the hood just after the clean coat has dried and before any buffing has taken place.
Its just a thing to behold with the clean lines and beautiful shine.
Week 15
Week 15 cont.
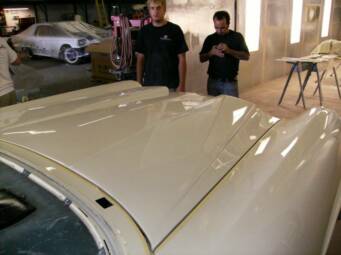
We reinstall the hood on the car after all the painting is completed and the panels are buffed to a high shine.
If you look closely at this picture, you can see the reflection of the cabinets on the wall next to this car. Its almost like your looking into a mirror.
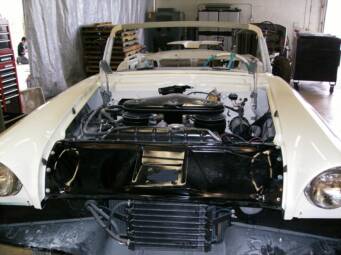
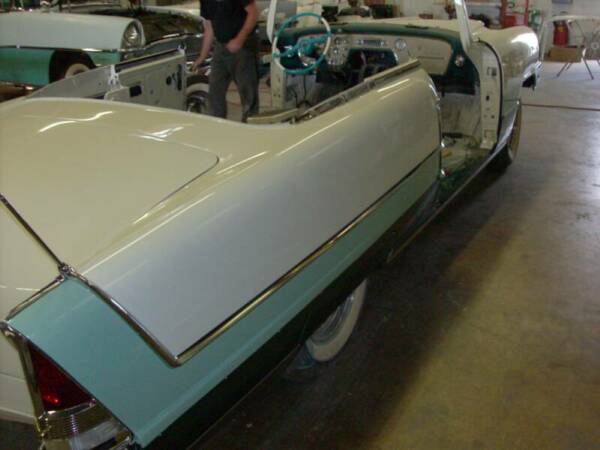
The newly painted car and its newly finished engine compartment
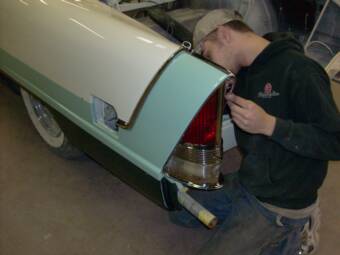
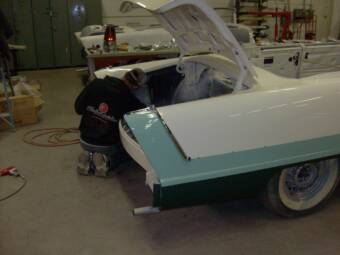
Ben installs the first tailight on the car.
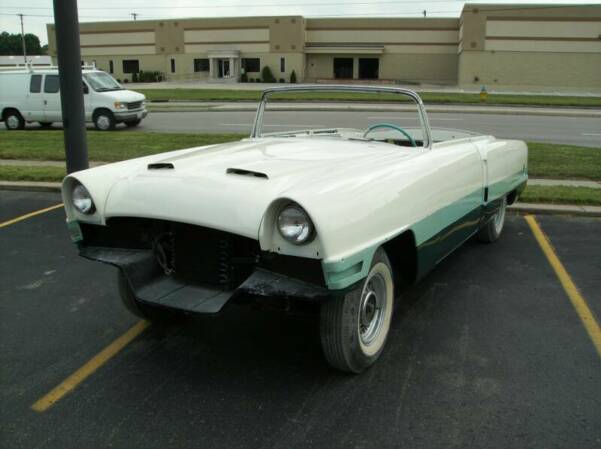
Newly painted, the Caribbean sits outside for the first time. It happened to be a cloudy day so some of the brilliance is lost without the sun. But nonetheless, the car is a beauty that now needs some "bling" in the shape of stainles steel body trim and a chrome grill.
The first piece of trim is on the car. Yes!
The shiny new hood scoops are a perfect fit for the shiny new hood.
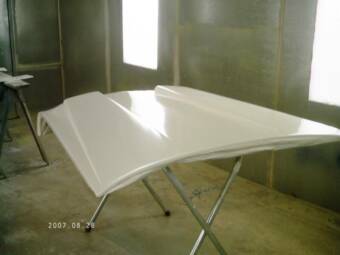
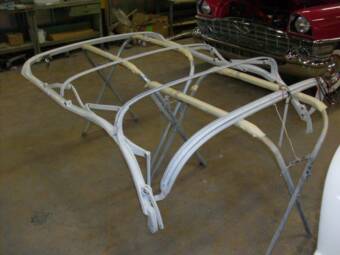
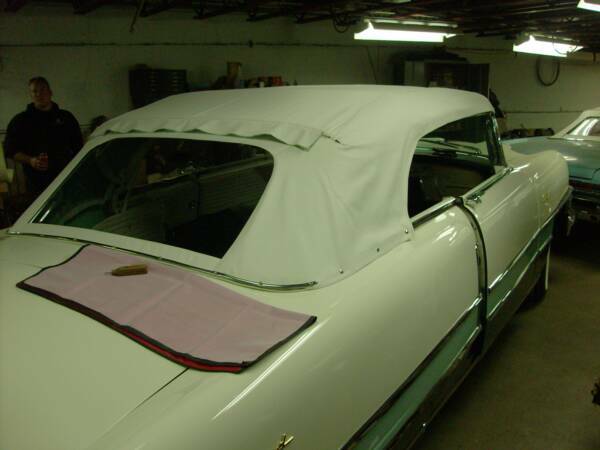
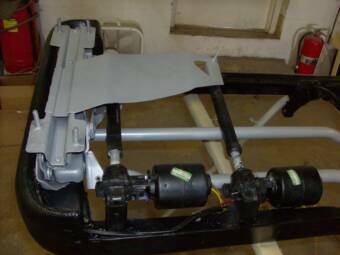
The convertible top assembly has been all torn apart and repainted and then reassembled.
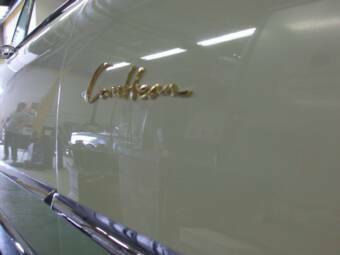
The bumper, both taillights and the twin antennas are all installed on the car. Next is the side trim and trunk emblems and lock.
Week 16
Week 16 cont.
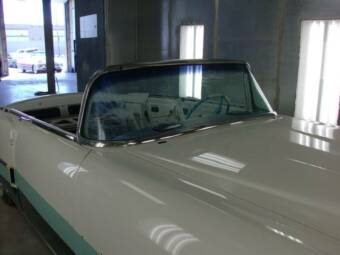
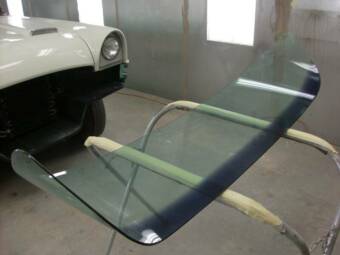
The new windshield is ready for installation. This is a very tricky process since these windshield are somewhat hard to come by.
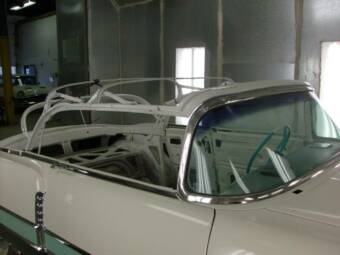
The brand new windshield is now in in the car with a new gasket and the trim is replaced.
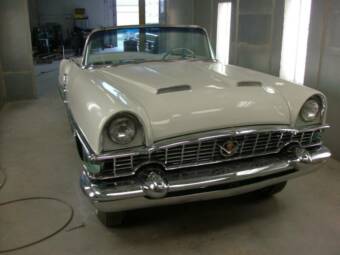
The long stainless steel trim pieces are installed now, making this car more complete every day!
Week 17
The bumper is now installed on the car as well.
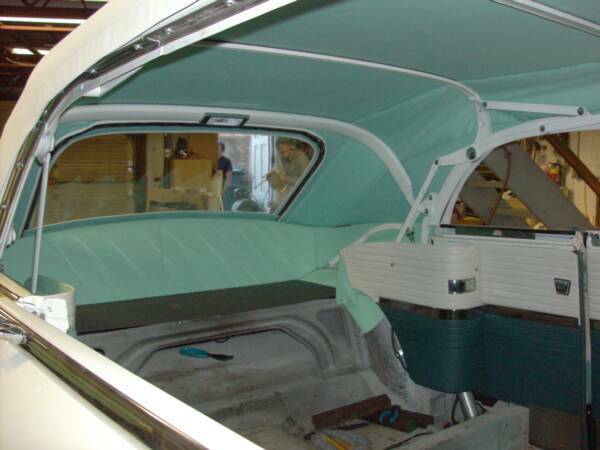
The top assembly is now on the car.
The front of the car is almost complete. The only thing left to install for the most part is the front bumper.
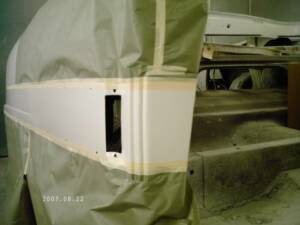
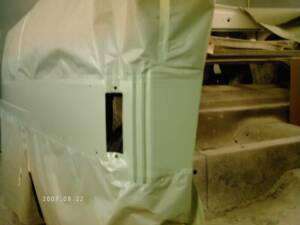
The Bruner's 1955 Caribbean is now in primer and undergoing some body work.